
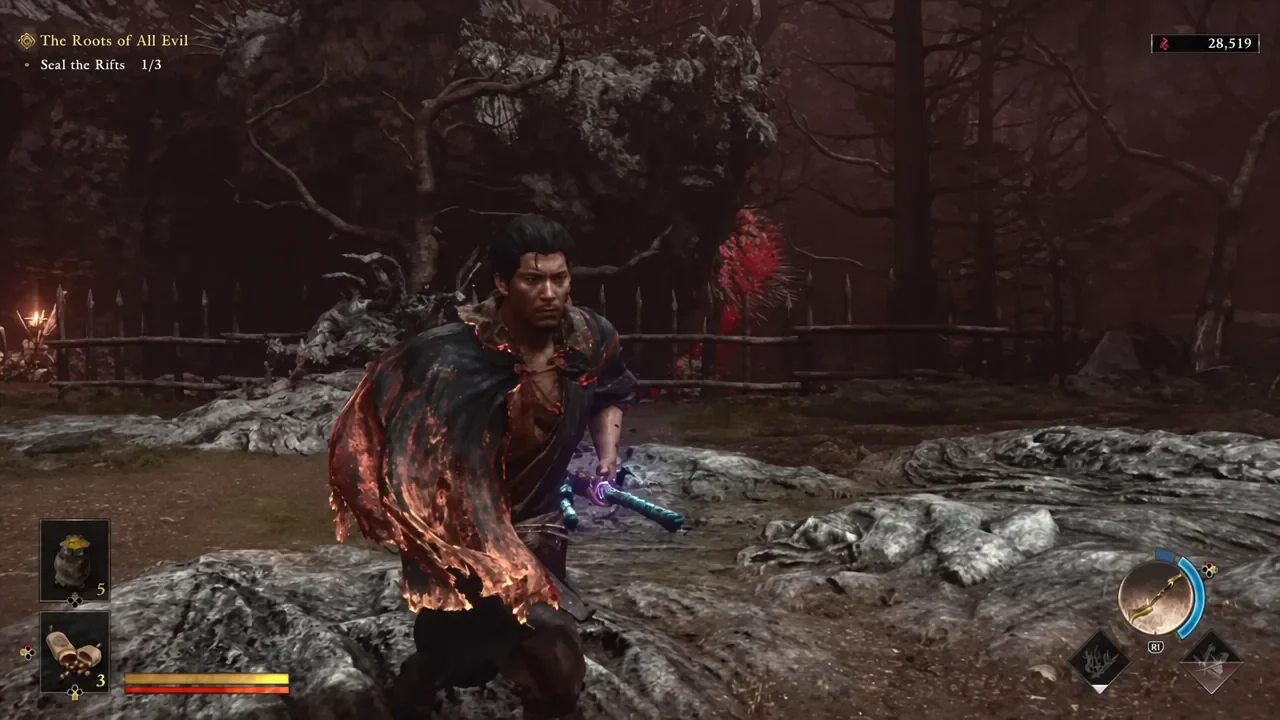
In the second part of the walkthrough, Musashi escaped from the underground laboratory, defeated the Great Nue and closed the obligatory Kyoto Mystery “Light of Retribution”.Now for the first time, the game gives a key role to mobility: the road to Toribeno literally ends in front of the hero, and the new Oni ability turns walls into part of the route.
If you skipped the previous step, start with second part of the walkthrough - Kennin-ji, laboratory and Great Nue.And we discussed the general context of the return of the series in separate material about Onimusha: Way of the Sword.
Spoilers: Below, the story missions “The Roots of All Evil” and “Bloody Massacre on the Bridge” are fully analyzed - from entering Toribeno to defeating Benkei.We will not reveal the events of the next chapter.
Before Toribeno: what to take with you
There is no need to specifically farm resources before the mission, but Toribeno is noticeably more unpleasant than previous urban areas due to the constant fel damage.Fill up your hozuki pouch, check your supply of healing items, and if you've already found Prayer Beads, equip them: they make long runs through infested areas less nerve-wracking.
From Armaments They are especially useful Earthshakers and Wind Whip.The first ones quickly break the stamina of heavy Gemmas, the second one saves when the game locks Musashi with a group of opponents in a tight area.Oni's bow is again needed not only for riddles - in Toribeno they are convenient for shooting Akari's flying Cubi and pulling enemies out of dangerous fog.
The roots of all evil: how to get to Toribeno
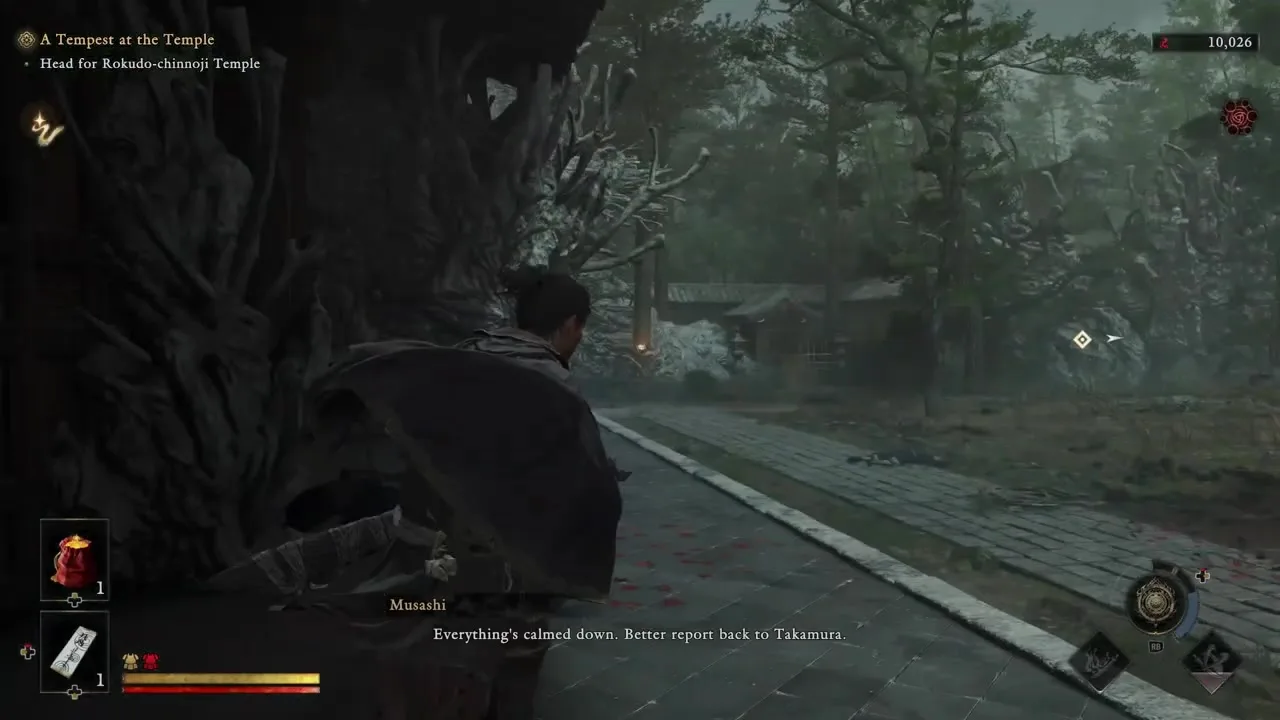
After talking with Takamura, it becomes clear that there is no way to get to the Gojo-Ohashi Bridge yet: the area is completely covered in bad things.First you need to clean Toribeno.If you previously activated the Mirror of Spirits "Gojo Street East", move there;otherwise, target Toribeno and follow the Johari Shard.
At the entrance, the path ends with a destroyed bridge.Here the game opens Agility They - an ability gained after the events with Hinagiku.Golden-illuminated walls can now be used for short running, and Musashi can jump between parallel surfaces without touching the ground.
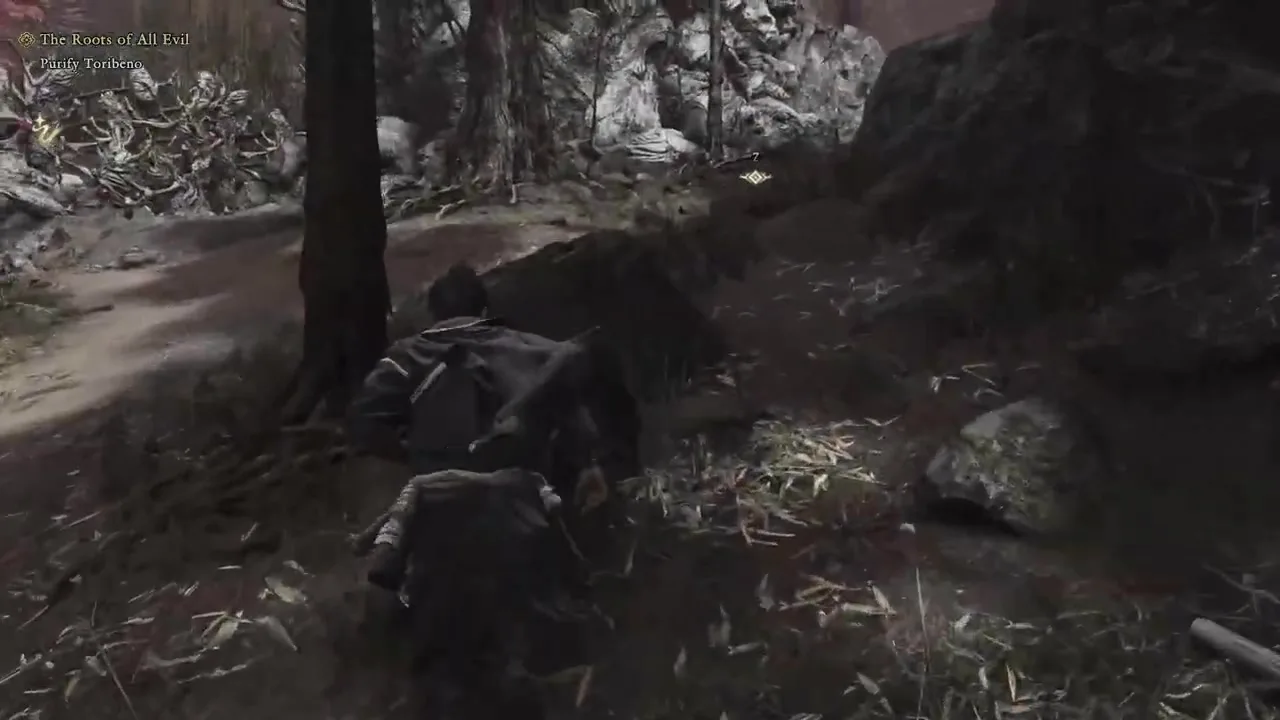
Don't try to clean up the filth on foot.
The main mistake at the beginning of the mission is to treat Oni Agility as a fancy way of moving.It's part of survival here.The fel continues to take away health while Musashi is in the infected zone, so a long fight on the ground is almost always worse than a short run along the wall.
Akari's Cubi can fire even while moving.Their projectiles are allowed to be reflected while running, but if the timing is not yet certain, it is safer to take out the flying enemy with the Oni Bow in advance and only then cross the gap.
The first plant and the first rift
Beyond the destroyed bridge, the route leads to the first group of Gemm.There is a shooter among them, so do not linger in the center of the infected area.Quickly get to safe ground, eliminate the distant threat, and then deal with the rest.
After the fight, destroy the first Malice plant.The red fog will recede, and exploring the site will become much easier.Then stay on the main road until you reach the first Rift.
His battle takes place in several waves.It is advantageous to meet lizard-like Gemma by parrying during a spinning attack: a correctly caught enemy flies off and is able to hit its neighbors.When the Akari Cubes appear, take them out first - two flying shooters turn a simple fight with an armored enemy into chaos.
After the last wave, absorb the Rift with the Oni Gauntlet.Don't leave right away: examine the area that opens and pick up materials if they are along the way.
Second plant: worth making a detour for
The second source of corruption is located on a side route and is not formally needed to complete the mission, but it is not profitable to skip it.Continue along the infested road, use the walls often, and don't get into a fight in the middle of the fog if the enemies can be pulled back with a shot.
After destroying the plant, be sure to check the chest nearby - here you can get tamahagane, useful for further improvements.Along the way there are also common materials like iron, leather and fabric;It's not necessary to collect every item, but Toribeno generously prepares the hero for the next big battle.
Second Rift: Remove the plant on the roof first
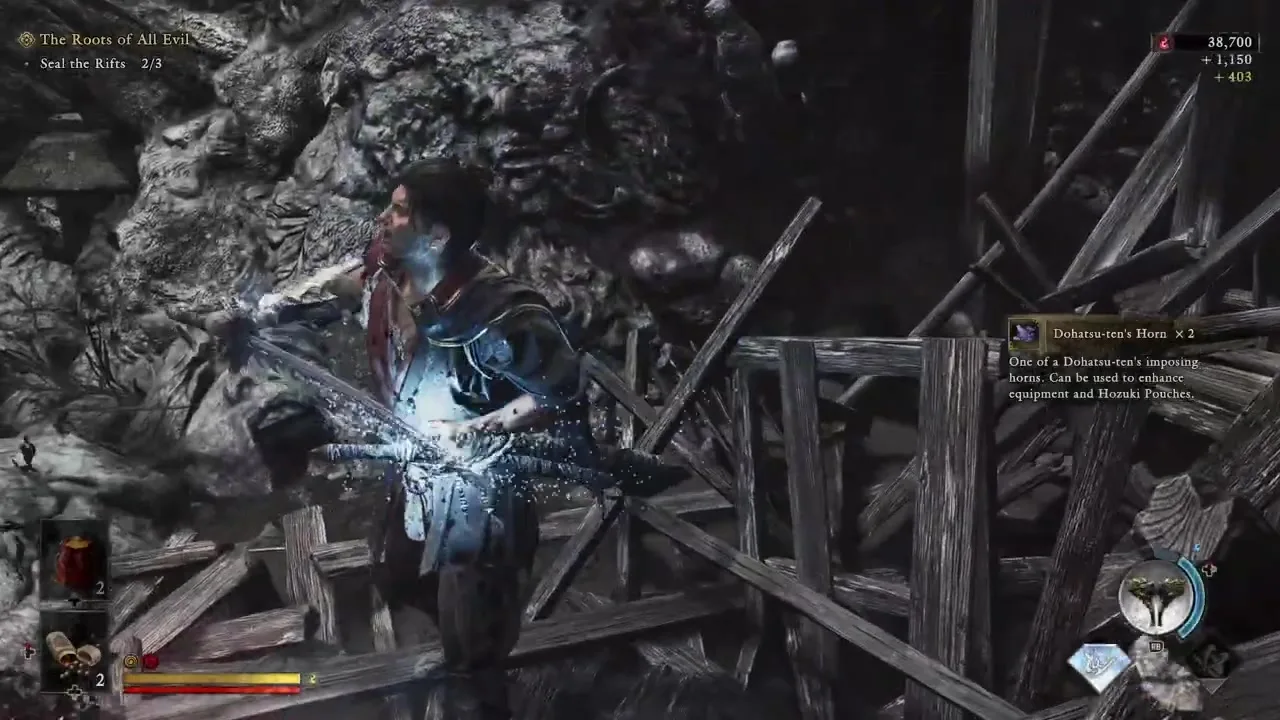
After the cave and several ambushes, the route will lead to the next large area.The direct path to the Rift looks obvious, but don't start the fight right away.There is a climb to the roof nearby - use the stairs and first destroy the Malice plant from above.
This way the arena stops constantly taking away health, and after that you can safely close the Rift.In the second wave, the familiar trick with lizard-like Gemmas will come in handy again: reflect their rotation so that they crash into heavier opponents.
Next Agility They will be needed almost without respite.If you see two walls opposite each other, the game will usually wait for you to jump between them in sequence.Don't push the direction too hard: after the first bounce, first make sure where Musashi turned and only then continue.
Third Rift: Dohatsu-Ten
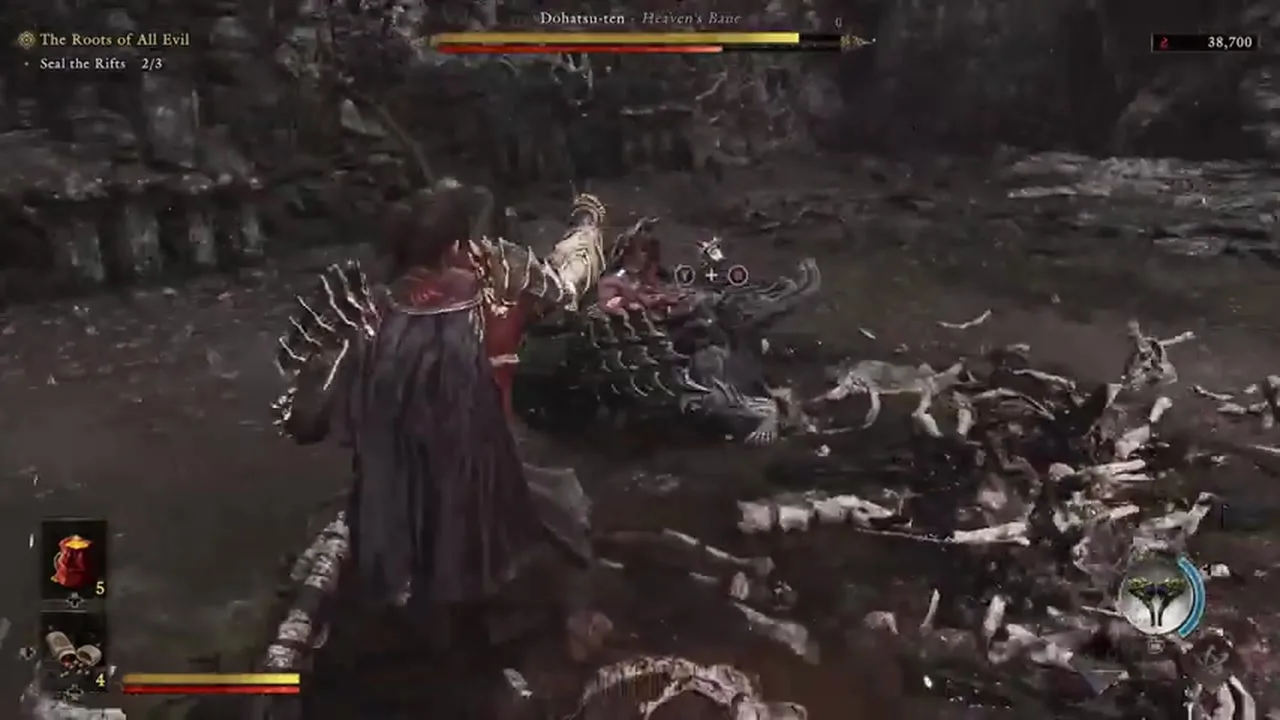
Before the third Rift, restore the health and charge of the Oni Armament.Here, instead of another regular wave, a Dohatsu-Ten - a fast demon with a huge sword.His main weapon is dangerous not only because of its size: the more successful blows he makes, the more the blade becomes covered in blood and the heavier subsequent hits become.
How to defeat Dohatsu-Ten
Don't pursue him after he leaves. Dohatsu-Ten likes to retreat a few meters, freeze, and then instantly close the distance.If you run behind, the camera and inertia make it difficult to see the real moment of impact.Stay put and prepare for a Block, Reflect, or Issen.
- Normal sword swings well read and suitable for Reflection.After a successful defense, take a short window for two or three hits.
- Point-blank kick It is better to meet with evasion.It breaks the usual rhythm of the series and often catches those who automatically expect another swing of the blade.
- Jump Attack has a noticeable swing.If you are confident in timing, this is one of the convenient windows for Issen.
- Glowing Power Attacks require a precise defensive response - don't just try to roll away from them at the last moment.
- Long range energy blades can be reflected back.After the first successful reflection, do not rush to attack: the series may continue.
The boss's head is protected by a helmet.The Oni's power helps break down defenses faster, especially after a parry when Dohatsu-Ten is briefly open.Armament It is better to spend them precisely in such windows, and not to launch them blindly from afar.
In the second half of the battle, the demon becomes more aggressive and often closes the distance with a jerk.The main principle does not change: let him initiate the attack himself, and you respond to an understandable swing.The fewer random hits Musashi misses, the less benefit the boss will receive from the blood-enhanced sword.
After victory, absorb the third Rift and destroy the last plant.The corruption in Toribeno will dissipate, and the path towards Gojo-Ohashi will open.
After clearing Toribeno: don't rush straight to the bridge
The game already allows you to move along the plot, but this is a good time to get away from the direct route for a few minutes.Clearing an area opens up additional paths, chests, and walls for Oni Agility.
In the southwest of Eastern Kyoto you can find another Rift, upgrade materials and passages that were previously blocked by corruption.The route across the river is especially useful: a series of wall runs leads to a small island with several valuable materials, including a Power Stone and an Oni Stone.
There is another Oni Gate.If you regularly spend accumulated resources on skills, it is better to open them now: the next story battle will test your defensive abilities and endurance more than the previous ones.
Bloodbath on the Bridge: Road to Gojo-Ohashi
When you're ready to continue the story, head to the Mirror of Spirits "Gojo Street - West" or go to the marker from the cleared Toribeno.Before the meeting itself, it is advisable to spend materials on equipment and fully replenish your treatment.
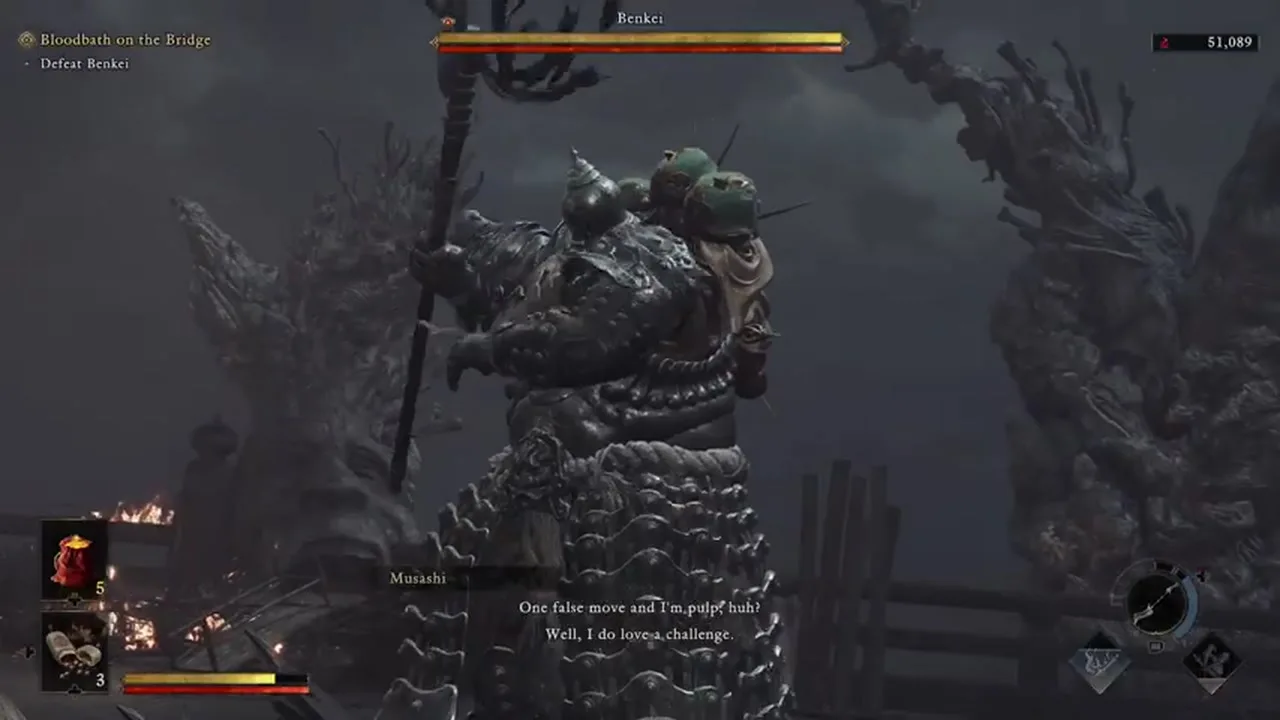
Benkei waits at the Gojo-Ohashi Bridge.Takamura recognizes Gemma as a famous warrior from the entourage of Minamoto no Yoshitsune.Even at first glance, it is clear how this battle is different: the enemy is almost completely covered by heavy armor, and the usual cutting to the hull at first gives very little.
Boss: Benkei - first we break the armor
Think of the first part of the battle not as a race for your health bar, but as a task to destroy your defenses. Earthshakers They are especially good here: a charged attack can hit several pieces of armor at once.Oni Power and Destructive Issen also help remove the plates.
How to read his normal attacks
Most naginata attacks can be parried and reflected.Benkei is huge, but deliberately takes a short pause before certain movements, so an early defensive button is more dangerous than a late one.
- Wide swings of the weapon: keep a medium distance and read the tip, not the body.After the last wave, a short response window appears.
- Heavy blow from above: can be taken defensively, but if you have a bad feel for delay, do not try to turn every such swing into an Issen.
- Kicks and unarmed attacks: It's safer to dodge.They are specially built between swings to catch the player who parries in rhythm.
- Dash from a distance: easy to provoke if you move too far away.The medium range makes Benkei's range of attacks noticeably more predictable.
Don't hug the edge of the bridge.There's plenty of space as long as Musashi keeps Benkei in front of him, but the camera quickly becomes an issue if a large opponent blocks half the screen at the fence.
After the armor is destroyed, the battle changes
When the defense completely falls apart, normal attacks begin to remove health normally.Here there is a temptation to suddenly go on the offensive, but it is at this moment that Benkei becomes more dangerous: his series are longer, and there are fewer pauses between individual blows.
Keep the same principle - a short return series after an understandable miss.If you have an Oni Armament charge, spend it after a broken Stamina or a successful Deflect, not at the beginning of an enemy combo.
Second phase: glowing attacks cannot be simply rolled
After the first health reset, Benkei strengthens and returns to the fight noticeably more aggressive.Glowing attacks are now especially important.You cannot escape from such series with the usual roll: each blow must be met with a parry or Reflection.
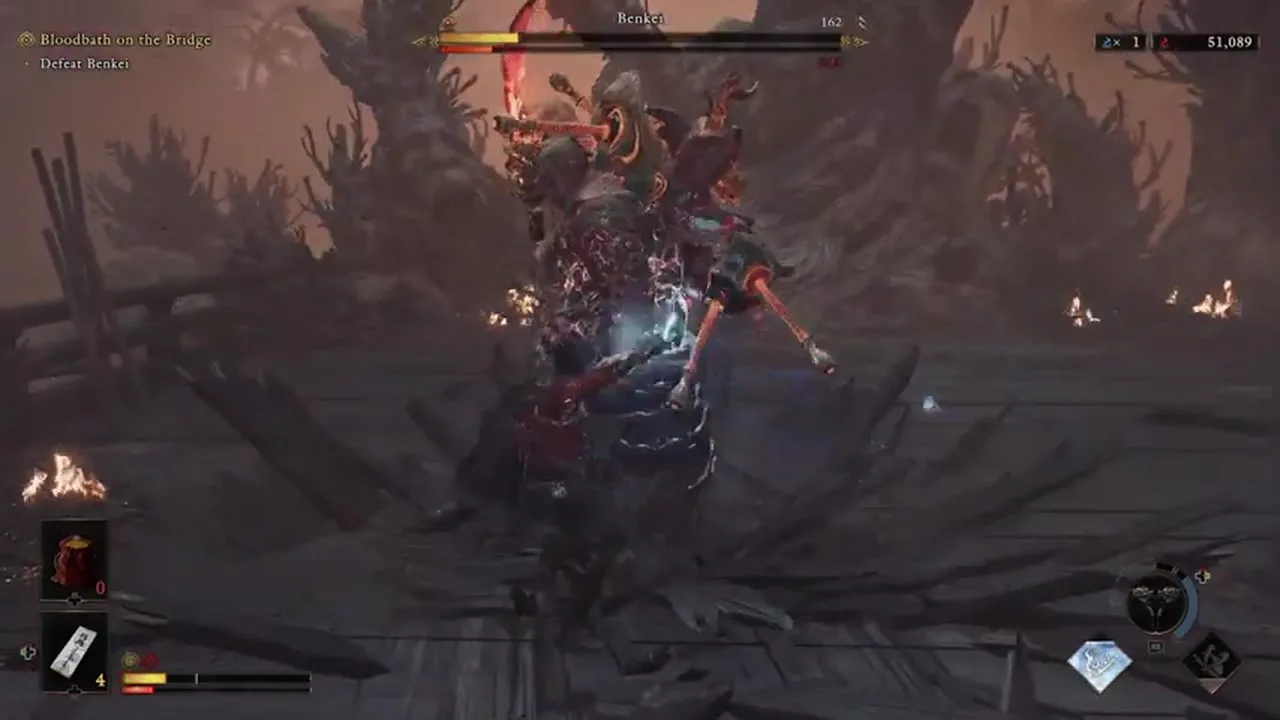
The main trap is to consider the first successful reflection as the end of the combination.In a strengthened state, Benkei is able to continue the series with several more blows.Don't go on the attack until you see a clear end of the animation.
If your stamina is almost empty, it's better to move to a medium distance and let it recover rather than try to survive a long streak with a block.One mistake here often leads not to just one hit, but to loss of control over the entire combination.
After winning, watch the scene and collect the quest rewards.This will conclude “Bridge Massacre”, and the next story chapter will open a new major segment of the campaign.
What is desirable to have by the end of the third part
- Mastered Oni Agility - then running along walls is no longer a separate training, but a regular part of the routes.
- Upgraded Earth Shakers for heavy enemies and armor.
- Several stamina upgrades and Oni Gloves.
- Activated Spirit Mirrors on the streets of Gojo and in the purified Toribeno.
- Stock up on Tamahagane, Power Stones and Oni Stones from the opened side routes.
Previous part:Kennin-ji, the underground laboratory and the Great Nue.
Continued:fourth part - “Firebird Flute”, Burai and the second battle with Ganryu.
Sign in or create an account to leave a comment.
Be the first to share your thoughts.