
The sixth part completes the main walkthrough of Silent Hill: Townfall. It covers chapters 14–17: Fix This, Trying Again, Eraser, and Returning.Simon navigates the warped CEG tower, then the massive SWDP industrial complex, solves the game's toughest panels, and arrives at The Weight, the final boss of the first campaign.
Spoilers: Below is the solution to all the final mechanisms, tactics for fighting The Weight, and the path to the epilogue.We do not describe the conditions for all five endings: it is better to put them in a separate material, since Dog and Sci-fi require New Game+.
Chapter 14. Fix This: the tenth floor becomes different
After returning control, examine the desk in the office: there is an Ordell File.On the computer outside, read the letter What did you do?.Then the space changes and brings Simon into a multi-story industrial structure inside the distorted CEG HQ.
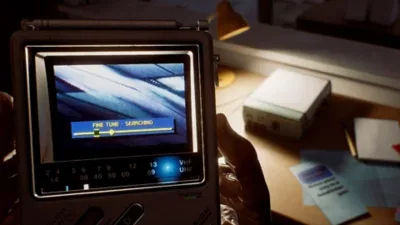
In the first large room on the right on the table lies Reference Sheet.There is a radio nearby with a CRTV signal for about 42.Don't leave without the sheet: it contains the codes for the central system.
Controller Key and two panel codes
Take the elevator to the second level.In the box on the console to the left of the red wheel is Controller Key.Return down to the alarm panel next to the same wheel.
Insert the key, then in the left block enter A5D7.On the right side of the panel there is code E3E3.Both values are taken from the Reference Sheet.After confirmation, you need to build a red pipe through the four levels of the central tower.
How to rotate floors
On the first level, rotate the section twice in any direction.On the second level do one turn left.On the third, rotate the section again twice.On the fourth also do two turnsuntil the top section is connected.
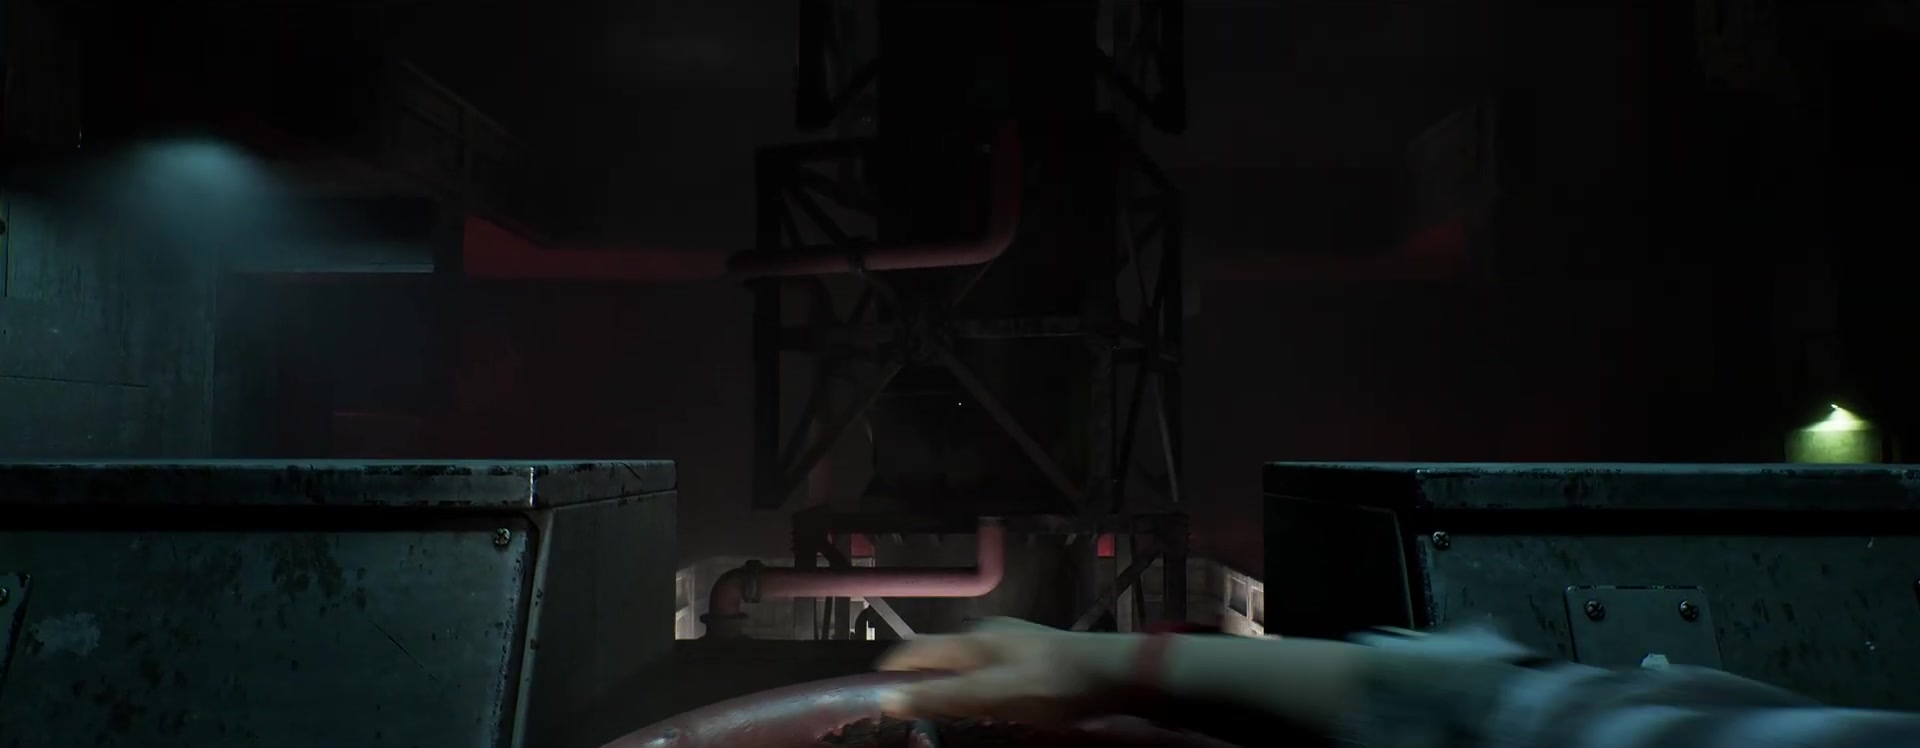
Return to the bottom panel.Click Gas Flow, then Flow Test.All indicators should turn green.After that click IGNITE.If one indicator does not light up, it means that the pipe on one of the floors does not match.Check the connection from bottom to top.
Pipes and the last Strange Postcard
After activating the gas, move through the opened pipes.When you get out of the first tight area, go into the room on the left before going down the stairs: hidden inside the pipe is another radio with a CRTV signal around 42.
Further, after a short staircase and a ventilation door, a fork begins inside the pipe.To pick up Strange Postcard #15, at a four-way intersection, turn first right, then left.The postcard lies in a dead end.This is the last Strange Postcard of the regular playthrough.
Chapter 15. Trying Again: SWDP Different
After the transition, Simon receives a corrupted SWDP card automatically.On the main floor, go up the southern stairs and into the western room: there is a Lockbox Key.
After the elevator in the northeast room, read the Ordell Site Visit letter and pick it up from the table JOE Key.They open the JOE door in the southwestern part.Behind the narrow passage lie an RCU Refit Note, a radio with the last CRTV signal about 55 and Access Card.
Control Room: Valve B and Filter
Go back upstairs and open the eastern Control Room with the map.To the right of the panel are the Resource Container and the Remote Systems Control tooltip.The container is opened first by the Lockbox Key.
On the main console, turn the power on with the two switches.First command: select Open, then icon Valve, enter 245 and confirm with Enter.Second command: select Start, then Filter, enter 130.The numbers are read from the cameras of the corresponding devices.
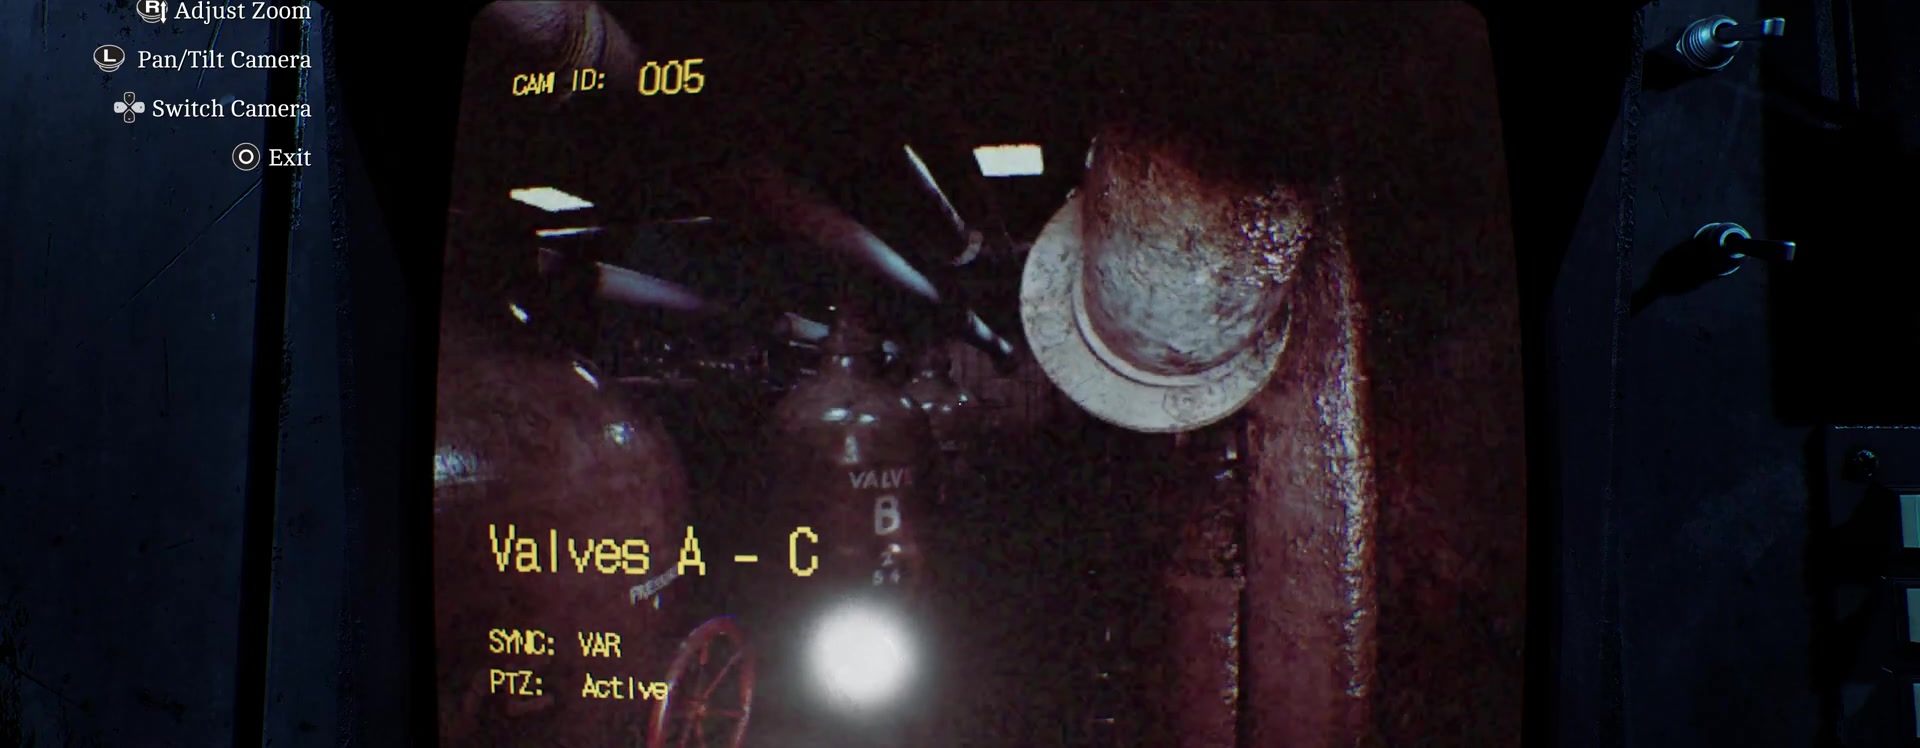
After successful launch, the panel issues a code 0825.Use this code to open the locker on the right and take AUX Key.
AUX Room: lines should light up green
Take the elevator down and open the AUX Room in the northwest corner.It's on the top shelf in the closet AUX Disk.Insert it into your computer and read the Auxiliary Lines file.
There are line switches on the walls.Align them in the directions shown in the file.Important detail: lines 1 and 2 must be read from the wall facing from computer;the number of lines drawn next to the switch indicates which line it belongs to.The correct line lights up green.
Returning to Remote Systems Control
After setting up AUX, go back up to the Control Room.Run three commands.First select Flush, then Auxiliary and enter 246.After that select Stop, Regulator and code 781.Last command: Unlock, Door, code 592.
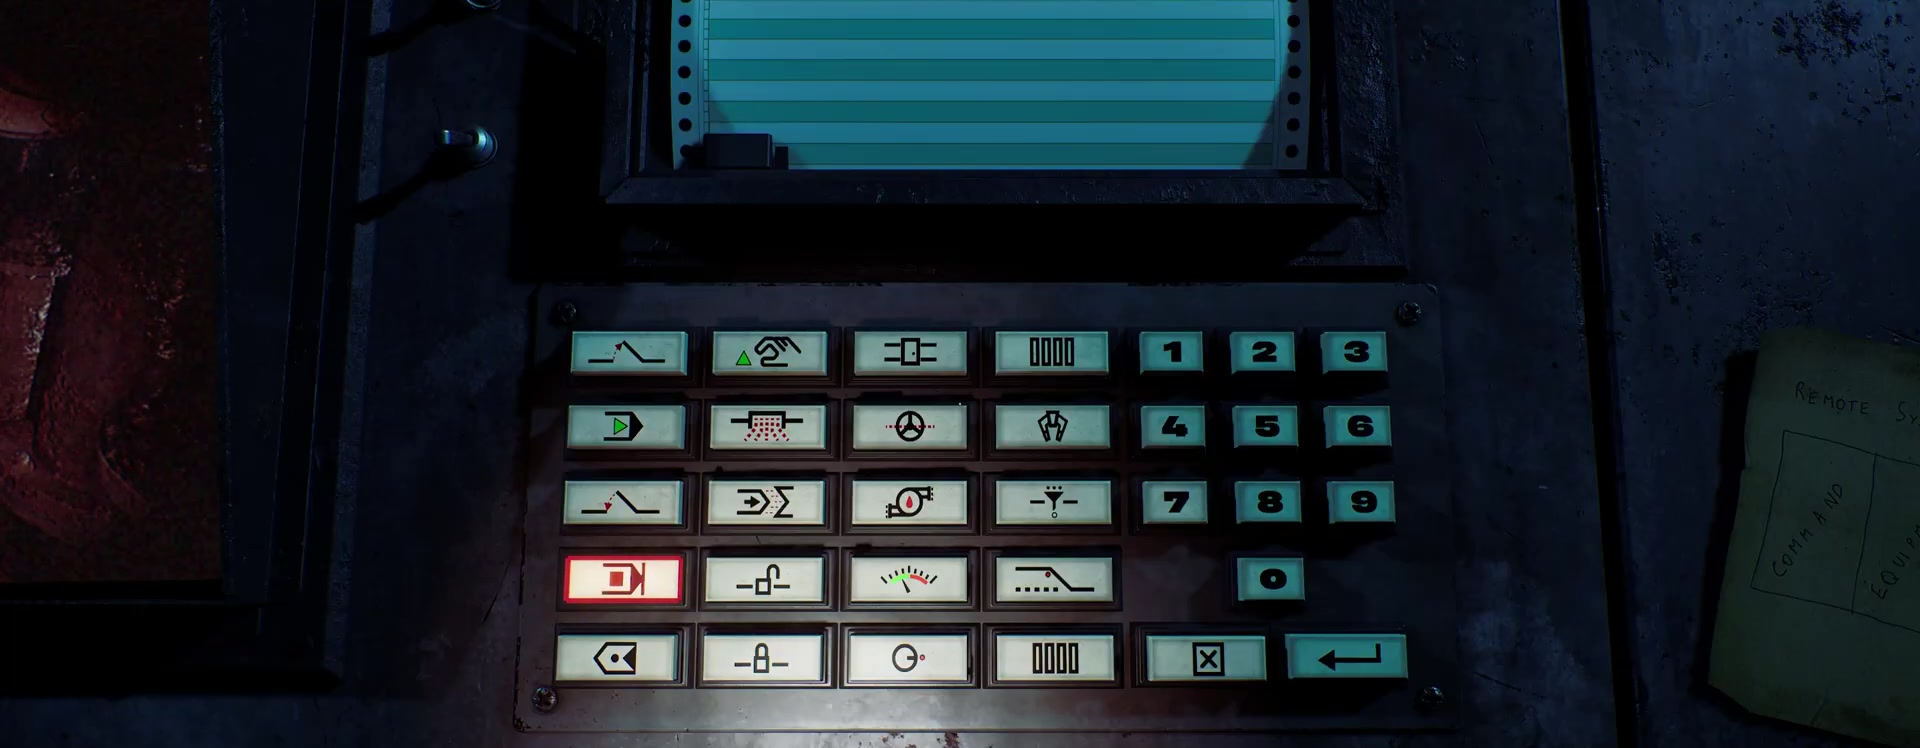
Before leaving, it is convenient to unlock the remaining doors of the lower block using the same command Unlock, then Door.Codes: 621, 047 and 793.On a normal first playthrough this is mostly access to additional routes and supplies, but on New Game+ some of these doors come in handy for special endings.
On the lower floor in the northwestern room lies the second Lockbox Key.Use it to open the container in the long eastern room with the valves.This is the last Resource Container of the normal walkthrough.
Clamp Release Procedure: Final Panel
After working with Valve F, return to the Control Room and pick up the printout Clamp Release Procedure.Now move to the opposite console.What is important here is not the order of actions, but the final state of all switches.
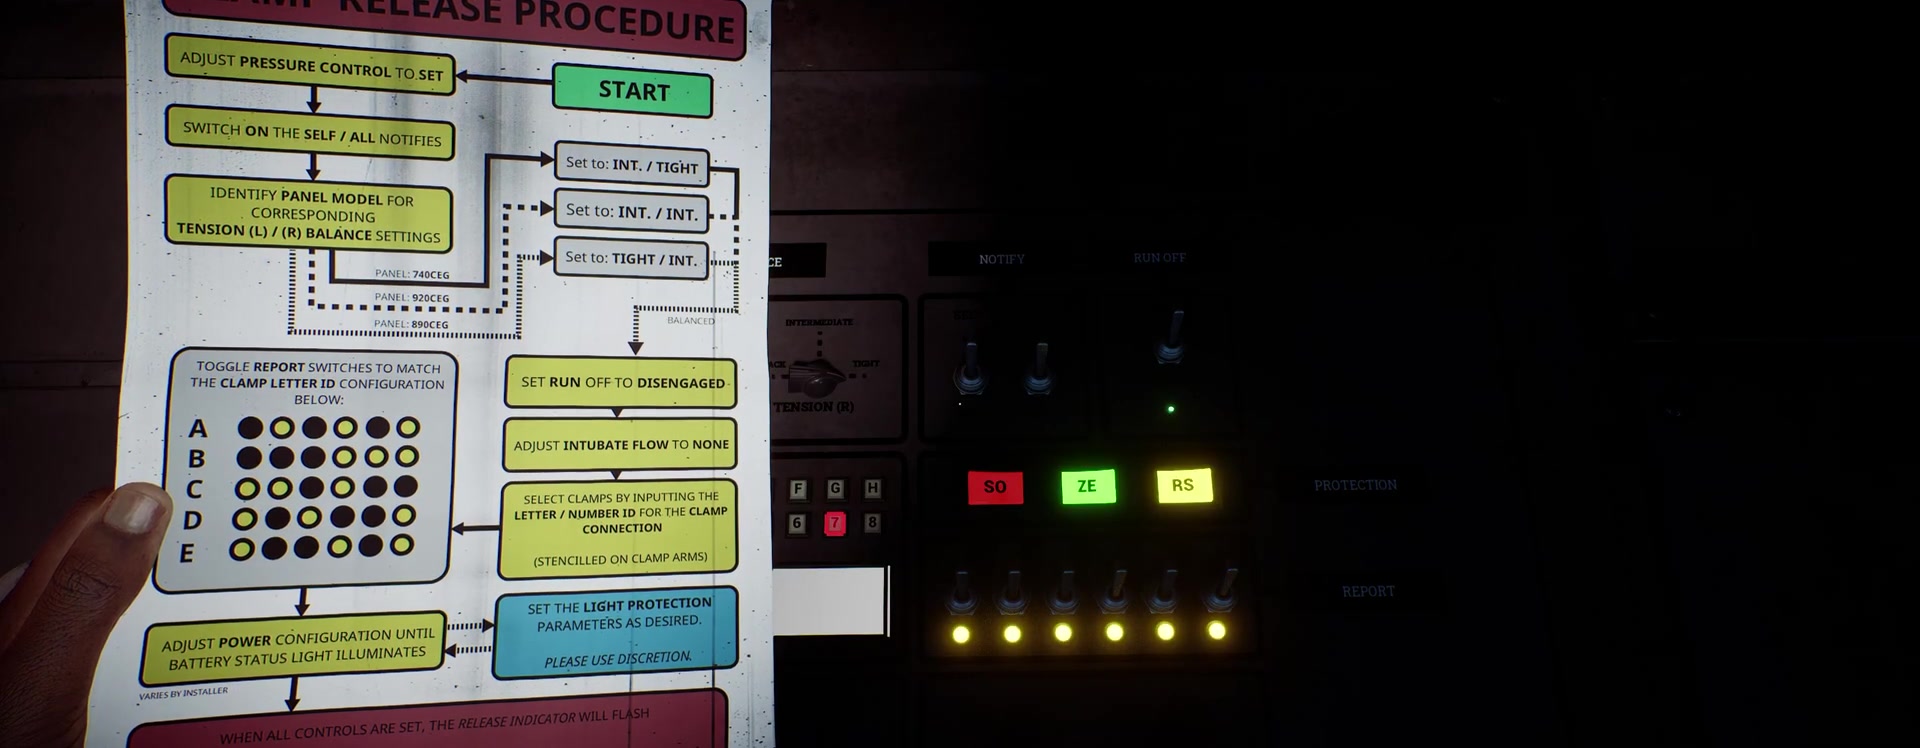
Set both BALANCE: Intermediate.Both NOTIFY: On. RUN OFF: Disengaged.On Clamp Connection enter D71.In the REPORT block, include positions 1, 3 and 6.
Next PRESSURE CONTROL: SET, INTUBATE FLOW: NONE, BATTERY ONE: B, BATTERY TWO: C.When everything matches, the green RELEASE button will start flashing.Press it, go down and turn the red handle.The Trying Again chapter will end.
Chapter 16. Eraser: The Weight's final boss
After a story transition, Simon enters a changed Clara Woods.In front of the arena, collect available ammunition.Especially useful in the final battle Flare Gun: Flare Shot stuns The Weight and gives a short window to get close and deal damage.
When The Weight kneels and the interaction prompt appears, run up and retrieve the metal rod.This stage needs to be completed three times.Between interactions, increase your distance again, stun the boss with Flare Gun, and deal damage with a shotgun or other available weapon.
How not to lose resources on the boss
Until the Eraser chapter, don't waste ammo trying to kill The Weight during pursuits: there the objective is to get around him and continue on the route.In the final fight, move around the arena, use cover to reload safely, and pick up supplies you find, but don't count on a fixed resupply after each stage.
After the third extraction, the battle ends and the Eraser trophy is awarded.
Chapter 17. Returning: returning to shore
After the victory, walk along the shore towards the pier where the game began.Don't climb the first stairs right away: walk further along the beach and look at the overalls.There is a document on one of them Crew Patch.
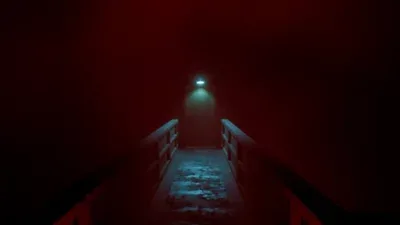
After the find, go up the stairs, turn right and go through the gate.At the end of the road awaits Richard and the final sequence.The specific normal ending depends on the accumulated statistics and behavior in the passage;New Game+ additionally opens separate Dog and Sci-fi routes.
What to check before The Weight
It is better to complete the final industrial block without unnecessary battles.After Remote Systems Control and AUX Room, the main resources are no longer needed for research, but for The Weight.Unless the enemy is blocking a console, door, or narrow passage, flanking is usually more advantageous than skirmishing.
Before the final Clamp Release, make sure to grab the second Lockbox Key and the last Resource Container.After the green RELEASE, red handle and plot transition, returning to SWDP for the sake of the container is no longer inconvenient.The same goes for the last signal CRTV 55 and Strange Postcard #15 in the pipes of the previous chapter.
In The Weight arena, save the Flare Gun specifically for the boss.After stun and enough damage, follow the interaction prompt: you need to get close and perform the extraction, otherwise the stage will not complete.There are three such interactions in total.
Returning here is not just a corridor to the final scene.Crew Patch lies further down the beach if you don't take the first stairs.Take it before talking to Richard.After the meeting, one of the usual endings is already determined, and further options are best explored through separate saves and New Game+.
Main campaign completed
Previous part:Richard, generator and floors CEG HQ.This six-part series concludes all 17 chapters of Silent Hill: Townfall: from Simon's first arrival to Returning.
Separately, after the main series, it makes sense to look at all five endings, New Game+, Dog and Sci-fi special items, as well as the 100% collectibles route.It is better not to confuse this with the final chapter: the conditions of alternative endings require separate planning for the passage.
If you're returning to the game on PS5 for a second playthrough, material on DualSense and CRTV can be found here: How the PS5 version of Townfall uses a controller.

Sign in or create an account to leave a comment.
Be the first to share your thoughts.