
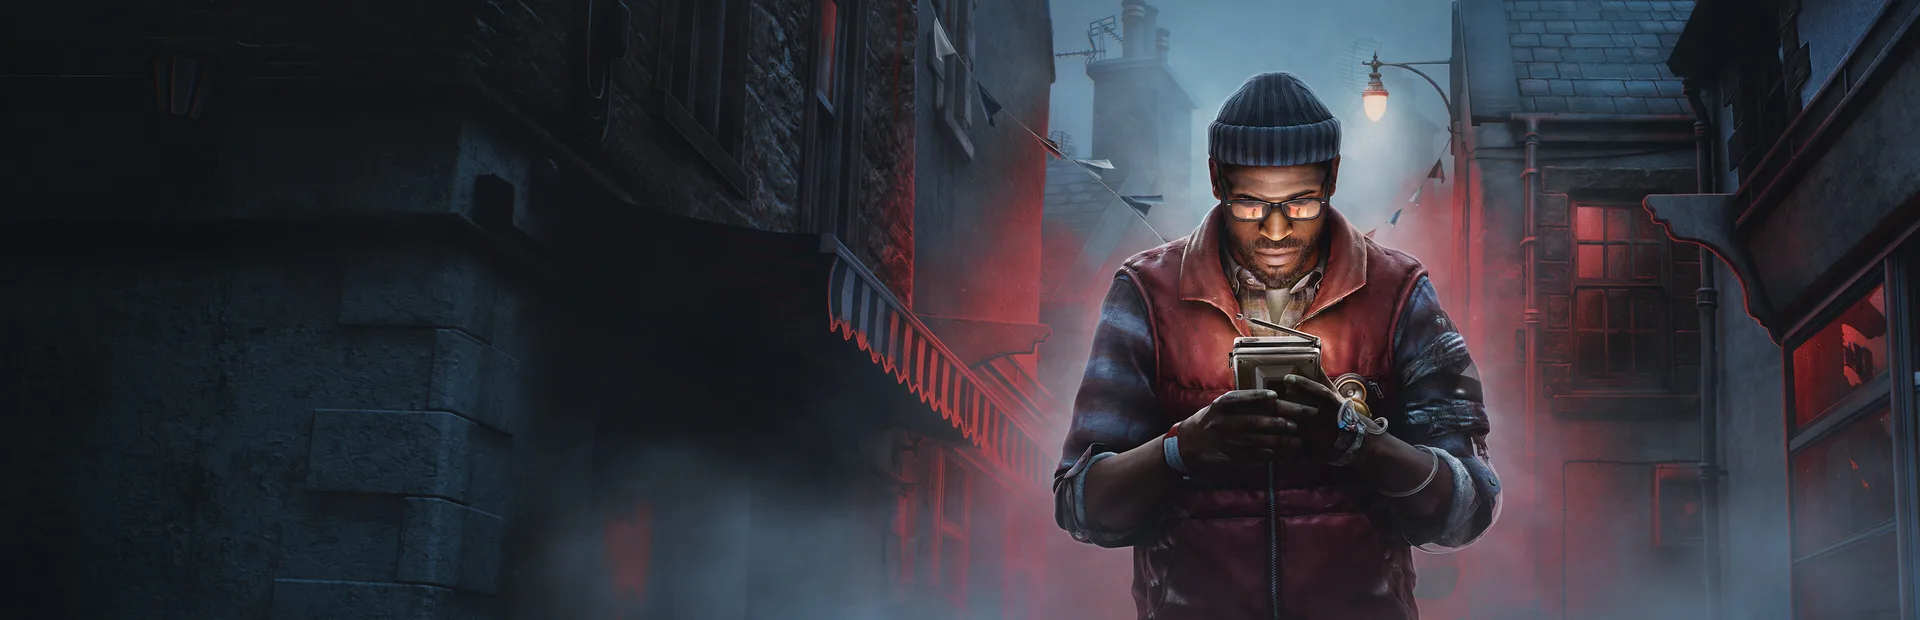
The fifth part of the walkthrough of Silent Hill: Townfall covers chapters 12–13 of the Richard section.After a long exploration of Clara Woods, the game suddenly changes rhythm: first you need to power up the external objects of CEG HQ, then Richard gets a shotgun and begins sequentially clearing the tower floors - Human Resources, Public Relations, Media, Finance, Operations and Administration.
Spoilers: Below is the complete route to the 10th floor, including warehouse codes and the correct order of slides in the projector.We leave the final chapters of Simon for part #6.
Chapter 12. Richard: Getting Inside
At the main entrance to CEG HQ, turn left and go into the small security booth.Press the button inside - it opens the gate to the territory.You can now explore the parking lot and service buildings.
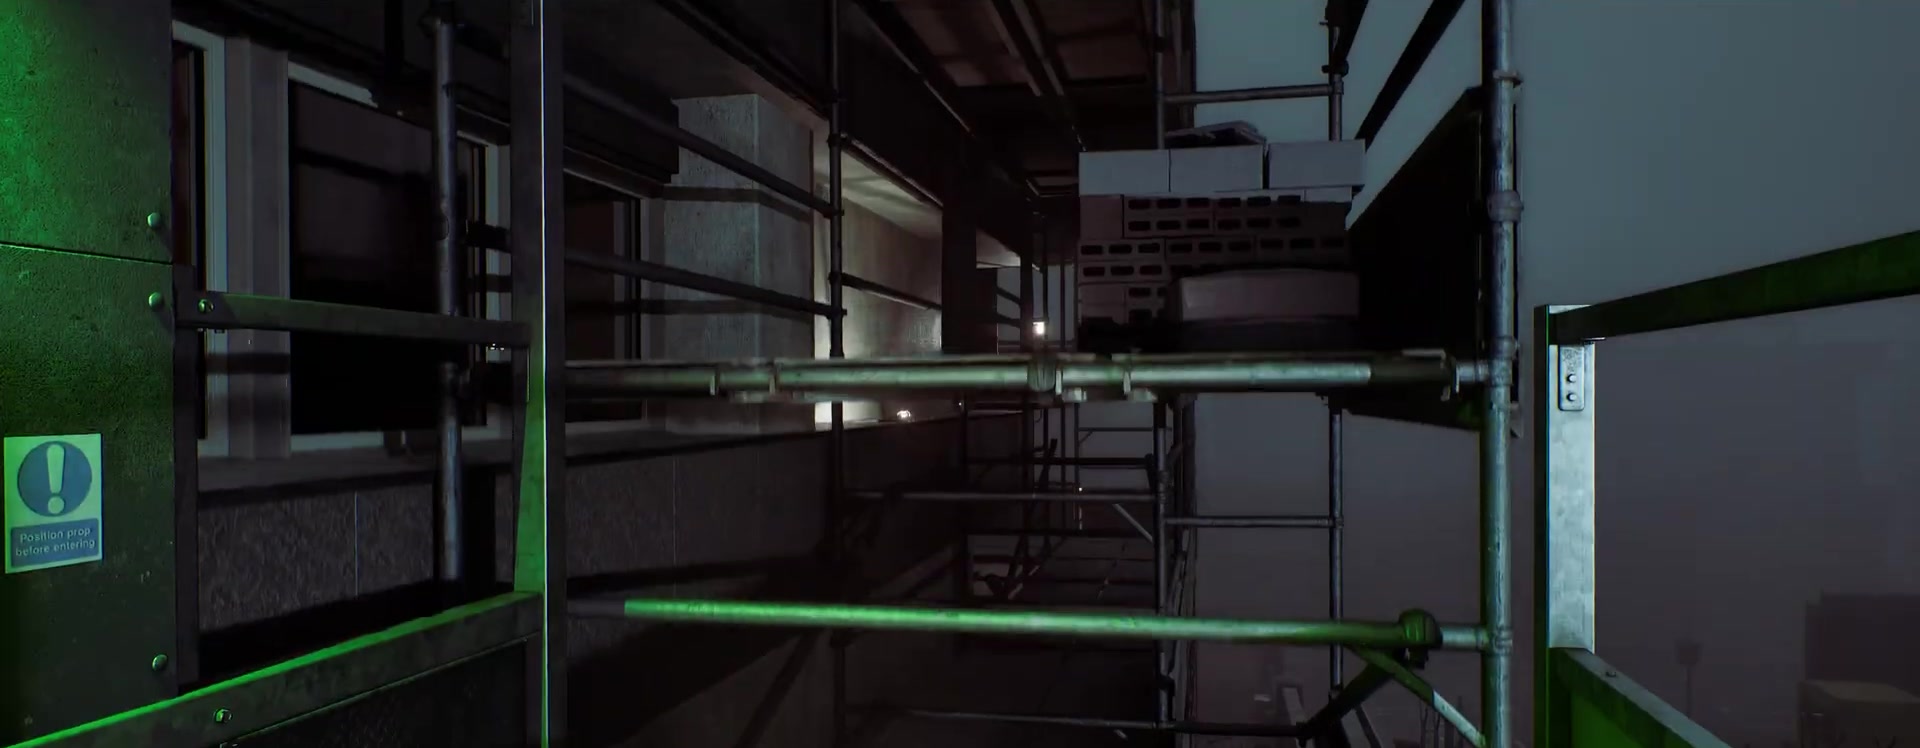
In the first building on the left, read Construction Halted Notice, then in the second building with a garage door, read CEG Kiosk Note.Go upstairs to the Manager's Office: there is a CEG Memo on the table, and in the closet behind the door there is Generator Key.
Generator: correct position of the levers
Approach the generator from outside.There are three levers on the back: place the right one diagonally, leave the left and middle vertical.Then go to the front panel, insert the Generator Key on the right and pull the red lever on the left.
After starting the power, return to the first service building.The computer is now turned on: read the top letter Facilities: Works Halted and the bottom file DONTREAD.DOC.On the opposite side of the room there is a locker with a code 147;There are additional resources inside.
Chapter 13. Richard: Another Attempt - shotgun and tower map
Upon entering the main building, Richard automatically receives shotgun.Widow enemies appear ahead, and the new weapon is best kept for tight corridors or situations where the enemy is blocking the only path.On the stairs from the second to the third floor, next to the body, there is a map of the tower from Mezzanine to Fifth Floor.
Widows are more aggressive than most early enemies and often stand where you need to read a document or use a card reader.Don't fire your shotgun from the opposite end of the corridor: wait until it gets closer and use it as a way to quickly clear the passage.In open areas it is cheaper to bypass the enemy or finish off with conventional weapons.
If you collect the Creative Process weapon achievement, this is where you can first close the shotgun item.For it, in one playthrough you need at least one enemy killed by each of the main types of weapons and throwing objects.The route itself does not change.
On the third floor, look into the eastern meeting room and read CEG Tower Meeting Minutes.The main plot so far leads higher, to the fifth floor.
Fifth floor: Access Card Level 3/4
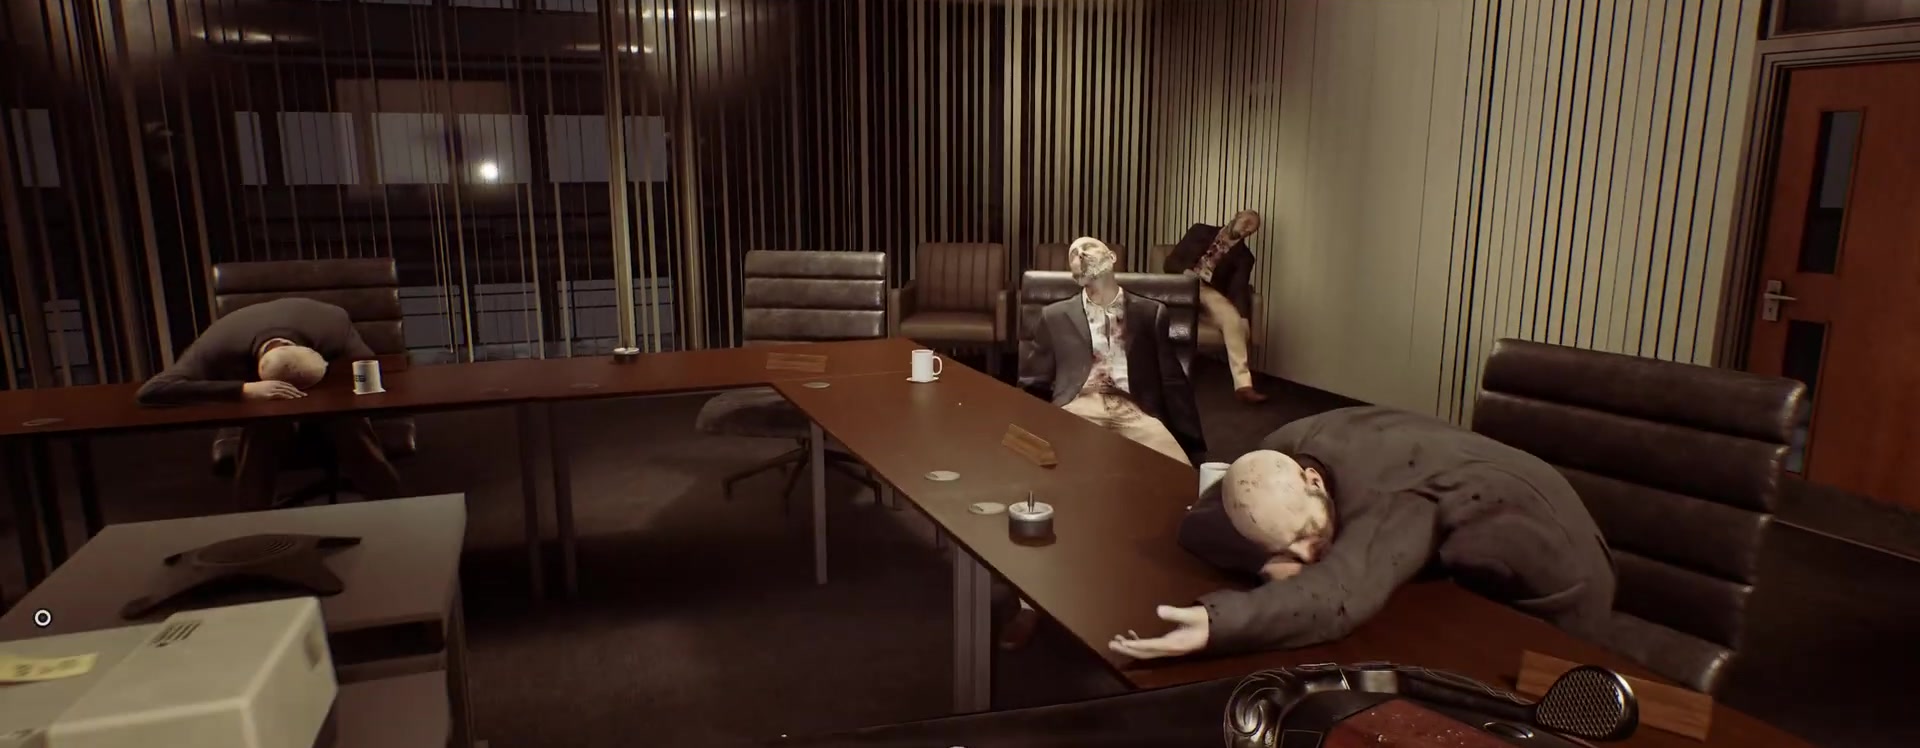
In Boardroom after the story scene there is a Access Card — Level 3/4.She opens the scanners on the third and fourth floors.From this point on, it is more convenient to go from top to bottom and sequentially assemble parts for the projector.
Fourth floor: Human Resources and Media
Go down to the fourth floor and open Human Resources with a new card.Go through the room and use the same pass to open the second door.After this, through the stairs you can connect the route to the third floor, where Finance and Public Relations are located.
In the Media Department, climb the ladder from PR.In the western room next to the body lies CEG Storeroom Key.Go to the opposite side of the Media and open the warehouse.The GENERAL STORAGE cabinet contains Projector Bulb and the CEG Checkout Sheet document.
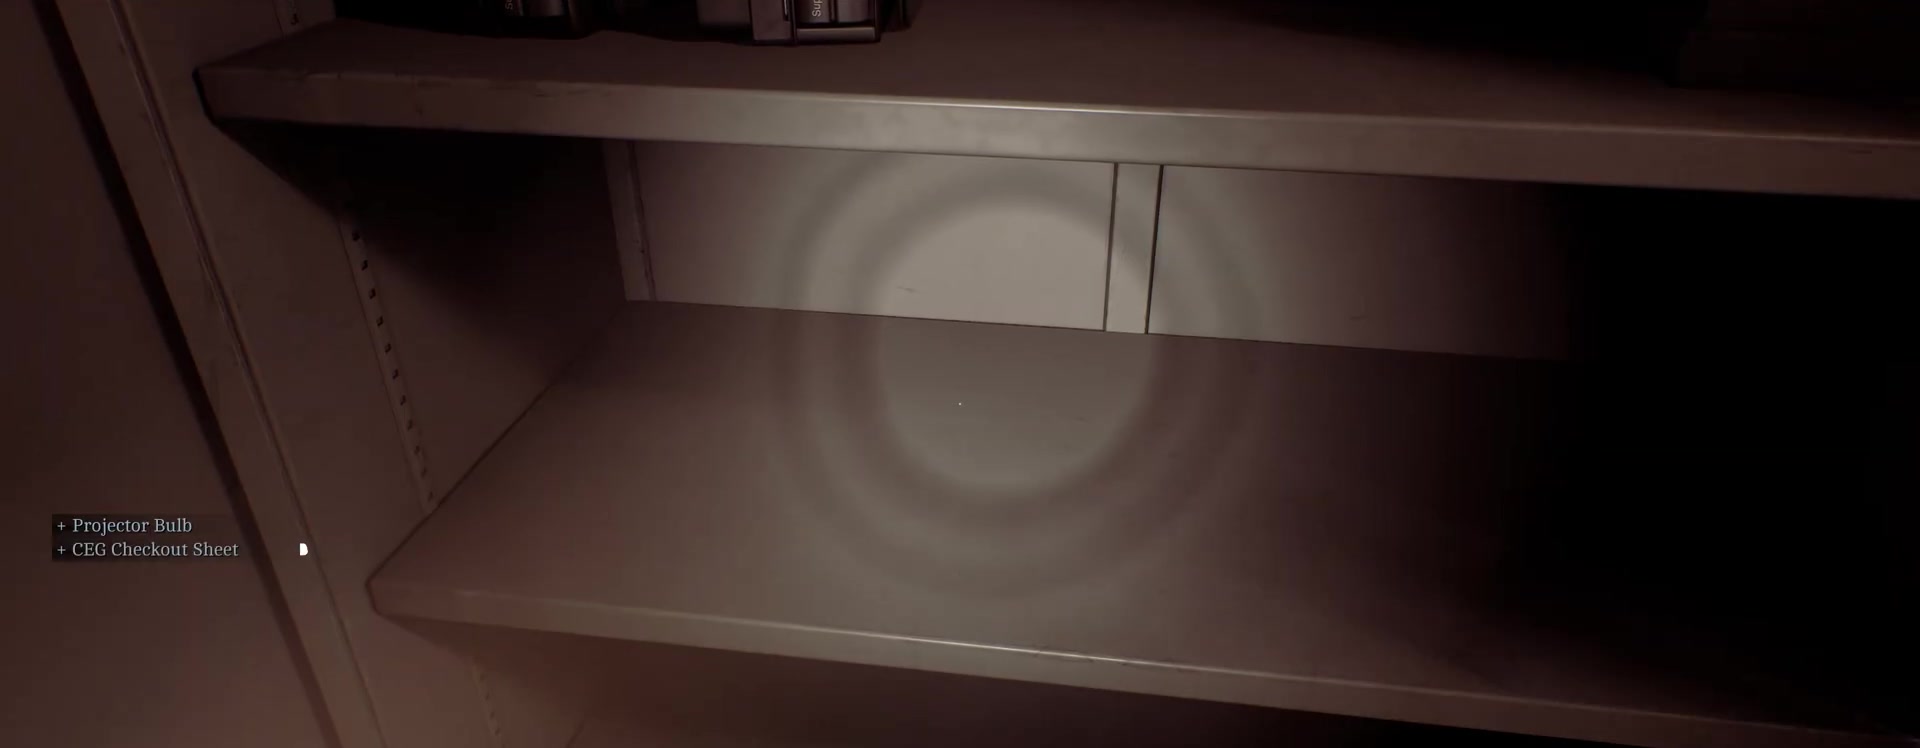
The Checkout Sheet contains the code you will need on the floor below.Don't go to the Boardroom with just a lamp - the projector also needs a lens.
Third floor: Public Relations and Finance
Open the western part of the third floor with the Level 3/4 card.In Public Relations, read the Evening News and Engineer Public Statement letters on the computer, then pick up the PR Meeting Note from the cabinet.In the southeast room next to the body lies Richard’s Note.
PR Records door opens with a code 1607.There are only resources inside, but it is useful to pick them up before the later floors.
Now go to Finance.After scanning the card, enter 2709 — number from CEG Checkout Sheet.In the CFO's office, open the desk drawer and take Projector Lens.
Assembling the projector in Boardroom
Return to the fifth floor.Insert into the projector first Projector Bulb, then Projector Lens and press the red switch on the left.After turning on the projector, the body at the table becomes available CEG Maintenance Key.
The key opens the Maintenance doors on all floors.This is an important turn in the route: the tower can now be passed through the internal service staircase without having to return to the main elevator each time.
After receiving the key, it is useful to go through the entire career ladder from top to bottom once.This way, the floor connections become clear on the map, and you immediately collect resources in the side rooms.This is especially helpful before the final return to the Boardroom, when without shortcuts it's easy to make an extra loop through the elevator.
Second and first floors: Operations and Administration
Through Maintenance, go down to the second floor and exit to Operations.The northeast pantry is opened with a code 1306 from Richard's Note.There are no story items inside, only supplies.
Even lower, on the ground floor, in Administration there is a similar storage room.Code - 4512.If your ammo is low after Widows, both rooms are worth a short detour.
Both codes are optional for the plot, so if the doors are already open and the inside is empty, you most likely picked up the consumables earlier via a different route.The main thing before going up to Mezzanine is to have a lamp, lens, Maintenance key and free space in your inventory for Projector Sliders.
Mezzanine: last slides
Pick up from the meeting room at Mezzanine Projector Sliders.Now return to the fifth floor Boardroom.Through slide viewing, you can match each frame with an agenda item that the projector is already displaying.
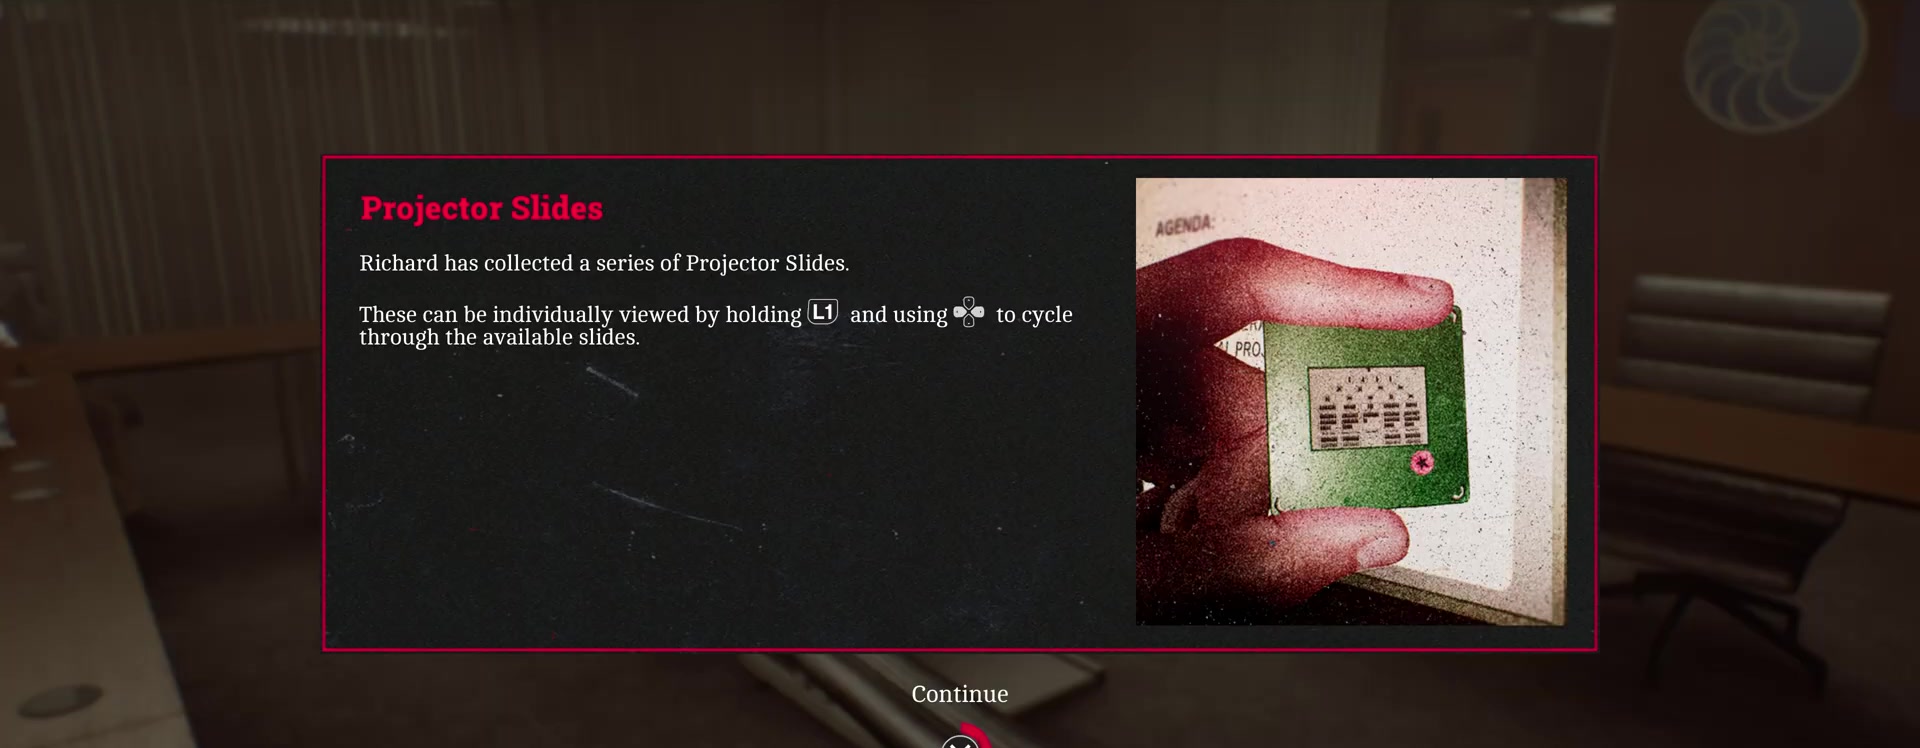
Slide order
Set up the slides in this order: D — Recent Headlines, F — External Demonstrations, B — Company Hierarchy, C — Financial Projects, E — Public Inquiry, A — Counter Arguments.Once all six are installed, click the red Play button at the top.
If the scene does not start, check not only the letters, but also the sequence: the projector matches each slide with a specific Agenda item.After correct showing, Richard automatically receives CEO Access Card.
The images on the slides themselves also serve as a check: newspaper corresponds to D, protest posters - F, hierarchy chart - B, profit chart - C, court drawing - E, censored photograph - A. If one cassette is mixed up, it is easier to check the picture rather than blindly rearranging the entire set.
Tenth floor
Use the CEO Access Card in the elevator and go up to the tenth floor.Before entering the office, read the He's Done letter on the computer outside.Then a plot transition begins, after which control will return to Simon.
It's worth checking supplies before the stage.The next part starts in a warped version of CEG HQ and moves the game almost immediately into complex industrial panels.If you're used to spending a shotgun on every Widow, it's best to save at least a few rounds for later encounters for now.
How to Read the CEG HQ Vertical Structure
It's easy to lose a floor in the tower because the plot sends Richard from top to bottom and back again several times.A convenient scheme is this: the fifth floor gives Access Card 3/4, the fourth - the path through Human Resources to Media and a lamp, the third - Public Relations, Richard's Note and a lens from Finance, after which the fifth floor is again needed to launch the projector.
The CEG Maintenance Key changes navigation more than any other item in this section.Once obtained, interior service doors become shortcuts on all levels.It is through them that it is easier to go down to Operations, Administration and Mezzanine, pick up additional resources and Projector Sliders without constantly returning to the elevator.
Remember the purpose of the codes: 1607 - PR Records, 2709 - Finance, 1306 - Operations Storage, 4512 - Administration Storage.Only Finance is required for Projector Lens;the remaining rooms mostly make up for wasted ammo and provide more context.
Before the final viewing of the slides, you must have a Projector Bulb, Projector Lens and Projector Sliders in your inventory.If one item is missing, return not to the agenda, but to the appropriate department: Media for the lamp, Finance for the lens, Mezzanine for the slides.Once the CEO Access Card is issued, the section is almost complete.
Before the final part
Earlier in the walkthrough:The Patient, hospital and path to Clara Woods.In part #6 we will look at the distorted tower, SWDP, all industrial consoles and the final boss The Weight.
If you are playing on PS5, there is a separate material about the operation of weapons and CRTV via DualSense here: Features of the PS5 version of Silent Hill: Townfall.

Sign in or create an account to leave a comment.
Be the first to share your thoughts.