

The third part of the Silent Hill: Townfall walkthrough entirely dedicated to St.Amelia Medical Center.In Chapter 7, Zoe tries to stabilize a patient and undergoes successive medical procedures, and in Chapter 8, Simon ends up in a twisted version of the hospital, where the same rooms turn into a maze of rooms, blood, and locked routes.
Spoilers: Below are all the required codes, x-ray parameters, medication dosages and final blood chart solution.The Clara Woods section begins in the next part.
Chapter 7. Zoe The Patient: starting in Surgery
Immediately after the start, take the St. Card.Amelia Medical Center from the wall on the left.After talking over the intercom, Zoe must correctly name the readings from the patient's monitors.The error causes damage, so don't choose values at random.
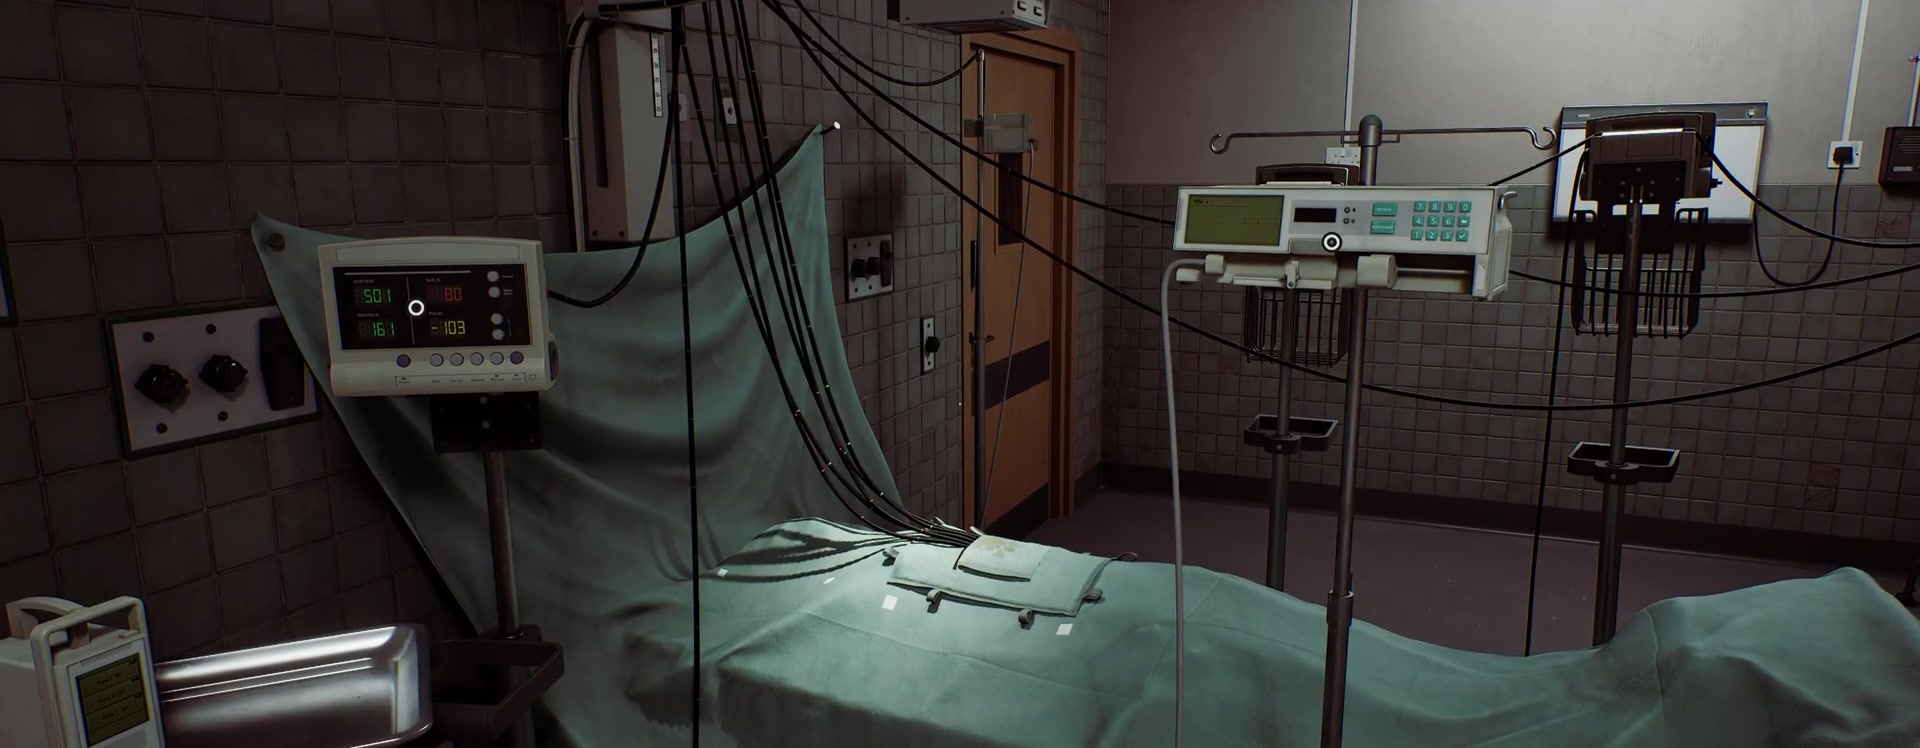
Look at the three screens you need: pressure - approx. 70/40, pulse - 160, oxygen saturation SpO2 — 80.The numbers on the monitors float a little, but the game waits for the nearest values.The clue with the symbols is on the laptop next to the bed.
Door 7103 and x-ray
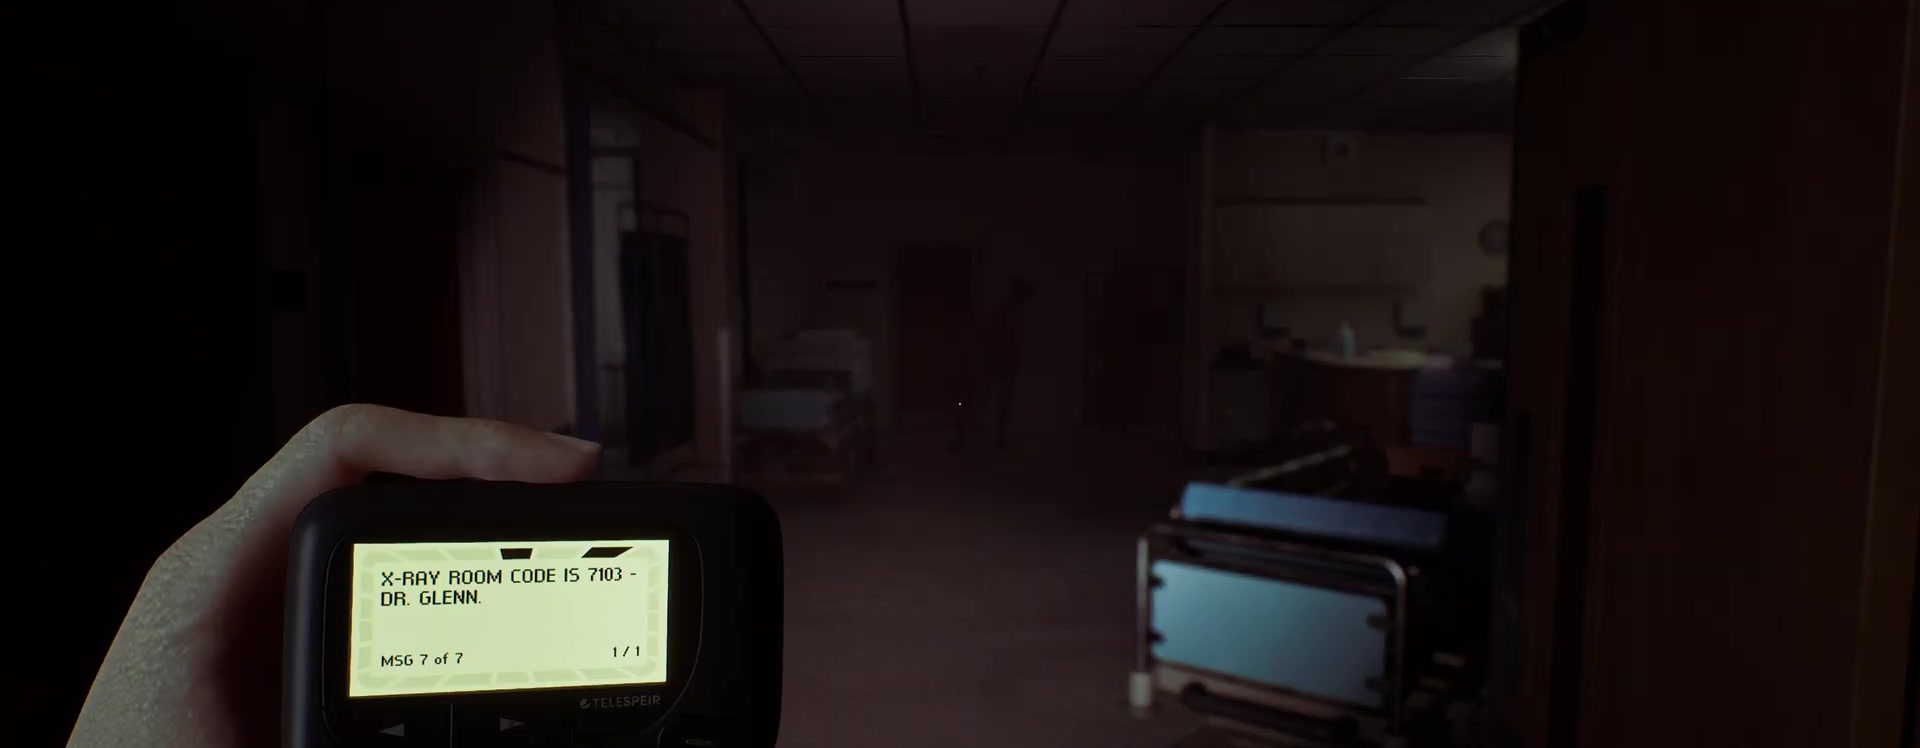
The door code to the right of the operating room is 7103;Zoey receives it on her pager.In the X-ray room, turn on the computer and first align the image of the skull so that the Patient Skull - Aligned mark appears.
On the X-ray panel, turn on the power and set Site: Skull, kV 3, mA 7, Time 1.Take a photo.Then repeat the procedure for the chest: combine Patient Chest - Aligned and place Site: Chest, kV 7, mA 3, Time 1.2.
Take the printed pictures to the right of the computer and mount them on the light screen next to the intercom.Examine the head and chest at the marked points - this completes the diagnostic stage.
Three medicines: where to look
The next block requires you to collect three drugs on different floors.In the Pharmacy Store on the ground floor of Victoria Ward lies Tensobromide.At Chapman Ward First Floor, Bay 6, drug Dextracyclate located directly in the infusion machine.
The third drug is hidden in the Records Room on the first floor of Chapman Ward.Door code - 2605;The clue is hanging on the floor above in the office.Inside the closet lies Hydroxalene.
Don't miss the computer on the first floor of Chapman Ward: the Dailies - Infusion Status letter marks the right places on the map and helps you understand why the game sends you through several wings of the hospital.
Infusions: 15, 7 and 8
Return to Surgery.The patient's weight is indicated on the board - 88 kg.According to the dosage table, set up three pumps.For Dextracyclate set the speed 15, for Hydroxalene — 7, for Tensobromide — 8.
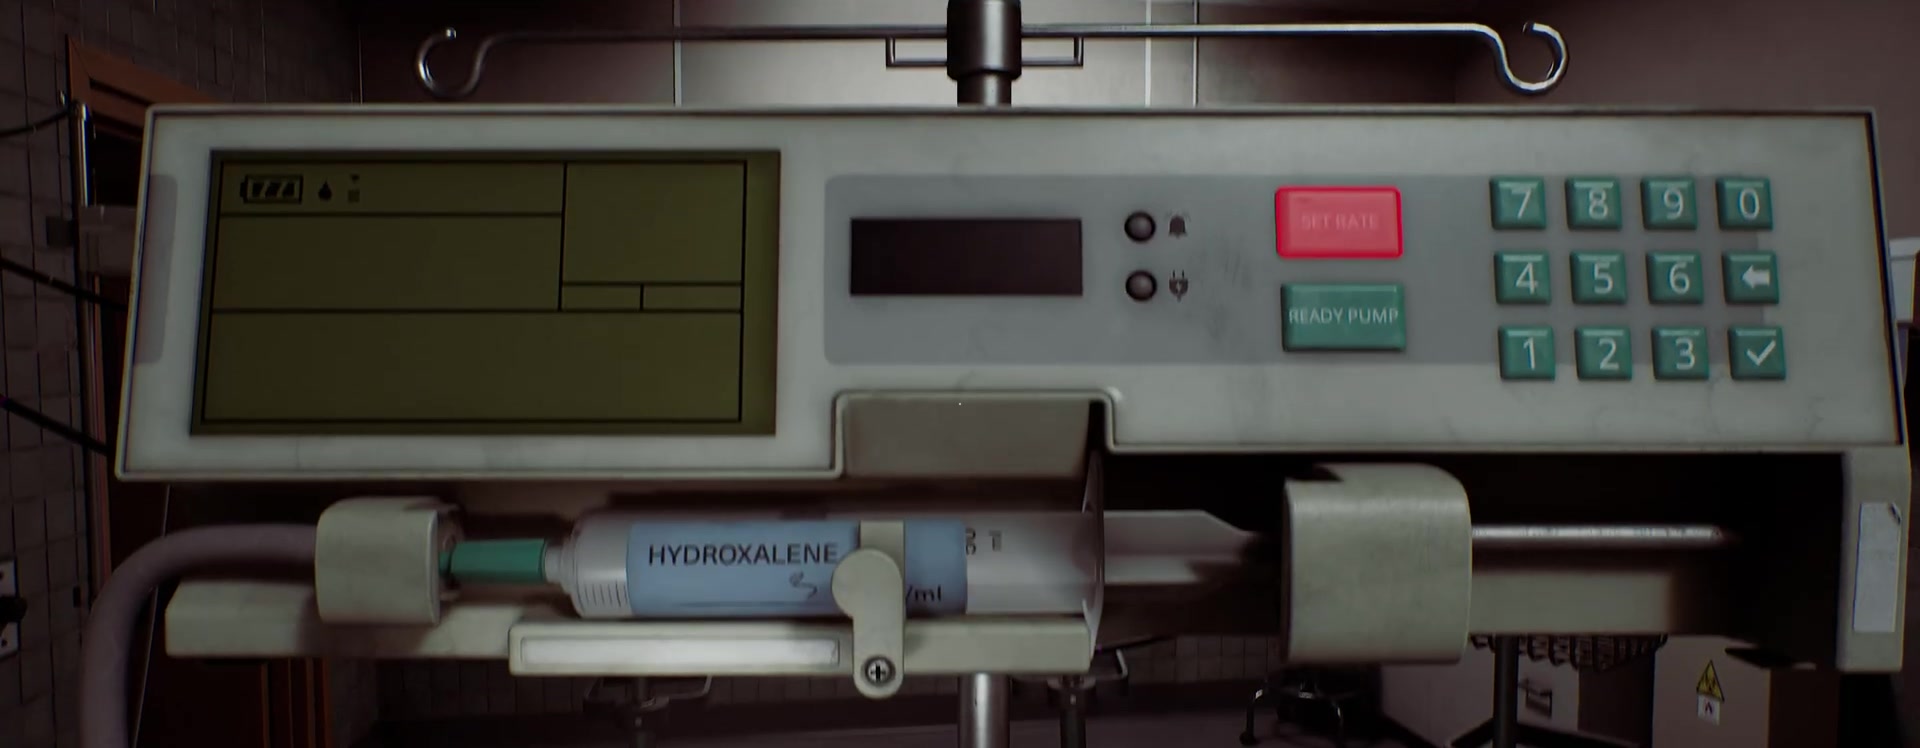
For each pump, first click Set Rate, enter a number, confirm with a checkmark and then Ready Pump.When all three are ready, activate the small console to the left of the bed.
Intubation kit and Zoe's final procedure
Dr. Glenn reports the vault number - 5353.Call from reception, then go down to the Victoria Ward basement.In Storage, go through the gap between the cabinets and pick up Medical Intubation Kit.
Returning to the patient, begin intubation.Look for areas where the image is flashing red and hold down the enter button.The order is fixed: right side → bottom left → top.After a successful procedure, Zoe The Patient's chapter ends.
If you have never used a heal for Zoe since the beginning of the Zoe section, a separate Save It For The Patients challenge will also count here.It is not necessary for a normal story playthrough.
Chapter 8. Many Into One: the hospital is changing
Control returns to Simon.In the modified Medical Center, use the code again 7103 on the Surgery door.In X-Ray, Strange Postcard #7 is on the rear rack, and after going through a crack in the wall, the CRTV signal is available for about 28.
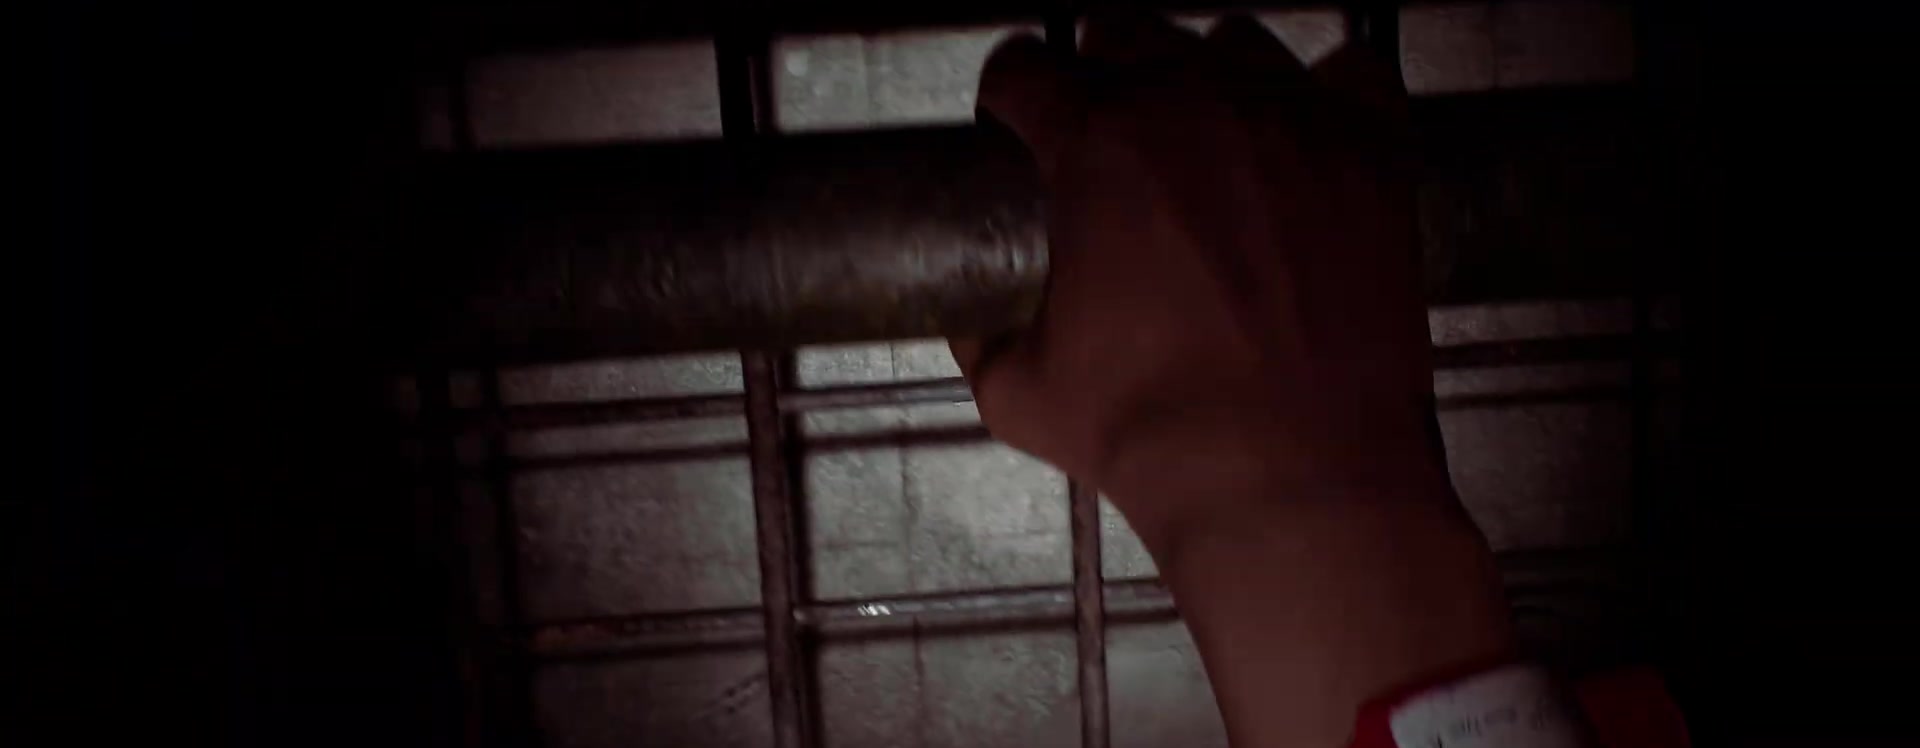
After the ventilation passage, turn left and pick up pipe from a locked door.This is a reliable melee weapon for a long route through the chambers.A little further on, a map of the distorted medical center is taken from the counter.
First blood and transition to Ward S
In the right corridor of the central block, crawl through the ventilation into the room next to the bed and take the blood bag Alan Duncan.Nearby lies the Patient List, which marks the remaining points on the map.
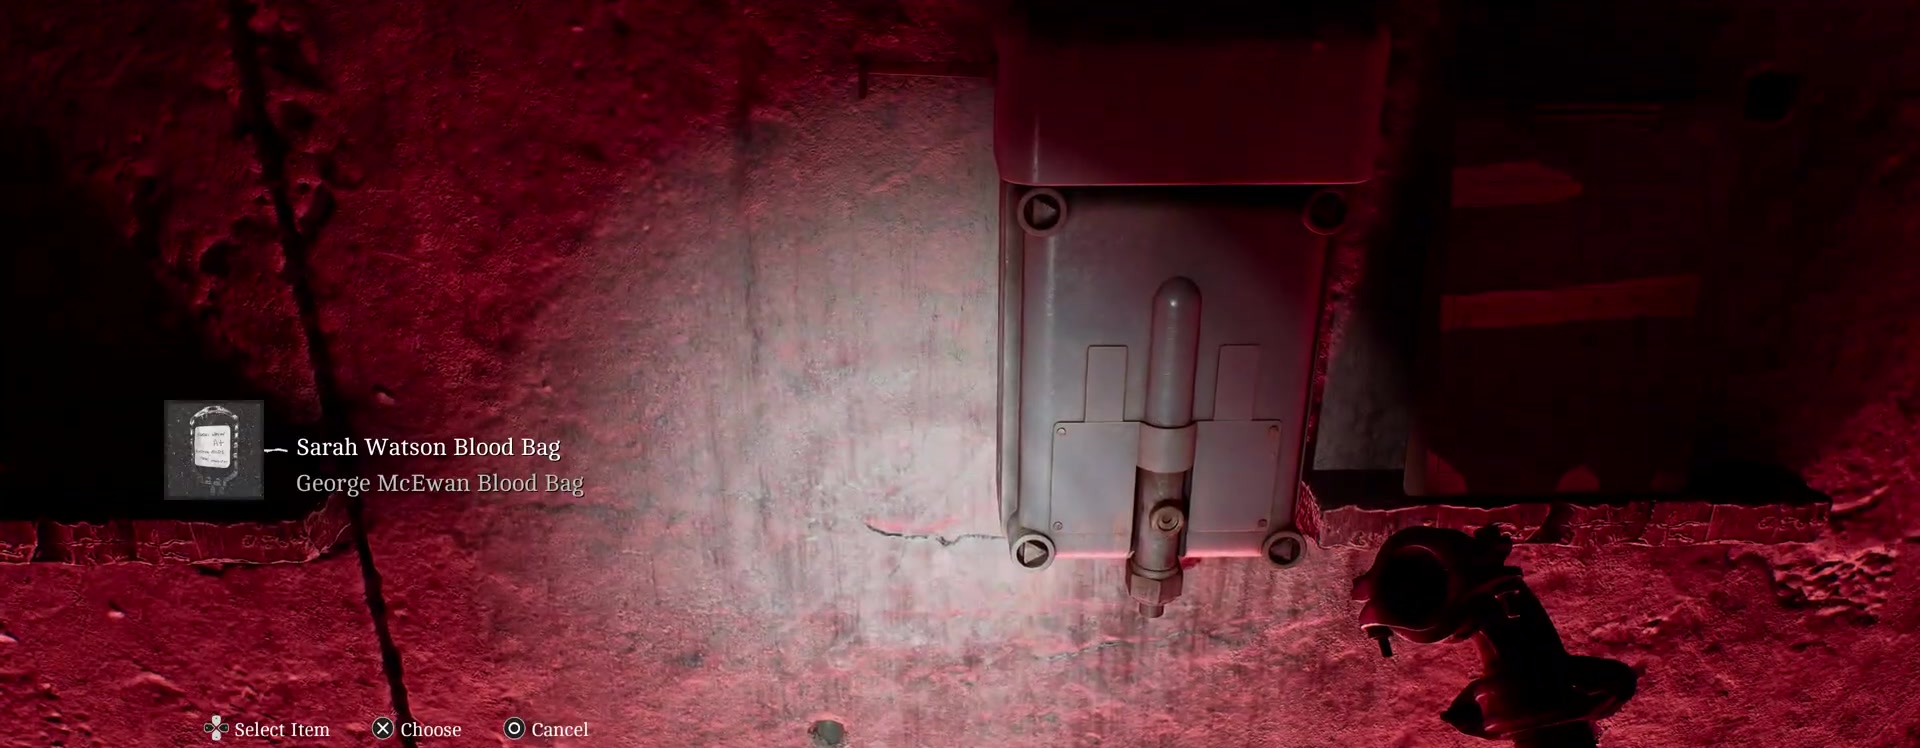
At the door marked S.W.insert the Alan Duncan bag into the transfusion machine and turn on the system.This opens the way to Ward S. On the lower left side of this wing, in room 05, pick up the package Sarah Watson.
Ward W: Master Key and Lockbox Key
In Ward W on the lower floor, go into room 04: on the table is Ward W Master Key.They open rooms 06 and 13. In 06 there is Strange Postcard #8, and in 11 - Lockbox Key.
Through room 13, go up the stairs to upper room 12 and pick up the package Lesley Greer.Now return to Ward S: room 01 is open, and there is a resource container for the found key.
Ward D and Ward P: Matthew Clark Pack
After installing Lesley Greer on the door machine D.P.the route leads to Ward D. In room 03, activate the lift to drop the package Matthew Clark to the lower level.You can’t pick it up right away - the item will end up in another wing.
In Ward P, check room 08 for Strange Postcard #9.Then at the top, climb through the ventilation from room 06, go down to room 10 and collect George McEwan along with the Ward P master key.
Use this key to open 10, 12 and 03. In room 03, the Matthew Clark package is now between the lift doors.After receiving it, you can return to Ward D.
Two valves in Ward D
To exit Ward D, turn the valves in the rooms 05 and 10 top floor.A large enemy is walking in the corridors.Do not try to turn the valve when he is nearby: wait until he goes to the opposite side, or hide in the nearest closet.
Final blood diagram
Returning to the central part, install three packages on the walls: at the first point on the left - Sarah Watson, second from the left - Matthew Clark, to the point on the right - George McEwan.After that, press the switch by the double doors.
The final puzzle revolves around Simon's blood type.His last name, Ordell, is on his medical bracelet.Only compatible lines should go to the center O−, O+, A− and A+.In practice this means connecting the initials to the center T.F., H.M.and S.W..Rotate the circles to straight connections and click ORDell in the center.
If the pattern doesn't confirm, don't rearrange the blood packs again: that's a separate puzzle.First, check that the outer circles produce continuous paths from only the three required donors, and that the extra branches do not enter the central node.The button in the center works only after the correct route.
Before room 204, it is useful to make a last save on an accessible phone.After the next scene, the hospital section ends and there is no regular chapter selection menu.This is the last safe point to check postcards, CRTV and container without falling back to the old file.
After solving use room 204 key on the door at the end of the corridor.Immediately after the next scene, a new large section begins, so before the door, make sure to collect everything you need in the hospital.
How not to get confused in the hospital route
The first half of the section is built strictly around the medical procedure: patient parameters, two x-rays, three drugs, infusion setup, and intubation.If the next door doesn't activate, it's almost always a missed action at the bedside or the item hasn't yet been registered at the workbench, rather than hiding a new code.
In the second half, it’s useful to think not in terms of rooms, but in bags of blood.Alan Duncan opens the first passage, Sarah Watson and Lesley Greer are in the side chambers, George McEwan gives the key to Ward P, and Matthew Clark must first be thrown through the lift and only then picked up from the other side.This order eliminates unnecessary circles between the wings.
Master keys W and P open several doors, so after receiving them it makes sense to immediately check the marked rooms on the map.In Ward W this is where the postcard and Lockbox Key are located;in Ward P - access to the room through which Matthew Clark climbs.After exiting each wing, the game increasingly limits the convenient return.
Before Room 204, check the three section cards, CRTV 28 and the resource container.This is the last point where you can safely consult the map of the changed Medical Center before the plot sends Simon to Clara Woods.
In front of Clara Woods
Check out this section's three Strange Postcards, the CRTV 28 signal, and the resource container.The documents and evidence included in Discoveries are especially important for the normal endings: Townfall takes into account the amount of information found.
Previous part:Zoe and the path to the medical center.In part #4 we will look at Clara Woods, Brae houses, floppy disks, cassette tapes, time changes and the entrance to CEG HQ.
We examined the general structure of CRTV and the role of signals separately in material about pocket TV Townfall.


Sign in or create an account to leave a comment.
Be the first to share your thoughts.