
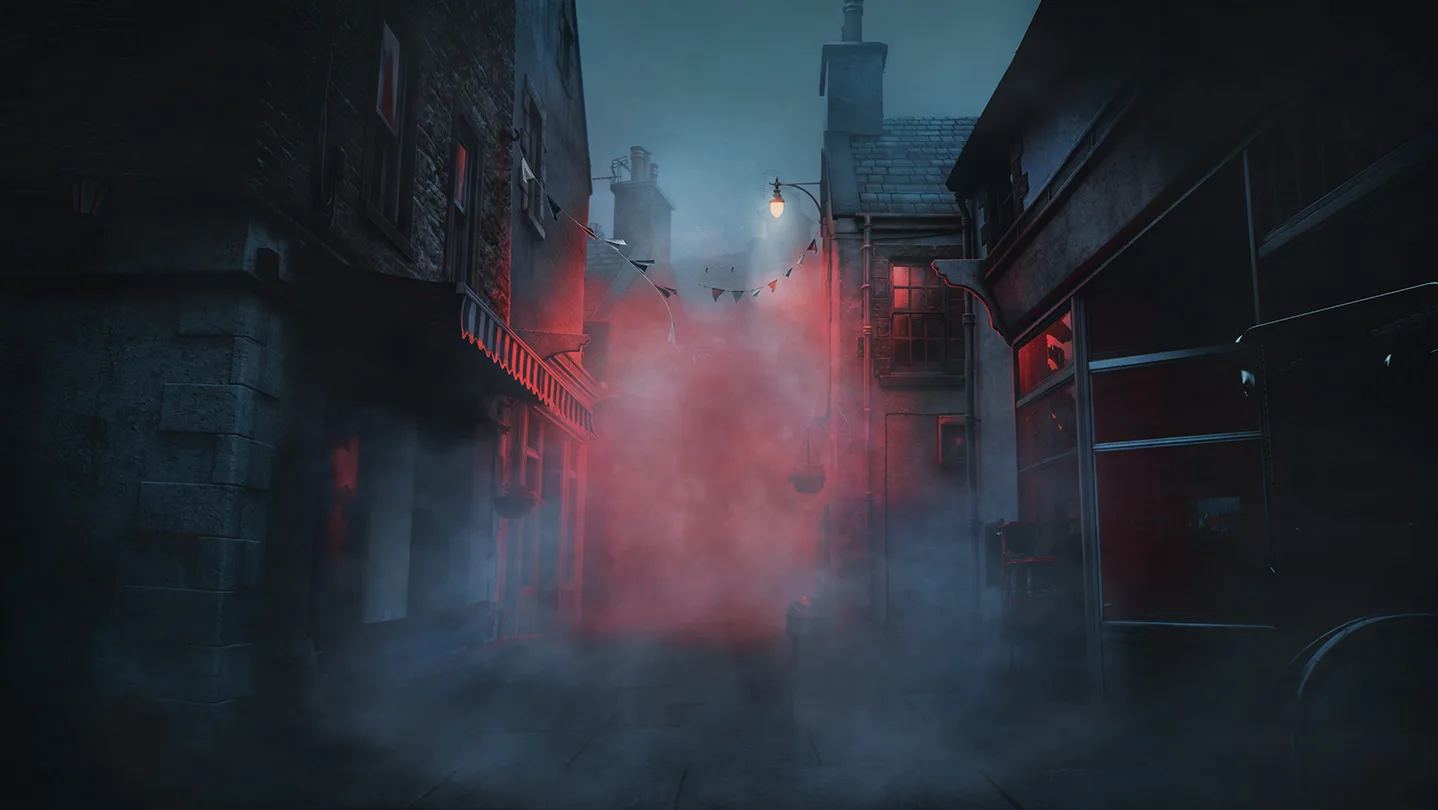
The second part of the walkthrough of Silent Hill: Townfall covers chapters 5–6 of the Zoe section.The game first gives control to Zoey herself and shows a different side of the northern Shorefront, and then brings Simon back, giving him his first firearm and leading him to the medical center.
Spoilers: Let's look at Zoe Rounds and Journey to Medical before moving on to The Patient section.If you collect everything, be especially careful about phone numbers, Strange Postcard and resource container: after changing the area there will be no free return.
Chapter 5. Zoe Rounds: new character and pager
The chapter begins at Zoe's house.Instead of CRTV she has pager, which plays a similar role in threat detection.There is a water warning on the living room table;The number of the district council is indicated at the bottom of the document 0163 296 0595.Dial it on Zoe's home phone before leaving.
There is one new letter on the computer - Coming Back.Read it before you leave.If you want the Save It For The Patients achievement, you cannot use healing on Zoe in this and the next chapter.On the first playthrough, the condition is optional, but it is worth remembering about it in advance.
If you go without treatment, do not try to clean up the streets.The pager warns of enemy proximity, and the Shorefront layout leaves plenty of detours.Keep the bottles for areas where the enemy is standing right on the right door: rushing into the opposite alley buys more time than risky running in front of it.
Zoya does not have the task of collecting all the ammunition in the area, so it is better to conduct research in short loops: first the story house or store, then a telephone or document nearby, and only after that move on to the next quarter.This way you don't have to return through a street already populated by enemies.
Community Gardens: code 1993
Go to community gardens.The flowerbed bears the name Jane Chalmers and the year, which serves as a code for the barn.Enter 1993.Inside is an obituary and Community Garden Key.Use this key to open the gate further along the garden.
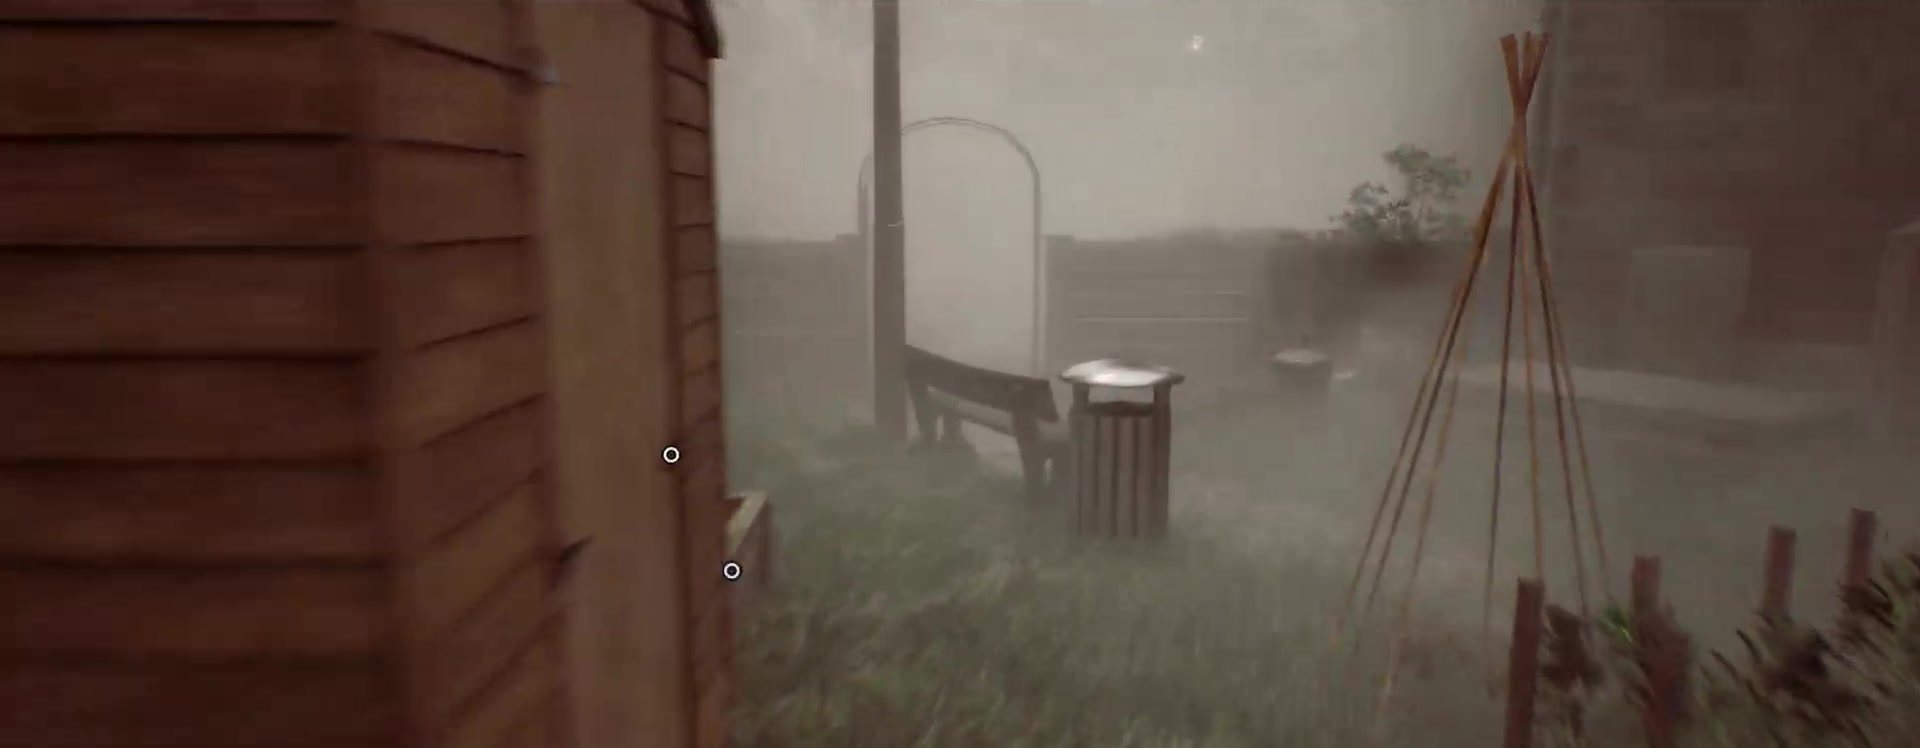
After exiting, the route leads to the northern part of Shorefront.Here the game begins to actively teach you how to bypass enemies instead of directly fighting.Radios, bottles and car alarms allow you to divert the threat away from the passage - it is more profitable to preserve ammunition and health.
Mr Stewart's House
Inside the house, check the living room table and telephone corner.Zoya's number is written in the folder next to the answering machine - 496 0103.From this moment on, switched-on radios appear in the environment: they distract opponents and allow you to pass through the room without risk.
After your first full encounter with the monster, return to the bathroom.To the right of the bath lies Mr Stewart's key.They open the back door, through which Zoe exits back onto the streets of the North Shorefront.
Road to the medical center: car and telephone puzzle
On the way back to the clinic, the car alarm goes off.Remember the mechanics: a bottle, a brick, or hitting a car can set off the alarm and pull the enemy towards you.On narrow streets this is often safer than trying to run alongside.
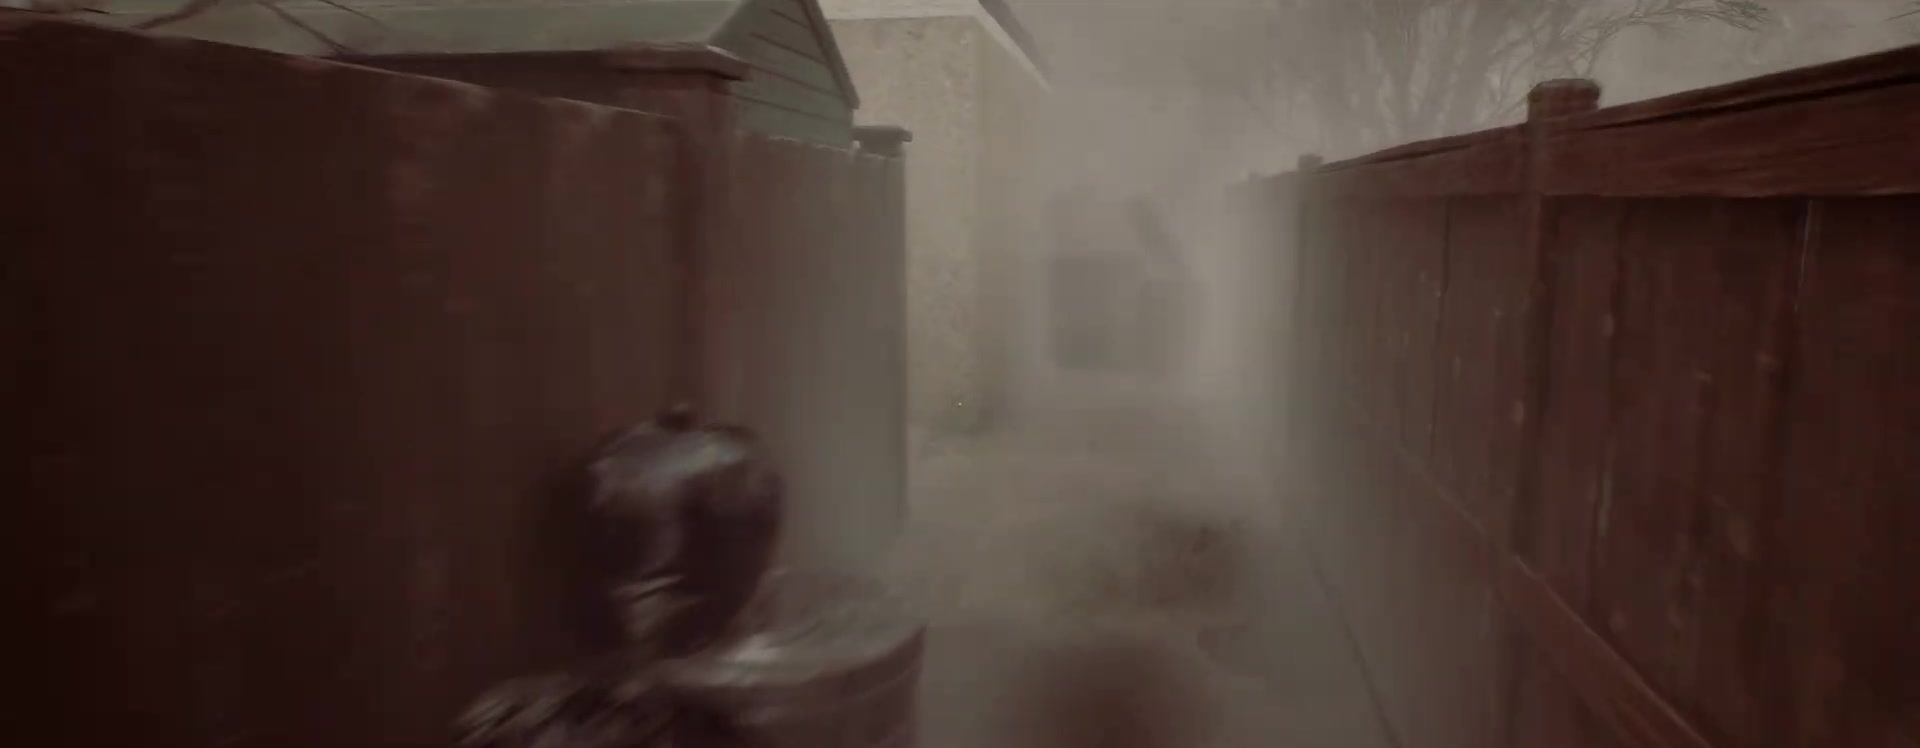
In front of St.Amelia Medical Center examine the paper on the window of the security booth.She gives the number 496 0556 for D. Glenn.Go back to the phone booth and call.In the voice menu, press successively 3 → 2 → 2 → 1.After this, the path to the territory of the medical center becomes clear.
There are two useful documents in the medical center parking lot: one on the first table on the right, the second in the far tent.In the garage, go into the office and press the button next to the phone: it opens the gate on the side of the building.This concludes the Zoe Rounds chapter.
Before pressing the button in the garage, it is worth completing the inspection of the parking lot.Community Help Needed is located almost at the entrance, and Exhausted Supplies is on the bed in the back tent.These documents provide additional context to the state of the hospital and are included in the overall account of information found.After opening the side gates, the route moves on quickly, so it is more convenient to pick them up before activating the exit.
Chapter 6. Journey to Medical: back to Simon
Simon leaves the clinic.Immediately after the chapter begins, set the CRTV to approximately 63.Then go to the city square: in the box is pistol.When the game asks whether to take a weapon, choose Yes is not a cosmetic choice, but rather a trigger for Shorefront to enter an altered state, necessary to continue.
Don't waste ammo on every target
The pistol makes encounters much easier, but Townfall doesn't turn into a shooter.If the enemy can be distracted or bypassed, it is better to save ammunition.The bottle can be thrown up and shot in the air for a separate achievement, but this is not a required part of the route.
Get used to the two distances right away.On medium, the pistol is suitable for stopping the enemy when the passage is too narrow;at long range it is better not to engage in combat at all and use an alarm or throw.Townfall often places ammo to compensate for mandatory encounters rather than completely clearing every yard.
If you want to perform the Pull! trick, save at the phone next to the pharmacy.Find a bottle a little further down the street, throw it almost vertically and shoot it in the air.After the attempt, you can reload the save if you do not want to waste ammo on an optional task.
The Wynds and Flemington Street
In the northern area, look in the alley west of the phone booth at The Wynds.At the bottom of the stairs next to the shoes lies Strange Postcard #5.After this, head to Flemington Street and use the scalpel on the familiar rusty door.
The road leads to a residential building south of the medical center.On the first floor, read the Scaffold Notice, then go up to apartment 1/1 of the second floor for a handwritten note.On the same floor there is a radio with a CRTV signal for approximately 25.
Computer and photos
On the third floor, the door to apartment 2/2 is opened with a scalpel.Turn on your computer and read the top Note.txt letter.Then go into the kitchen and turn on the printer - the indicator should turn green.Go back to your computer, open Photo1.jpg and Photo2.jpg and send both photos for printing.Remove the sheets from the printer.
You need to print both photos: simply opening the files on your computer is not enough.After the first printout, wait until the printer finishes and repeat the command for the second file.Hard copies appear in the kitchen and are filed as separate documents.
The scaffolding around the house forms a one-way detour.When you go outside, don't rush to jump: part of the path leads back inside on another floor.This is where the key to the resource container lies, so skipping this entry will force you to abandon the container until the end of the current playthrough.
After exiting the scaffolding and going back into the building, you will find yourself in another part of apartment 1/1.Lies on the bed in the room with the enemy Lockbox Key.Go up to the fourth floor and open the resource container on the site with them.
Last postcard of the section
Before leaving the house for the final time, go down to the first floor and exit through the back door, that is, away from the medical center.In the last barn on the left lies Strange Postcard #6.After this you can return to the main path.
What to check before The Patient
By the end of the part, Simon should have a gun, printed photos and all the required plot items from the apartment building.For a complete collection, check CRTV signals 63 and 25, two new Strange Postcards and a resource container.
Previous part:Arrival, Zoe's house, clinic and pharmacy.The next part will be entirely devoted to St.Amelia Medical Center: Zoe's work with a patient and the nightmare version of the hospital for Simon.
There is a separate material about the features of CRTV control on PS5: How Townfall uses DualSense for CRTV, weapons and movement.
Check before entering The Patient
In the Zoe section, it's easy to confuse the two characters' plot objectives.For Zoe, you need a pager, a Community Gardens key, and directions through Mr. Stewart's house to the medical center.CRTV and a scalpel are already working for Simon, and after returning to the square a pistol appears.If the weapon is not accepted, the modified version of the area will not be activated and the path will not continue.
For complete collection in this part, two Simon signals are important - about 63 immediately after leaving the clinic and about 25 in the residential building south of the medical center.Strange Postcard #5 is at The Wynds, and #6 is in the sheds behind the same apartment building, but on the other side.
Don't forget to turn on the printer before working with Photo1.jpg and Photo2.jpg.The game considers paper printouts to be separate found documents;opening images on the monitor without printing does not cover this step.The Lockbox Key appears later, after the scaffolding route, and opens a container on the fourth floor.
If you target Save It For The Patients, the condition carries over from Chapter 5 into the next episode for Zoey.Any use of healing in its segments breaks the condition, so saving before a difficult section is more useful than trying to compensate for the mistake later.


Sign in or create an account to leave a comment.
Be the first to share your thoughts.