
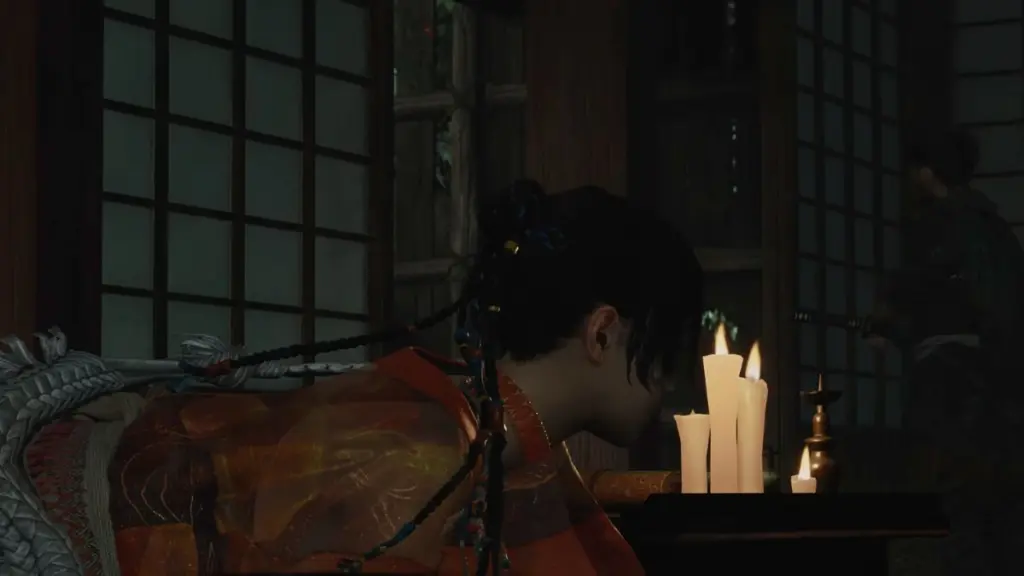
The fifth part of the walkthrough of Onimusha: Way of the Sword begins immediately after the second meeting with Sasaki Ganryu.Musashi returns to Rokudo-Chinnoji and the next story chapter is "Okuni's Kabuki Dance" — takes us to the yet unexplored northwestern part of Kyoto.
This time the main challenge isn't just one big boss, but rather a long chain of fights around the Rifts, contaminated areas, wall runs, and several places where it's easy to miss useful materials.Below we follow the route in detail: from the conversation with Okuni to the scene and the transition to the next chapter.
Spoilers: we analyze only “Okuni’s Kabuki Dance” and do not reveal the events of the next task “Demon on the Mountain”.If you have just finished the fourth part, you can immediately continue from here: we begin the fifth chapter after Musashi returns to Rokudo-Chinnoji.
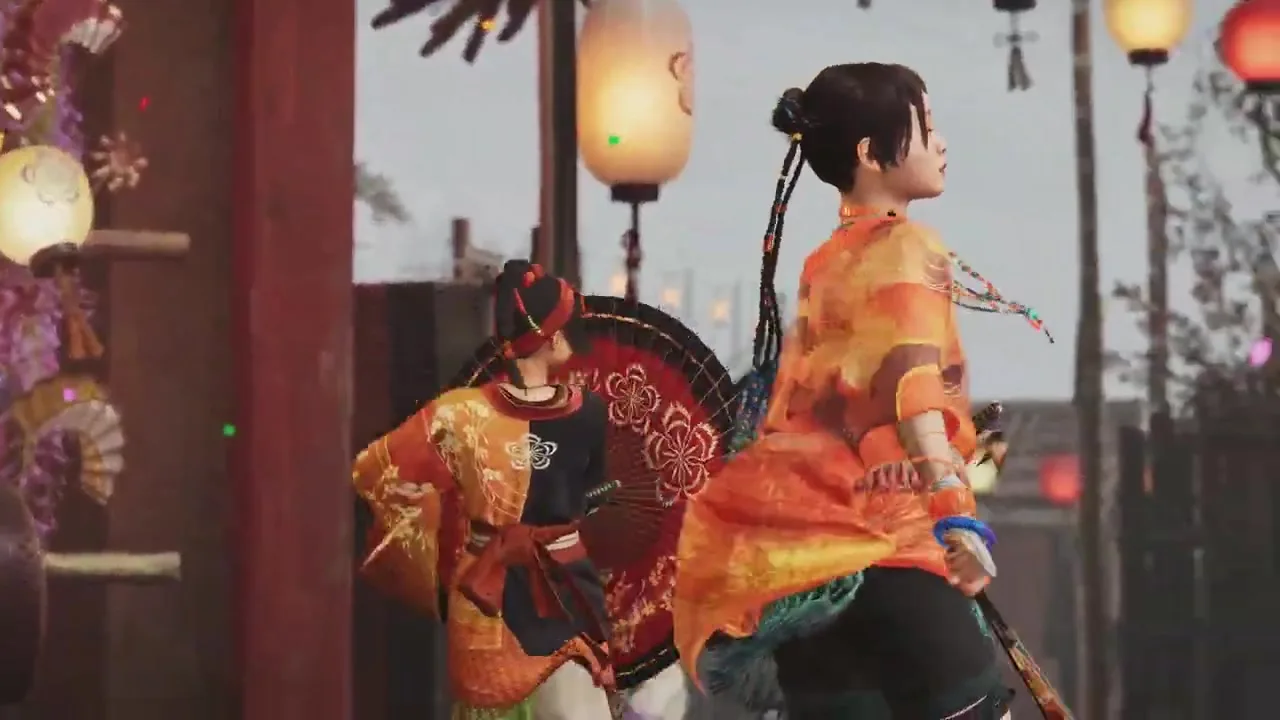
Before the task: what to do in Kyoto
The game allows you to immediately talk to Okuni and continue the story, but before the release there was new side content.If you want to go through the area without returning, look at the map and close the latest events.“Noisy Neighbors” and “Hidden Treasure No. 2” are especially useful: they give additional materials and open chests in already familiar neighborhoods.
Also check the available Rifts again.One of them can now summon Byakue, and the previously closed Rift with Dohatsu-Ten can reappear.The extra Horn of Dohatsu-Ten is needed to upgrade the Oni Gauntlet, so this is one of the most useful optional stops before a new mission.
Before leaving, fill the hozuki pouch, spend red souls and check the Oni Armament.On the shallows there are a lot of battles in narrow places, and some of the enemies will press from above.The Oni bow is again useful here not only as a weapon: it is more convenient for them to break threads and remove targets that are dangerous to get to in close combat.
Talk to Okuni and get to the shallows
Return to Rokudo-Chinnoji and talk to Okuni.After the scene, the target will move to a small sandbank south of the northwestern island.This area used to be practically closed, so follow the marker and the map: the road leads to the river and then goes along floating platforms.
Just before meeting with Okuni, inspect the shore on the right.Next to the water there is a chest with dried hozuki.It lies almost on the main route, but because of the camera it is easy to pass by and immediately trigger the scene.
After the conversation, Musashi will find himself on a new part of the sandbank.Activate immediately Mirror of spirits "Shallows - Entrance".This isn't a formality: there are two long combat zones ahead and several sections over water, so the return point is really useful here.
The first fel plant and the road through the barriers
From the Mirror, take the only open route.The first group of Gemm can be dismantled right away, but do not waste Oni Armament on it - there is a more dangerous area ahead.Near the stairs you will notice a plant that emits filth.Go up to it and destroy it: while it is alive, the area remains inconvenient for battle and some of the passages are blocked.
After the plant, clear out nearby enemies and break the fel barrier By the power of They.Behind it the route leads to the central lane.Head north and turn east as soon as possible.After a short scene, the game throws up more Genma and then forces you to use Oni Agility to run up walls.
The first run takes you to a small island on the right, the next one back to the northwestern part of the sandbar.Don't rush to jump into the water for a shortcut: falling here ends in instant death, and the safe route is always marked by walls along which Musashi can run.
Tower, archer and two weavers: how to open the central passage
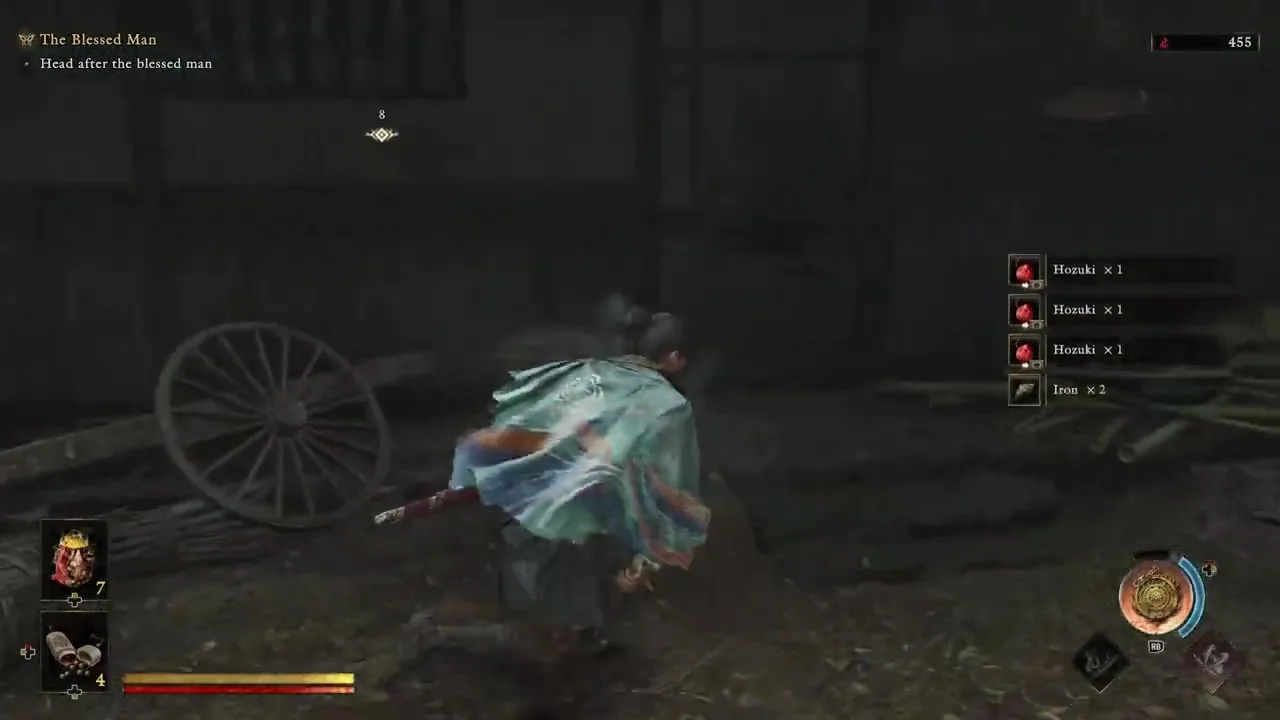
The next open area is unpleasant with a combination of nearby enemies and a shooter on the northeast roof.Don't stand in the center and try to reflect everything at once.First, pull the ground Gemmas towards the cart and planks, using the obstacles as cover, then get to the stairs to the guard tower.
It is better to remove the archer before climbing or immediately after going up: he is capable of knocking down Musashi while climbing.On the top level, destroy another fel plant.This will then open up a new wall run section straight ahead.
Don't miss the chest with iron
Use Oni's Agility and follow the gray wall to the side area.There is a chest here with iron.It's not unique, but by this point metal is constantly needed for upgrades, so there's no point in skipping it.
The central passage is still held by two red threads.Turn on Vision Theyto see their sources.One weaver is located next to the route from the chest, the second is on the tower you just came down from.It is convenient to destroy one source with a sword, the other with an Oni Bow.After both, the barrier will disappear.
It's easy to mistake this place for a dead end: if the gate doesn't open, the problem is almost always not the missing button, but the one remaining thread.Turn on Oni Sight again and trace it to the base.
First Rift: Byakue appears in the second wave
Behind the opened passage, use the walls again and move onto the wooden platform.Next, an open area with red fog will begin.Appears here first plot rift.Before the battle begins, if possible, destroy the fel plant at the edge of the area: this will make it easier to control the arena and not receive constant damage.
The first wave consists of regular Gemmas.Don't waste all your healing on trifles and keep an eye out for distant enemies.In the second wave it comes out Byakue - a familiar heavy opponent with a large axe.
How to pass Byakue safer
Byakue is slower than regular Gemmas, but punishes early parries.Its wide swings can be easily read from the ax itself: once the movement begins, do not press guard too early.If the pattern of the series is already familiar, several accurate Reflections will quickly reduce stamina.
It is better to meet a shoulder jerk and a long run-up by dodging to the side.After a miss, Byakue takes a long time to turn around - this is the best window for Oni Power or a short series.Do not stay in front of him after three or four hits: a response from above can destroy most of his health.
After winning, take it Byakue talisman, finish off the remaining enemies and completely absorb the Rift.As long as at least one Gemma is alive on the site, the closure will not begin.
Thin silk fabric - immediately after the Break
When the barrier recedes, do not run further immediately.Turn west to the chest that was visible during the fight.Lies inside Fine Silk Cloth - thin silk fabric.The material is used in equipment upgrades and is much more useful than a random consumable, so this is one of the chests that is better considered mandatory in the fifth part.
Long wall run and the second Spirit Mirror
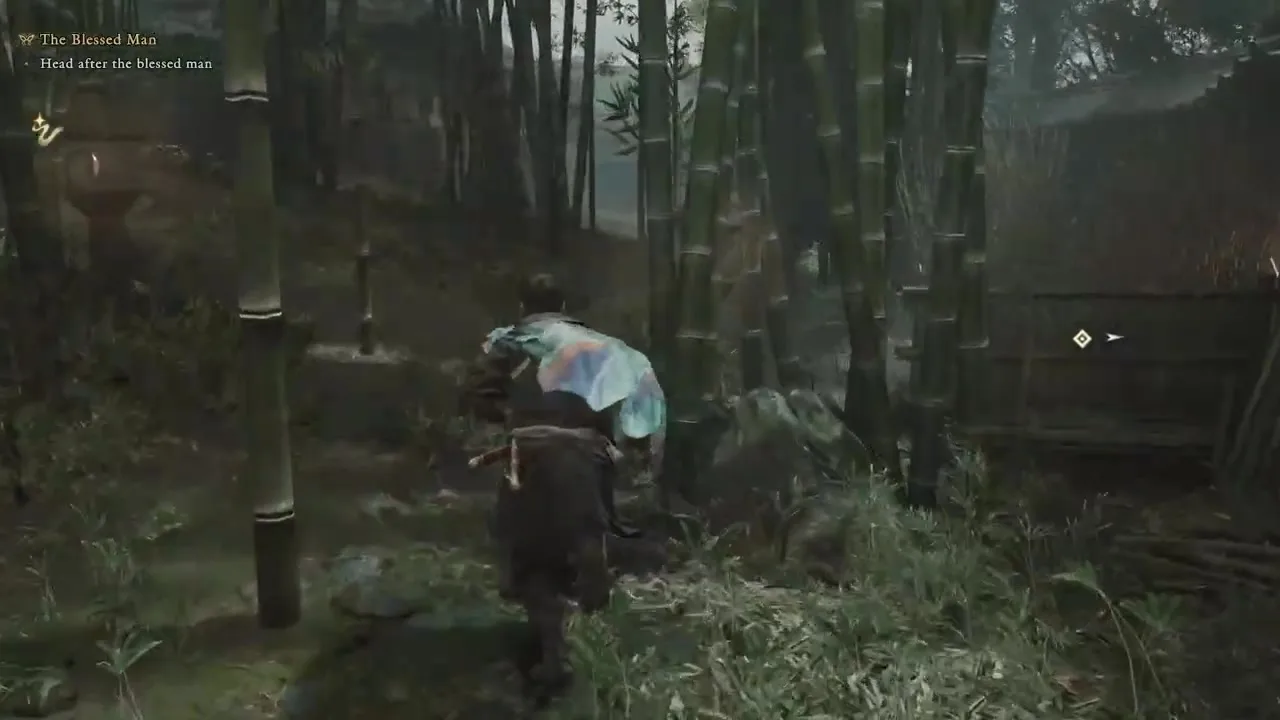
Continue east.There is a long set of walls ahead: Musashi must jump between the surfaces several times without falling into the water.There is no need to linger here for the enemies along the way - aim at the next illuminated wall and keep up the pace.
On the wooden platform after the crossing on the left there will be Mirror of spirits “The Shallows - By the Stage”.Be sure to activate it.The second Rift is located almost immediately after the next gate, and this battle is noticeably harder than the first.
Second Rift: Dohatsu-Ten and Improvement Horn
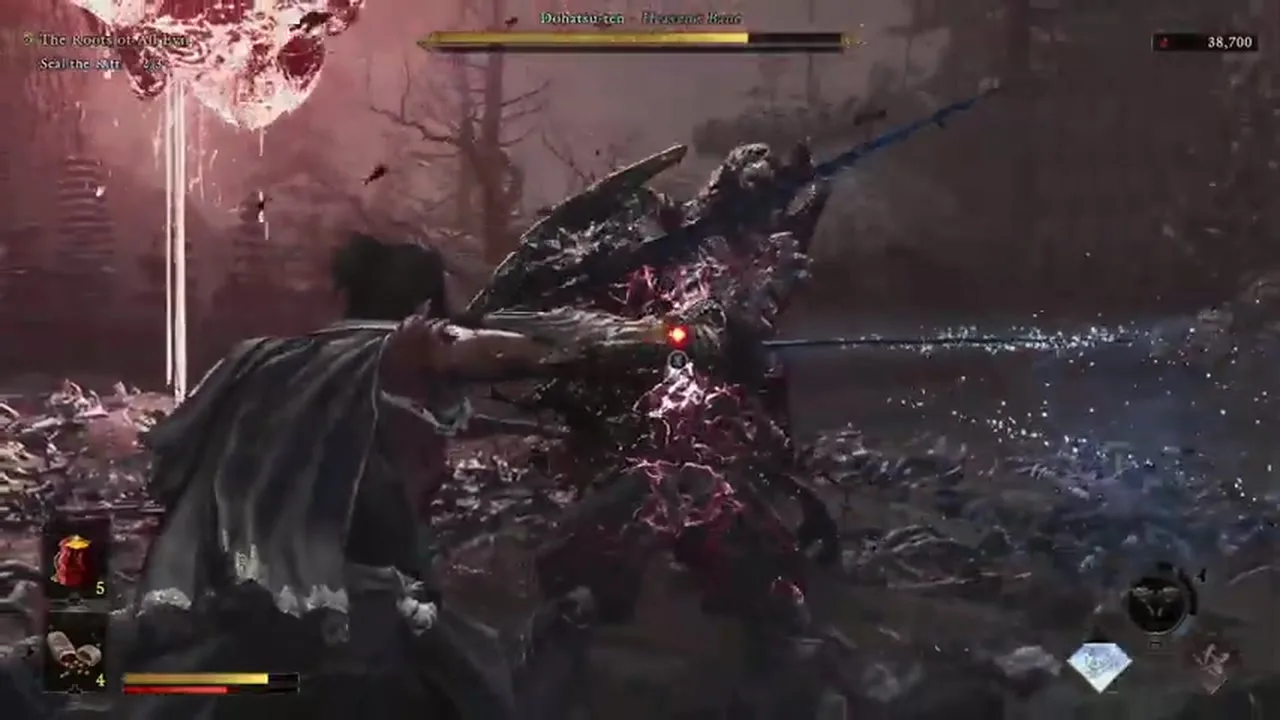
After the gate a large area will open.The second Rift first summons regular Gemmas, and then - Dohatsu-Tena.If you went through the third part with our guide, the set of his attacks is already familiar, but here the battle is complicated by the limited arena and the opportunity to spend resources on previous waves.
Don't run after him after leaving
The main trap of Dohatsu-Ten is a sharp reduction in distance.He moves away a few meters, freezes and then comes back with a jerk.Don't chase him: stay where you are and prepare your defense.This way the camera doesn't lose sight of the boss, and the moment of the next strike is much better read.
Normal sword swings are fine for Reflect.After a successful defense, respond with two or three strikes and go on the defensive again.A close-range kick breaks the usual sequence - it is safer to meet it with a dodge.The jumping attack, on the contrary, is clearly visible and is suitable for Issen if you are confident in the timing.
Long-range energy blades can be deflected back, but don't rush in after the first projectile: the streak sometimes continues.Glowing power attacks require a precise reaction rather than a simple block.If the helmet is still intact, the Oni Power helps to quickly destroy the head protection.
In the second half of the fight, Dohatsu-Ten becomes more aggressive and uses the dash more often.Don't change the plan: let him start the attack first, and Musashi responds after an understandable swing.After winning you will receive Horn of Dohatsu-Ten - another material for improving the Oni Gloves.Then absorb the second Rift.
Tamahagane lies after the second Rift
After victory, the northern passage will open.Walk forward, then move west and look around the edge of the new area.In the chest lies tamahagane - a rare material that is definitely worth picking up before completing the mission.If you immediately run to the final plant, this chest can easily be left behind.
The Last Fel Plant and Okuni's Scene
Now move north and destroy the last plant that emits filth.Afterwards, the red fog recedes from the area, a stage starts, and the path to Okuni's stage becomes clear.There is no need to fully explore each new alley right now - the game will return Musashi here in the next chapter.
Follow the marker and approach the stage.There is no big fight here: Okuni's performance begins instead.After the video, the target will be updated - find it at the next marker and talk again."Okuni's Kabuki Dance" concludes this conversation.
What not to miss in part 5
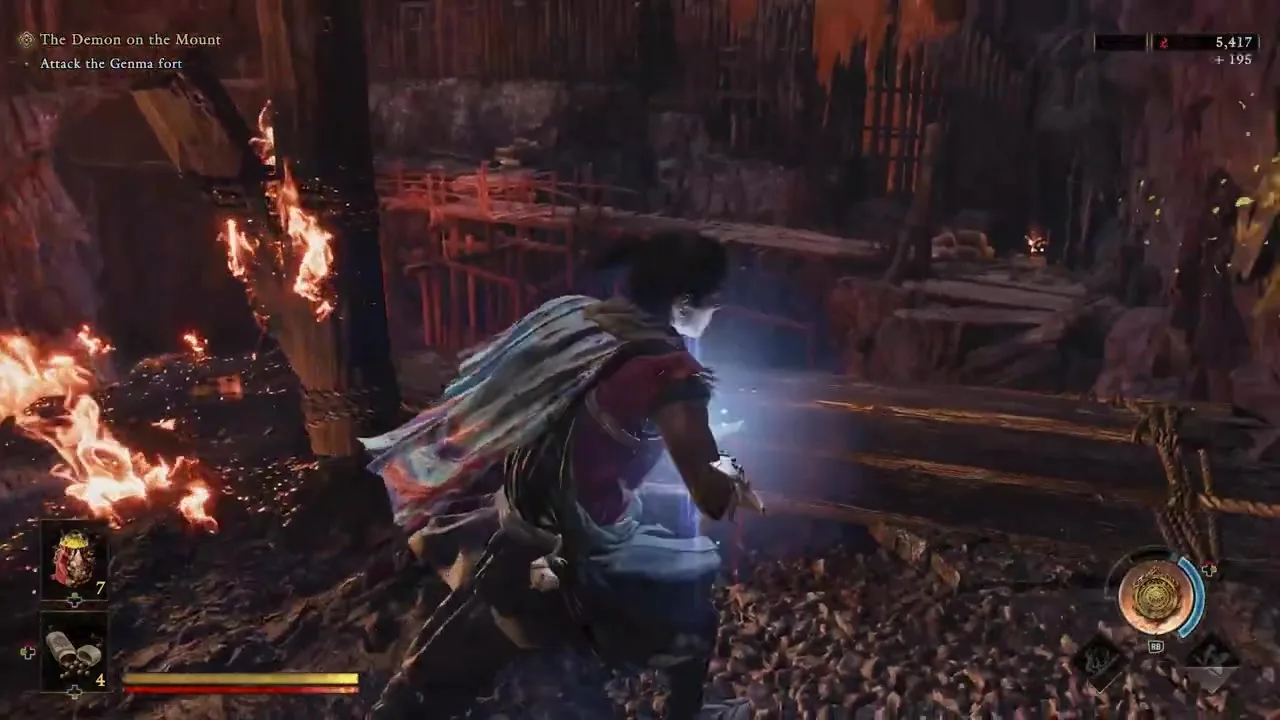
Before moving on to the next story chapter, check that everything has been taken to the shallows.You can return, but it is much more convenient to close the main finds immediately.
- Dried hozuki - a chest near the shore before the first meeting with Okuni.
- Mirror of spirits "Shallows - Entrance" - immediately after starting to explore a new zone.
- Iron - chest after the first long run along the wall near the watchtower.
- Fine silk fabric — a chest to the west of the first plot Rift.
- Mirror of spirits “The Shallows - By the Stage” - before the second Rift.
- Horn of Dohatsu-Ten - reward for the obligatory meeting at the second Rift.
- Tamahagane — chest after the second Rift, until the last fel plant.
What to do before "Demon on the Mountain"
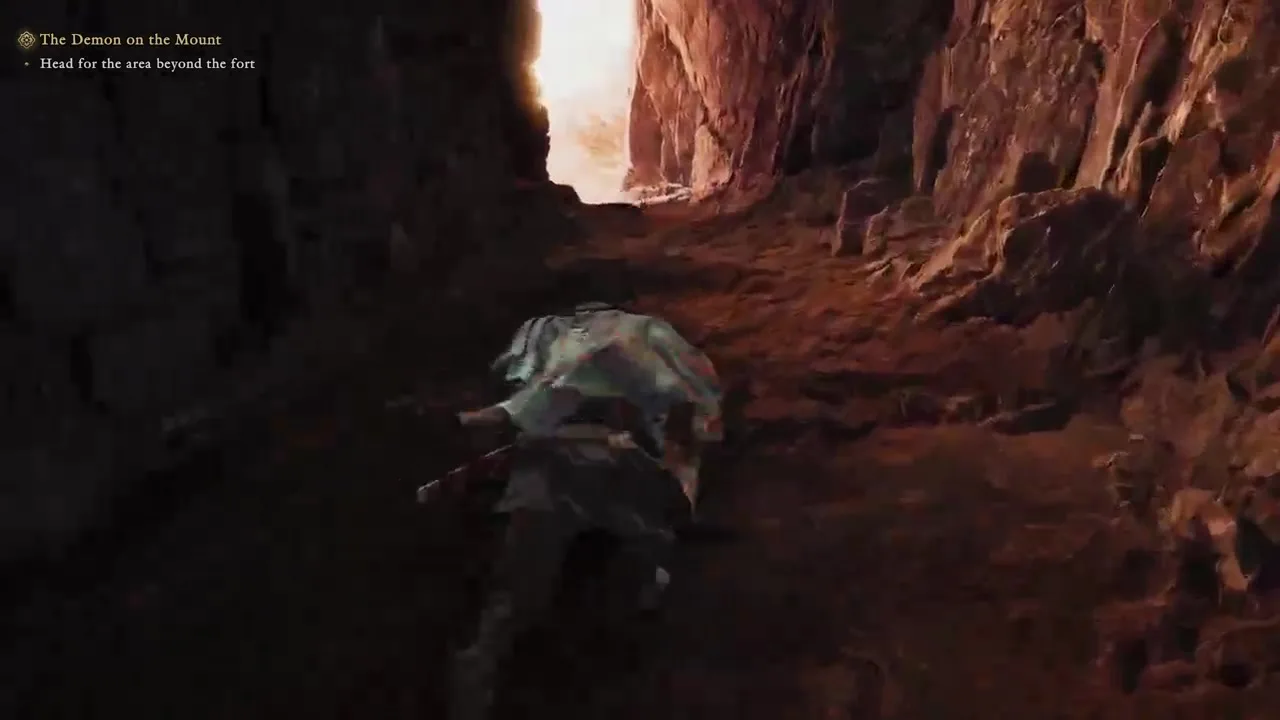
After completing a mission, do not rush to immediately move on to a new goal.Spend Dohatsu-Ten's horn and rare materials, check the Oni Gauntlet, upgrade your main weapon, and refill your healing.The next chapter is noticeably longer and takes Musashi beyond his usual route through the streets of Kyoto.
If you missed the side events before the mission, now is a good time to revisit them through the Spirit Mirrors.“Noisy Neighbors”, “Hidden Treasure No. 2” and fresh Rifts provide materials that are more useful to pick up before the big trip.
Previous and next parts of the walkthrough
Previous part:"Firebird Flute", Burai and the second fight with Ganryu.There we analyze Burai's electric attacks, counterattack stance and the second meeting with Gio and Sasaki Ganryu.
Next part:Mount Oe, Shuten-dōji and Yasaka Rifts.
General material about the game, the combat system and the return of the series is available in large analysis of Onimusha: Way of the Sword.
Sign in or create an account to leave a comment.
Be the first to share your thoughts.