
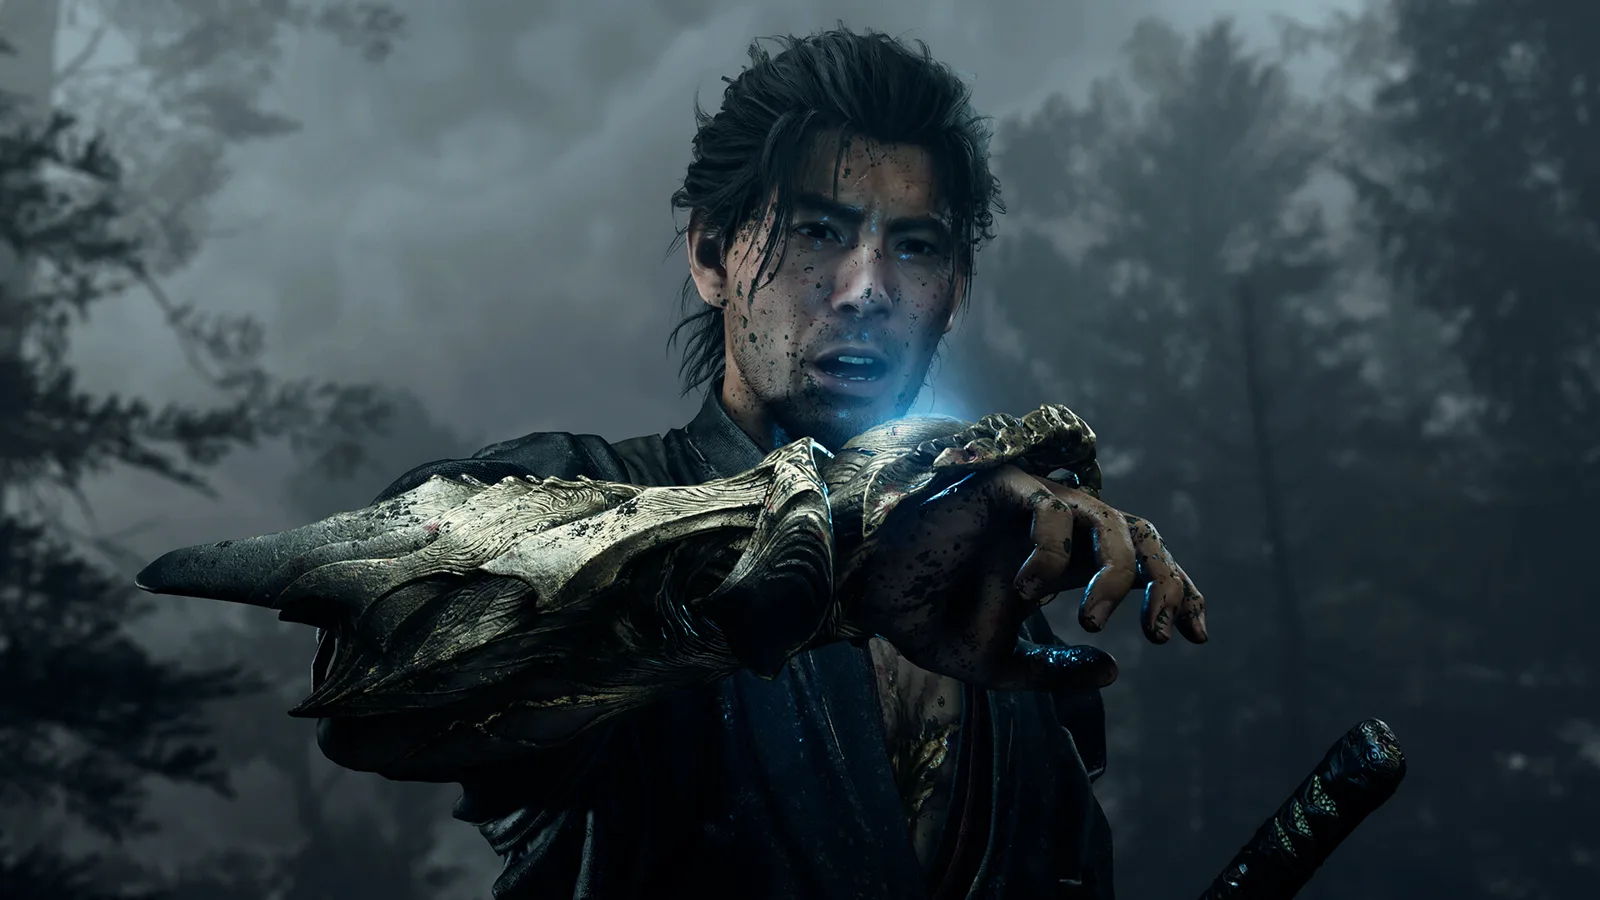
In the first part of the walkthrough, we got to upgrading the hozuki pouch and unlocked Musashi's basic tools.Now the game stops introducing mechanics one at a time and starts mixing them up: in one battle you may need Oni Vision, Oni Bow, Oni Strength, precise dodging and normal camera control.
If you didn't come here from the beginning, The first part of the Onimusha: Way of the Sword walkthrough is here.And if you want to first understand what kind of continuation of the series this is and how it differs from the old parts, we have separate large material about the game.
Spoilers: "Windy Kennin-ji", "Immortal Talent", "What Lies in the Shadows" and the obligatory Kyoto Mystery "Light of Vengeance" are discussed below.We will not reveal the plot beyond this point.
Before Kennin-ji: what is advisable to prepare
There is no need to grind specifically.But before going to the temple, it is convenient to spend the accumulated Power Stones and Oni Stones, improve the sword and clothes and check that the hozuki bag is full.From Armament They are especially useful Wind Whip: There are many fights in Kennin-ji where Musashi is pinned down by several opponents at once.
Also don't forget about the Oni Bow.In the first game, it looked mainly like a tool for puzzles and weak points, but then the game increasingly builds specific boss vulnerability windows around it.
Windy Kennin-ji: how to open the main temple
The fastest way to get there is through the Mirror of Spirits "Kamo River - East".Kennin-ji is located northwest of Rokudo-Chinnoji.Upon entering the territory, do not rush straight to the large door: it is blocked by red threads, and there will be no simple interaction with it.
Turn on your Vision. They are at the main building.The threads diverge in two directions - your task is to find two hidden spiders that hold the seal.
First spider - left side
From the main entrance, go left and keep to the outer wall.Along the way you will meet regular Gemma and flying opponents.The latter are easier to remove with an Oni Bow, so as not to catch attacks from above during close combat.
Further the route leads to a brazier and a small rise with a bridge.Turn Oni Vision back on: the first spider is hidden next to the passage.Destroy it and return to the central part of the courtyard.
Second spider - right side
Now go around the main temple on the right.What's more dangerous here is not the enemies themselves, but the close quarters: two armored Gemas can pin Musashi against the wall.Don't be shy about spending a charge of Wind Whip - mass control is more useful here than trying to perfectly parry three at once.
At the second source of threads, activate Oni Vision and shoot down the spider with the Oni Bow.After destroying both, the seal from the main entrance will disappear.
Boss: Efuu
Ifuu is built around the wind and sudden changes in distance.The first half of the fight punishes you for constantly moving back, and the second half punishes you for forgetting the Oni Bow.
First phase
When Ifuu throws Musashi away with a strong blast of air, a cutting air blade usually follows.It can be reflected back, but if the timing is still unstable, it is safer to block early and not release it too early.
Up close, the boss alternates between sweeping weapon strikes, shoulder rams, and grabs.The weapon is good for parrying and deflecting.It is better to avoid the shoulder by dodging.The grab can be read by the short jump before the jerk - here it is more important not to retreat, but to move to the side in time.
Second phase: get the Oni Bow
The main signal is that Ifuu begins to suck in air and swells up.Don't wait for the animation to end: aim the Oni Bow at the swollen body part and shoot.A hit breaks the move and leaves the boss open to a normal combo.
The same thing works when Ifuu rises into the air and prepares a spin attack.If you manage to hit the weak spot, it will collapse and provide one of the best damage windows of the entire fight.
Don't try to win by blocking alone.At mid-range, Ifuu is fairly predictable: wait out the rush, punish a miss, shoot down dangerous aerial moves with an arrow, and take souls as soon as they appear.
Immortal talent: a short respite before a big location
After Kennin-ji, return to Takamura.The next goal is to meet an old friend at the Yasaka Shrine.There is no need to make your way on foot through closed streets: there is a new fast travel point at the Mirror of Spirits.
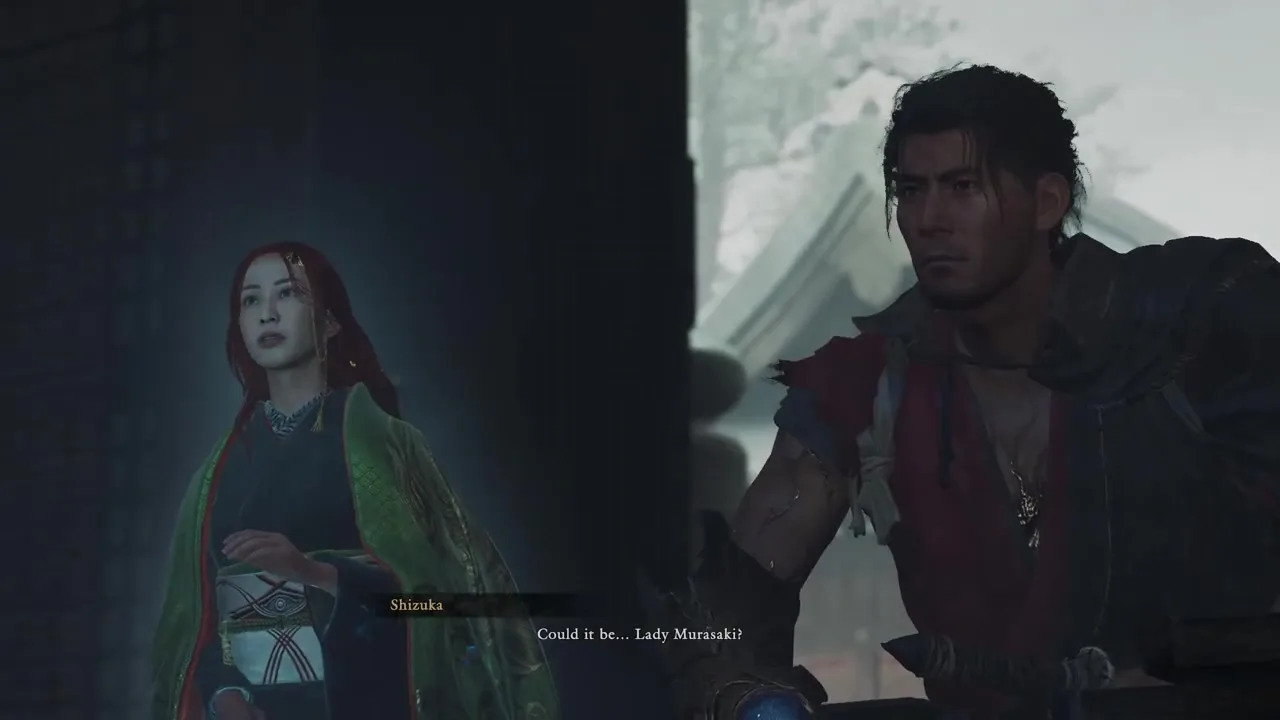
Warp to Yasaka and go to the marker.There Musashi will meet Mrs. Murasaki.This segment is almost entirely story driven, so don't look for a hidden puzzle where there isn't one.After the conversation, “What Lies in the Shadows” will open.
What Lies in the Shadows: How to Start an Investigation at Nijo Castle
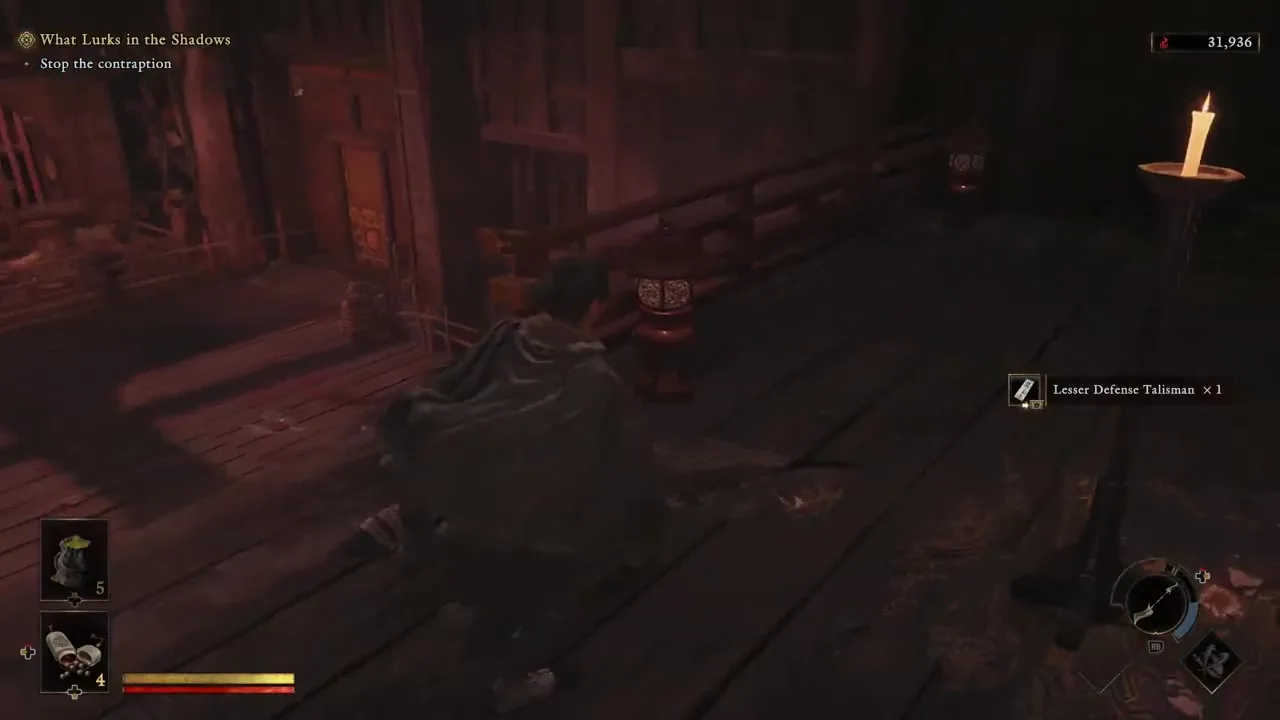
First, talk to Okuni: she will help you get to the desired area.Already on the spot, activate Oni Vision and look not for an ordinary marker, but for large paw prints.They lead to Nue.
When the creature takes off, the chase begins.The route is almost linear, but lightning forces you to move more carefully.Climb the stairs to the roofs, cross to the opposite side, go down into the courtyards and do not linger under the illuminated areas.
In one of the courtyards you will have to simultaneously fight off Gemm and watch out for lightning.The Wind Whip is good here again: it allows you to quickly free up space and not turn the battle into a fight with the camera.
Boss: Nue
Nue is much more mobile than previous major opponents.The most reliable style is to stay at a medium distance and dodge at the last moment, charging a Reflex Combo.
- Don't dodge the jump too early. Nue hangs in the air longer than expected, and the early roll ends with a hit as it exits the animation.
- If the tail covers the body, use the Oni Power. This breaks down the defense faster.
- It is better to damage the tail as early as possible. Oni's bow allows you to target it and remove some of the unpleasant long-range attacks.
- If the tail starts firing projectiles after absorbing souls, they can be reflected back. The main thing is not to lose rhythm after the first reflection.
After the victory, do not relax: then begins one of the longest and most confusing sections of the first half of the game.
Underground laboratory: how not to get lost
At the entrance, be sure to activate the Mirror of Spirits.The laboratory looks like a maze of floors, stairs and side rooms, but the main route is simpler than it seems: almost every closed door requires solving a problem in the next room and going back.
After the elevator, you will quickly run into a door tied with red threads.Destroy the Gemm and examine the niches from which they appeared: the fastening of the threads is not on the door itself.Cut it down and move on.
The next important point is the door with a recess for the mask.Remember it.You don't have a mask yet, so take the stairs on the left and continue the circuitous route.
Second door with threads
In the second large room, clear the lower level first.It is better not to waste exploding barrels unnecessarily: after you cut the threads on the opposite side, a new group of armored Gemmas will appear on the way back.
If the fight gets too close, don't try to keep everyone in frame with a perfect parry.Wind Whip literally buys a few seconds of space here.
Riddle with masks - solution 3 → 4 → 1 → 2
There are four masks hanging in the room with the locked box.Stand facing them and count from left to right.They need to be shot from a bow in this order: third → fourth → first → second.
The hint is nearby: the corresponding masks have different numbers of light holes visible on the partitions.If you want to decide for yourself, count them from one to four.The error does not break anything - the sequence will simply be reset.
After the correct combination, take away A sinister mask and go back to the door we remembered earlier.Place the mask in the recess.
Room with levers
Activate the first lever - a large armored Gemma will appear.His sweeping blows with a weapon are easy to parry, and series without a weapon are safer to survive by dodging.After winning, turn on the second lever, then interact with the central mechanism.
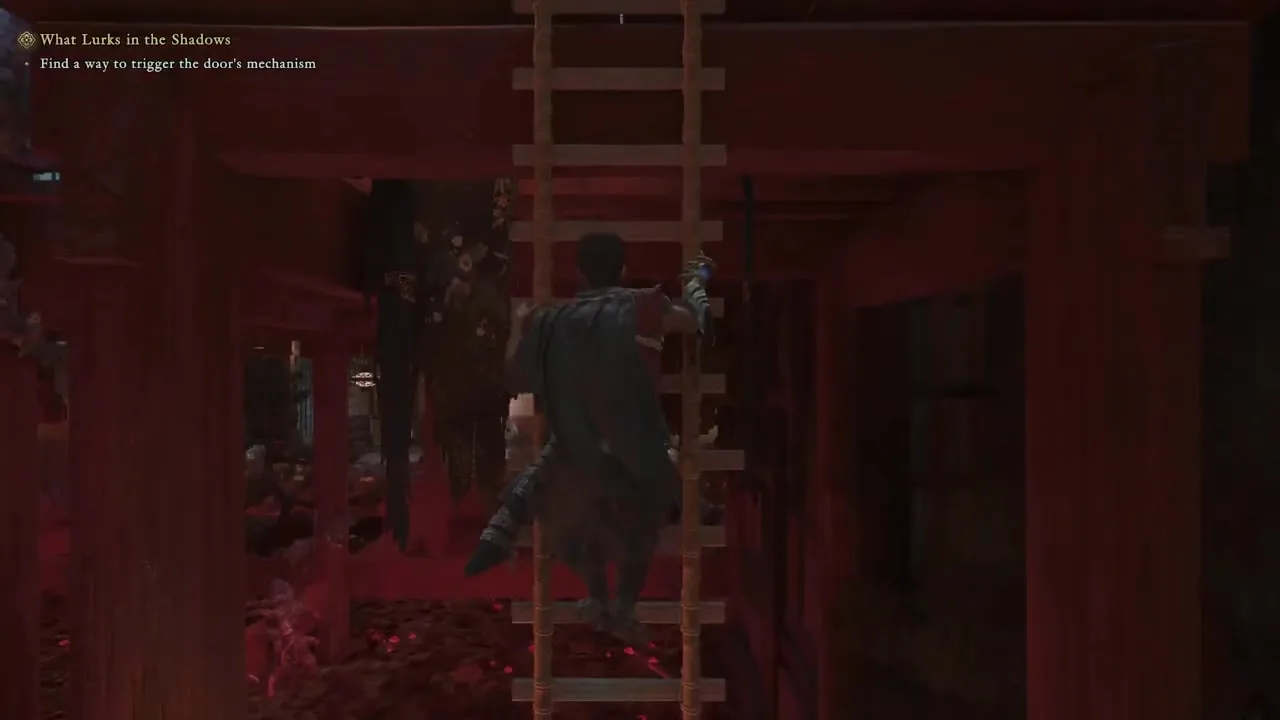
The third door with threads and a trap on the floor below
Along the left corridor, Musashi will fall lower.Clear the room and use the environment - braziers and barrels make fighting with a group much easier.Nearby you can additionally deal with Byakue and get his talismans, but this is not necessary to move through the plot.
Open the path with the lever, go back up and destroy the two sets of red threads one by one.After this, there will be another unpleasant cramped room ahead: two armored Gemm and a reinforced enemy.Don't press yourself against the walls - the camera here is more dangerous than half the attacks.
Giant Saw Trap and New Oni Weapon
On one of the lower levels you will see a key straight ahead.Don't run to him right away.A huge circular saw will begin to descend from the ceiling.
Look up and find the spools of red thread.They need to be destroyed with the Oni Bow.Some targets are covered with wooden shields, so open the lines of fire one at a time.When all fastenings are destroyed, the mechanism will stop.
Take the key and be sure to examine the chest nearby: inside lies a new Oni Armament - Earthshakers.It is especially good at removing stamina from large enemies and will come in handy almost immediately.
Two Nue at the same time
The next big fight tests not reaction, but camera control.Try to see both Nues at all times.If one has disappeared from the frame, do not continue a long series on the second - it is at this moment that a jerk from the side most often arrives.
The most effective tactic is to focus on one opponent and turn the two-on-one fight into a regular duel as quickly as possible.Earthshakers are capable of hitting both and greatly draining stamina, especially if the animals are close.
You can aim the Oni Bow at the tails, but don't sacrifice your vision for the perfect shot.A living second Nue is more dangerous than an unbroken tail.
Imperial Palace and Great Nue
After the next elevator, the route leads to the Imperial Palace.It's getting more spacious here again.Move through the rooms, and when the direct passage is closed, look for a lift to the roof in the area where the archers stood.On the other side, you can jump down to the next large arena.
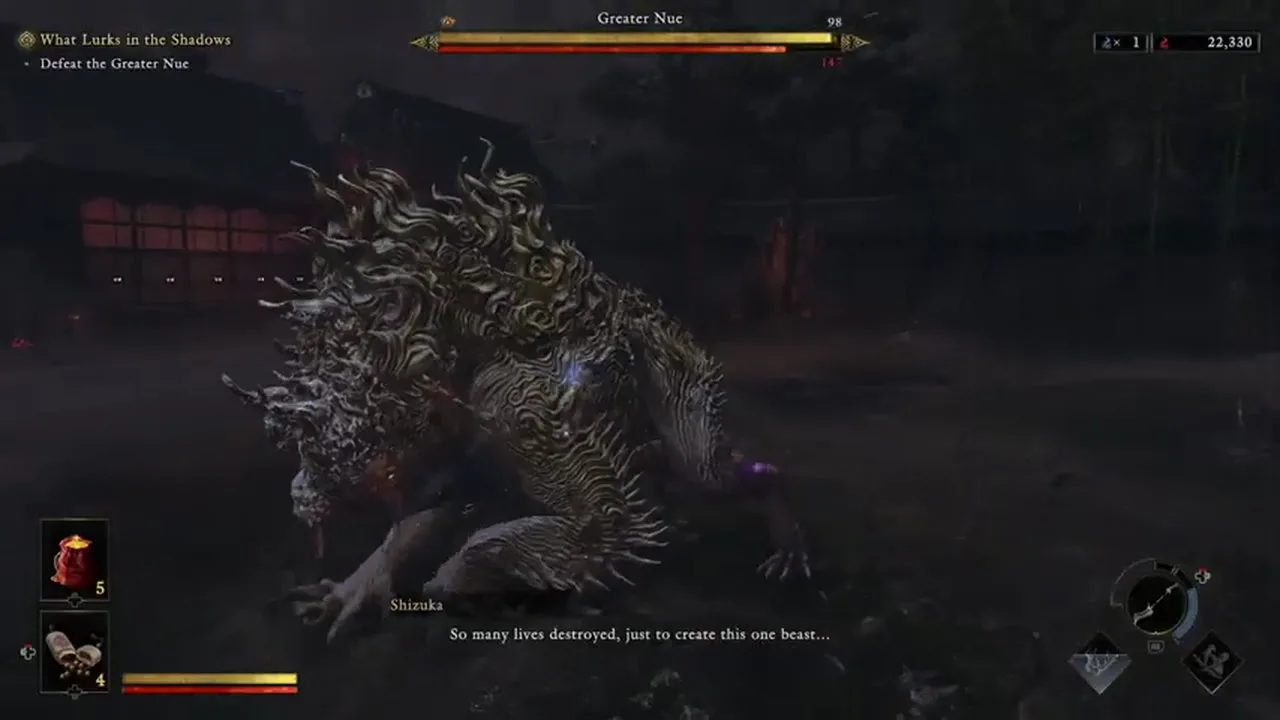
Boss: Great Nue
At the beginning, the head of the Great Nue is protected by armor.It can be broken with regular attacks and the Oni Force, but the Earthshakers do it noticeably faster.
While the boss is running on all fours, it is better to play through short series and dodges.Don't try to guess the continuation of the combination: Great Nue's transitions between blows deliberately look similar.
When he flies high and lands headfirst, that's a good window for Issen.But the main innovation of the battle is pink attacks, from which ordinary dodging does not save you.
- Pink tail swish: parry or use Reflect when hit.Avoidance is not considered the correct answer here.
- Hind foot stance: watch the blades on the forelimbs, not the body.Press protection just before contact.
- Tongue grip: look at the blue tongue.Do the counter move when he almost touches Musashi.
- After running out of stamina: Destructive Issen allows you to cut off the tail.The severed part can then be used against the boss himself.
If the Great Nue manages to absorb enough souls, he is empowered by electricity.Lightning begins to strike across the arena, and some attacks leave electrical traces and exploding spheres.At this stage, don't automatically roll after each swing: you can avoid the claw and walk straight into the delayed explosion.
On all fours, continue to dodge and build up a Reflex Combo.When the boss stands upright, it is more profitable to move on to parry and Reflect - his long series break down stamina noticeably faster if you respond correctly.
After the Great Nue: Hinagiku
Defeating the Great Nue does not end What Lies in the Shadows.After the next story scene, Musashi will have a mandatory short fight with Hinagiku.You can't miss it: this is the last fight of the mission.
There are no fundamentally new mechanics here.Hinagiku uses a familiar set of attacks from a Chijiko-type creature, so don't waste your remaining hozuki trying to end the fight with a long series.Stay at a medium distance, block and parry regular attacks, and avoid grabs by dodging.
After winning, watch the scene to the end.The mission will end, Musashi will return to Lady Murasaki, and the game will unlock the Mysteries of Kyoto and the next mandatory goal - "Light of Vengeance".
Light of Vengeance: The Obligatory Kyoto Mystery
After the events at the palace, return to Lady Murasaki.The game will open the Kyoto Mysteries system, but one of them is "Light of Vengeance" - required to continue the main story.
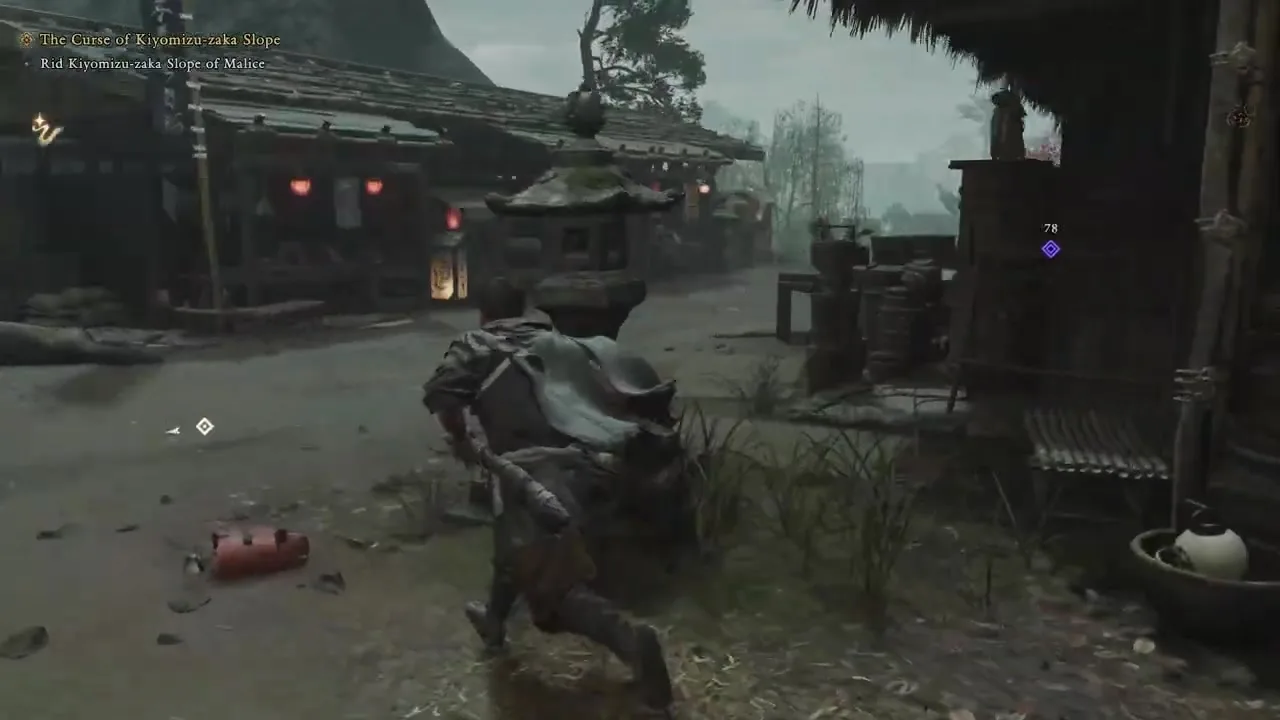
Travel to the Mirror of Spirits on the slope of Kiyomizu-zaka and talk to the alarmed boy.His father went to Kiyomizu-dera and did not return.After the conversation, go to the temple.
Follow the marked area and talk to the man at the shrine.Then follow him to the next point.Additional Fel Barriers can be destroyed along the way, but this is not required to complete the quest.
The rift at the end of Light of Vengeance
At the final shrine, a Rift and two waves of Gem will appear.The first group has a shooter and enemies with shields - don't stand in the center.Take out the ranged threat first, then break the shields with Oni Power.
In the second wave, Wind Whip works well again: its task is not so much to inflict maximum damage, but to turn off part of the group for a few seconds and allow you to calmly finish off a dangerous target.
After the fight, absorb the Rift with the Oni Glove and talk to the man.Musashi will automatically return to Murasaki, and the obligatory Kyoto Mystery will be closed.
What to do before the next part
- Improve the Earth Shakers and test new skills if Power Stones have accumulated.
- Get hozuki and consumables after a long laboratory.
- If you want to tackle the available Mysteries of Kyoto and the Lion Dogs, by this point the map already provides enough fast travel points.
- Don’t put off upgrading the Oni Gloves: the following infected areas will penalize significantly more harshly for low stamina and long battles.
Continued:third part of the walkthrough - Toribeno, Dohatsu-Ten and Benkei.
Sign in or create an account to leave a comment.
Be the first to share your thoughts.