
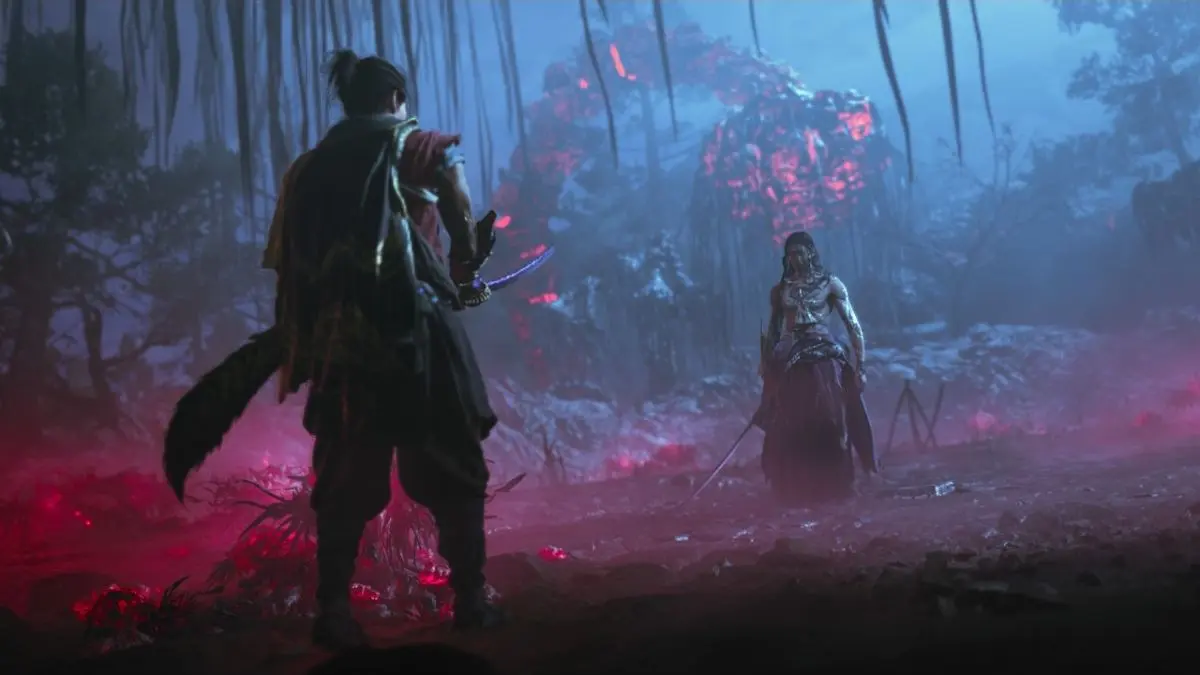
After Toribeno and the fight with Benkei, the game briefly returns Musashi to the familiar areas of Kyoto, but it’s not a quiet stroll.Rifts are now able to strengthen nearby Genma, Ifuu’s older brother Burai is waiting in Kennin-ji, and at the Yasaka Pagoda Musashi again meets Sasaki Ganryu.
If you stopped earlier, go first third part - Toribeno, Dohatsu-Ten and Benkei.General information about the game can be found here.
Spoilers: in this part we fully analyze the events after the Gojo-Ohashi Bridge, two new Rifts, receiving the “Firebird Flute”, the fight with Burai and the second meeting with Sasaki Ganryu.We will not reveal the events of the next task “Okuni’s Kabuki Dance”.
After Benkei: First collect what was unlocked in Kyoto
Don't rush straight to the plot point.After the battle on the bridge, some of the filth disappears, and new passages and several useful rewards appear on already familiar streets.
At the far end of the bridge, activate the Oni symbol.He opens a chest containing a note about Benkei.Then go north and turn towards the shore: in the previously opened infected area you can find an Oni Stone, and in the neighboring alleys - materials for improvements.
At this point, it is especially useful to check two things: the supply of hozuki and the pumping of Oni Armament.The next boss does not require any one required item, but the fight is noticeably easier if Musashi already knows how to quickly remove stamina and does not waste all his healing on mistakes in the first minutes.
New Rifts: They now buff Gemma
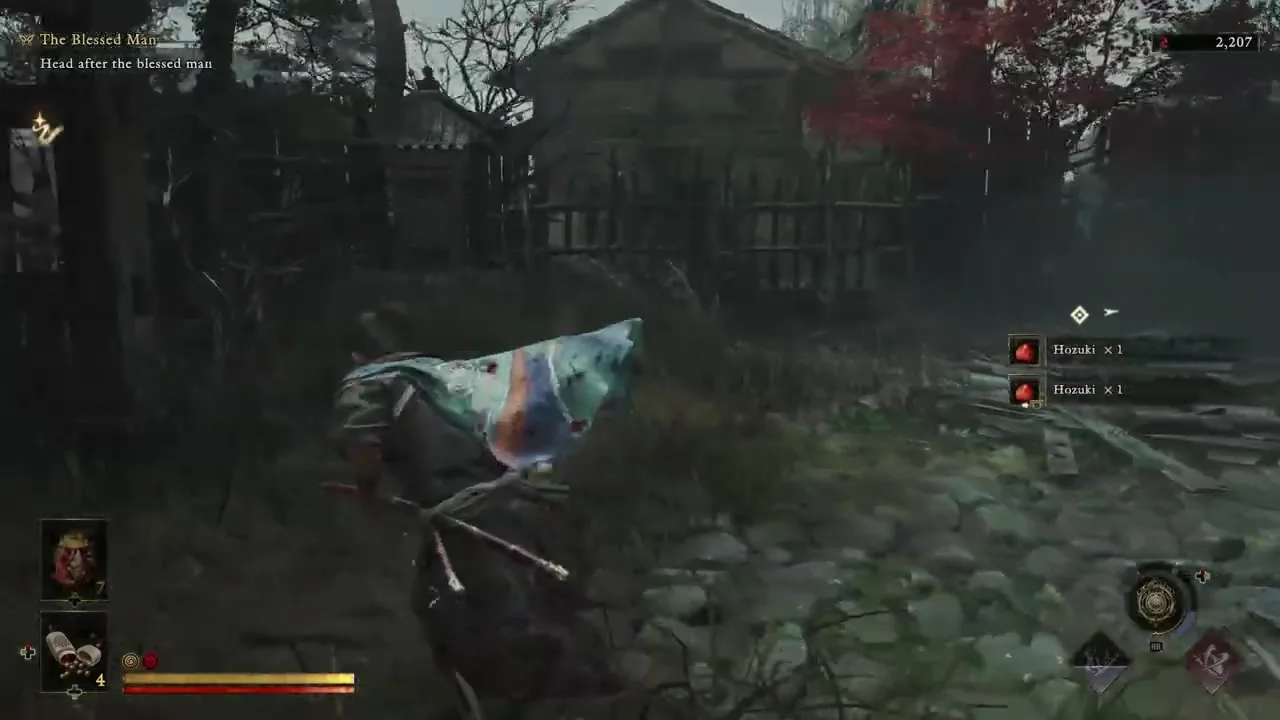
In the southwestern part of Eastern Kyoto is the first obligatory Rift.Here the game introduces a new rule: while the source is active, it is able to strengthen nearby Gemma.
The moment when the Rift begins to transfer energy to the enemy is clearly visible on the screen.Don't just try to kill a reinforced target in close combat.Get it Bow Oni and shoot directly at the Rift - the process will be interrupted, after which you can return to normal clearing.
The first arena consists of several waves of regular opponents.The main danger is not their number, but the attempt to simultaneously monitor the attacking Gemma and the Rift itself.So keep the source in sight and don't move the camera too far into the corner.
Second Rift - south of Toribeno
After the first clear, head to the area southwest of Toribeno.Where the wall of corruption once stood, a new route has now been opened.On the way, use Oni Agility and wall running;Under one of these areas there is a chest with iron.
In the second arena the principle is the same, but the enemies are more dangerous.Take out the long-range threats first - the flying Kubi Akari and archers.If the Rift begins to strengthen the heavy Gemm, immediately knock down the charge with a shot.
After winning, absorb the source with the Oni Gauntlet and examine the chest that appears.It contains the new Oni Armament - "Firebird's Flute".
“Firebird Flute”: don’t put off your first upgrade
New Weapons They should be checked immediately in the development menu.After unlocking the first associated skill, Firebird Flute becomes much more useful against groups of opponents and provides another way to quickly move the battle into a phase favorable to Musashi.
If there are few Power Stones, it is not necessary to completely rebuild the development for a new weapon.It is enough to open a basic boost and leave a reserve for health, stamina, or the already familiar Oni Armament.In Kennin-ji, stable defense is more important than maximum one-time damage.
Storm in the Temple: Returning to Kennin-ji
After speaking with Takamura, head to Kennin-ji.The route is familiar from the first meeting with Ifuu, but on the approach to the temple another Rift will appear.
The wave contains a mix of enhanced Gemma, Kubi Akari, elite archers and armored opponents.Don't stand in the center of the group.Retreat to the edge of the area, take out the flying enemy and shooters, and only then take out the heavy targets.Fire arrows can be reflected back - this saves time and at the same time removes the main long-range threat.
“Wind Whip” here is able to quickly clear the space, but if the battle is going confidently, it is wiser to save the Oni Armament charge for the boss.
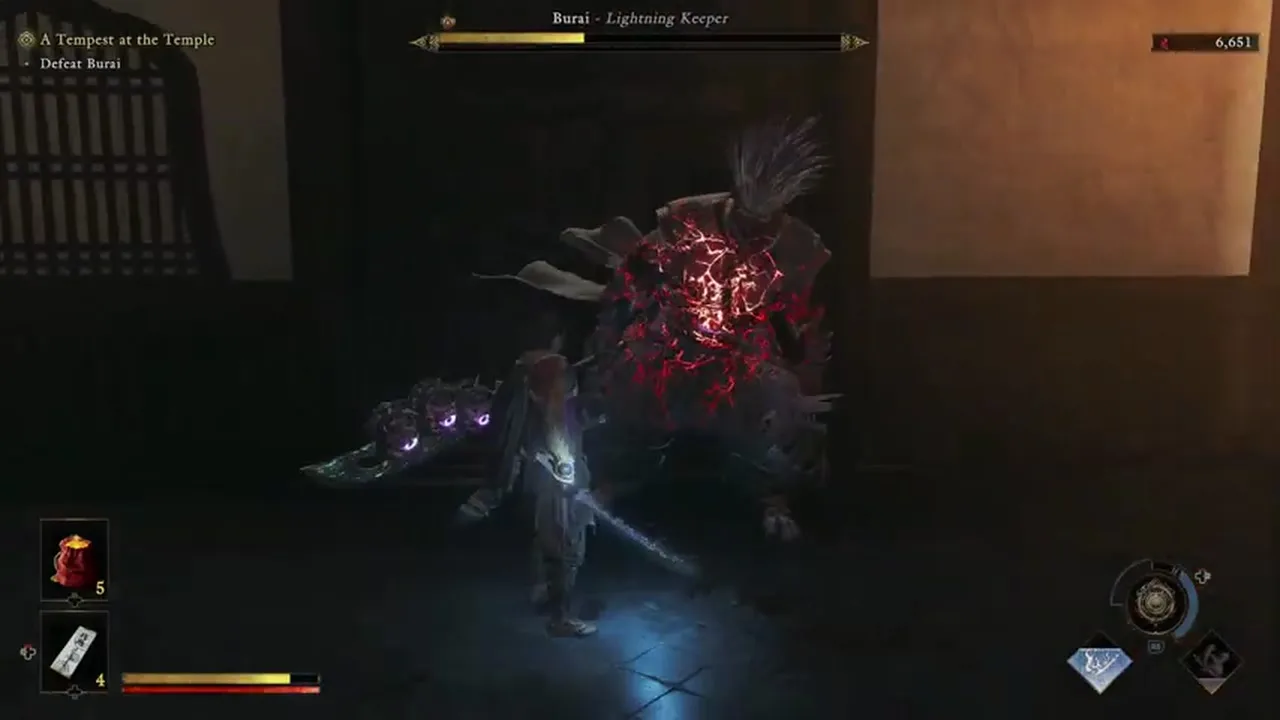
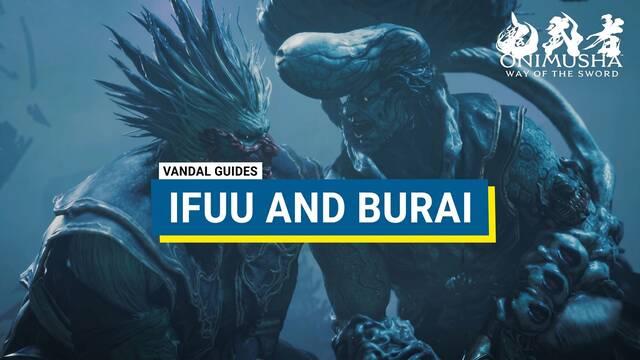
Boss: Burai
Burai is noticeably different from Ifuu.Instead of constantly trying to push Musashi away with blasts of air, the boss combines sweeping strikes from his polearm with electric spheres that detach from him and take up positions around the arena.
The main mistake is to rush to him after each retreat.At a medium distance, Burai himself shows what attack he is preparing, and many of his attacks are more convenient to meet with a defensive action than to try to interrupt.
How to read jerks
From a distance, Burai uses two similar attack entrances.If the weapon is lowered low, the next blow comes quickly - prepare for a parry or Deflect.If the naginata remains raised, the swing is noticeably longer: this is a good window for Issen when the timing is already familiar.
Regular wide strokes also work well for Reflection.But it’s better not to try to parry kicks and other techniques without weapons - dodging is more reliable.
Electric eyes: look not at Burai, but at the formation
Seven spheres behind the boss periodically scatter across the site.If they form two horizontal lines, dodge in stages: first from the bottom row, then move away from the top.Don't do one long roll in advance - a second volley will easily catch Musashi as he exits the animation.
Another option is for the spheres to form a cross pattern above the hero.The easiest way here is to move aside when the electric marker appears.
Second phase: teleportation and counterattack stance
After the first health bar, Burai speeds up and gets a particularly nasty teleportation dash.He disappears and then appears next to Musashi along with a flash of lightning.The technique can be parried, but to do this you need to react not to the disappearance, but to a bright flash immediately before the boss returns.
If the timing is still unstable, stay a little closer.At medium and short distances, Burai less often turns the battle into a series of sudden teleports.
Separately, watch the pose in which he stands on one leg and places the weapon on his shoulder.This counterattack stance.A normal attack at this moment provokes an instant response and teleportation behind the back.Just stop attacking and wait for the continuation.
The heaviest power-up strike begins when the electric spheres gather around Burai and he spins the weapon.Don't be heroic: move away or dodge the ground strike, then punish the recovery.
What to do after defeating Burai
After the scene, return to Rokudo-Chinnoji.Before the next story mission, the game again allows you to calmly engage in side content.
If you haven't spent Power Stones and Oni Stones in a while, now is a good time.The new amulet for strengthening Issen is also useful: more and more often enemies appear who survive a normal counterattack, and bosses provide fewer safe windows.
New small tasks also open up on the map.It is not necessary to complete everything in order to continue the story, but before the second meeting with Ganryu, it is worth at least replenishing your treatment and improving your main weapon.
To live is to suffer: let's go to Yasaka Pagoda
After leaving Kennin-ji, a woman approaches Musashi: a tall swordsman has appeared near the Yasaka Pagoda, killing people.The description leaves little doubt who we will meet.
Mark the pagoda on the map and follow the goal.If the streets of Kyoto have already begun to get confused, use the Johari Shard - a golden light will lead you to the right passage faster than trying to remember every lane.
Before the arena, restore the health and charge of the Oni Weapon.The second fight with Sasaki Ganryu is familiar in its basics, but now he has a new source of attacks - Gio.
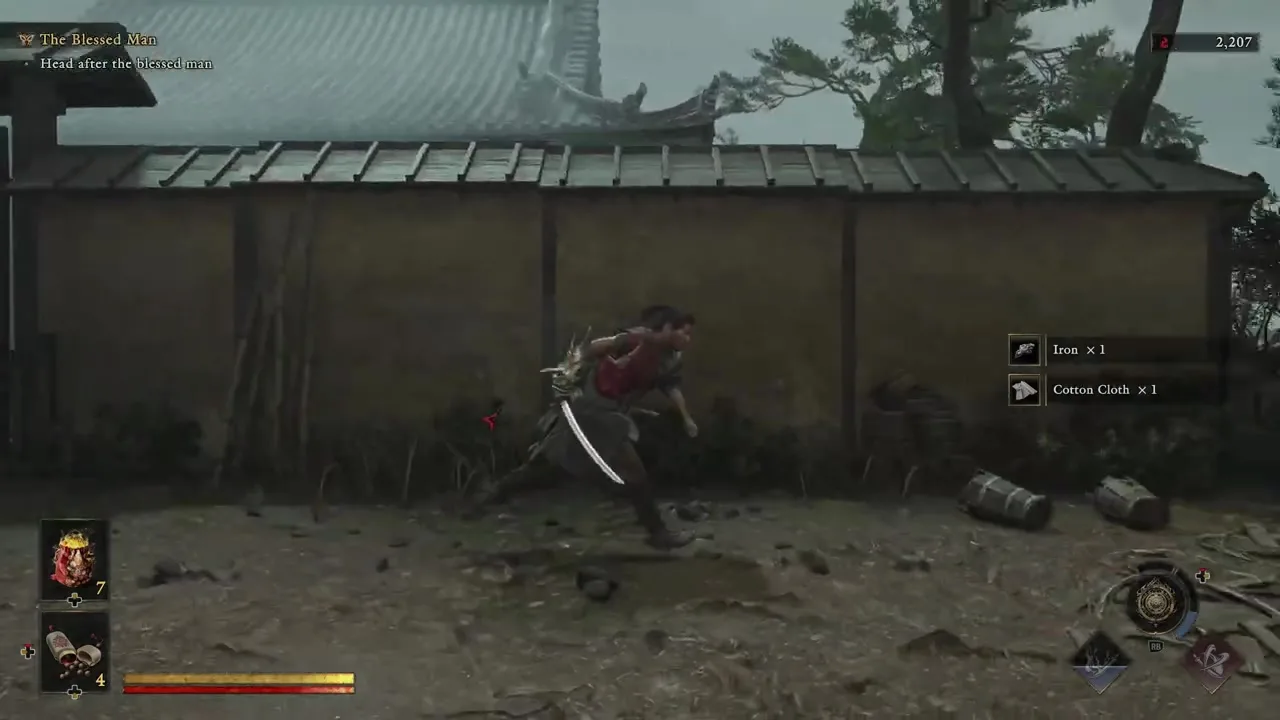
Boss: Sasaki Ganryu - second fight
Ganryu himself retains most of the same set: fast sword series, piercing lunge, dashes and jumping attacks.Therefore, the old principle still works - do not spam attacks, but force him to open up after his own attack.
The problem is that now Ganryu is on his back Gio.Extra hands interfere with familiar sequences with an unusual delay, making trying to parry each blow in a row noticeably more dangerous.
Get rid of Gio's hands first
When extra limbs extend apart from Ganryu, try to cut them off as early as possible.The fewer active hands, the easier it is to again read the movements of the swordsman himself.
Don't chase the limb all over the arena.Crush Ganryu in short bursts, and destroy the hands when they get close after their own attack.
Capture of Gio
Before the most dangerous attack, Gio's mouth begins to glow blue, after which his head sharply extends towards Musashi.The counter must be introduced immediately before the grab.An early reaction often results in a hit: the animation deliberately takes a short pause.
If Ganryu is standing close, Gio can headbutt without a long grab.This option is easier to survive by simply dodging.
Ganryu Counterattack Stance
If the sword is raised across the body and begins to glow blue, do not hit with a normal attack.This is preparation for a counter move.Works well here The Power of Oni: it allows you to break the prepared defense and regain the initiative.
Issen is still most comfortable using his familiar attacks: the stabbing thrust, the jumping sword strike, and the slow, sweeping swings.It is better to take quick series with Gio by blocking or dodging if the pattern has not yet been remembered.
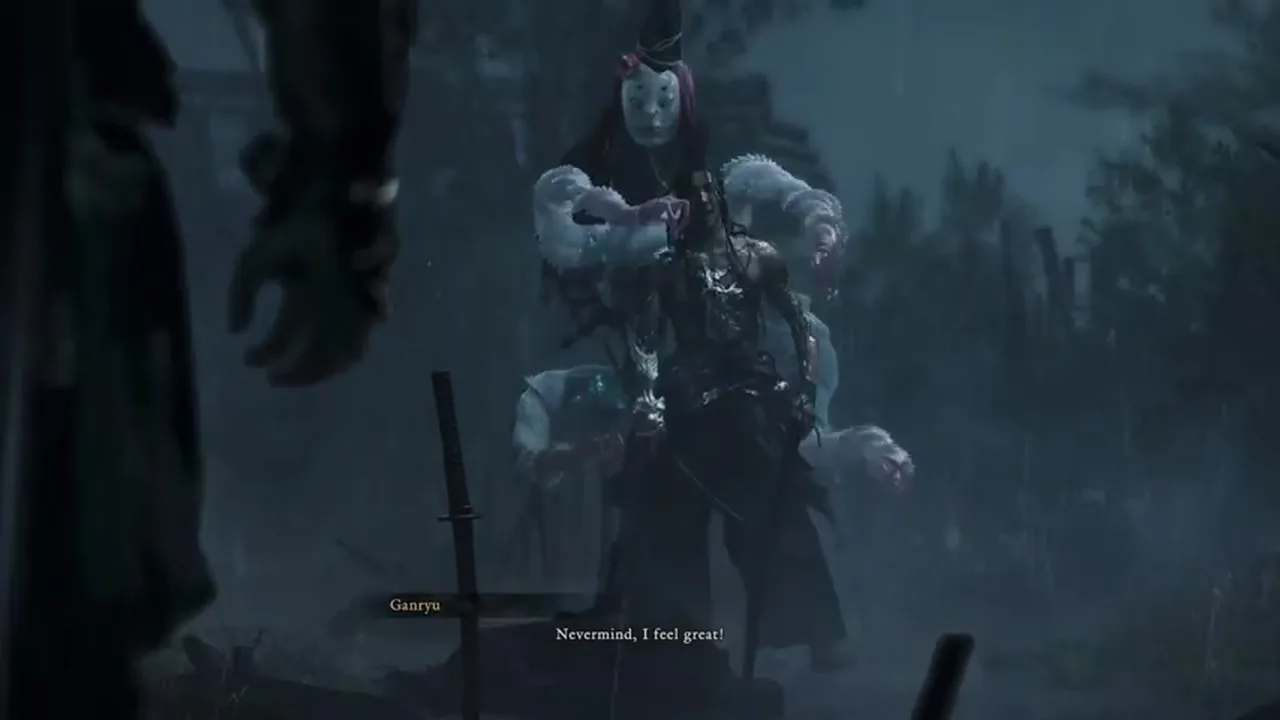
Second part of the fight - don't try to find a way to finish off Ganryu
After depleting the first health bar, the interface disappears.This is not a hidden mechanic or a signal that you have chosen the wrong weapon.The next fragment is staged.
Keep defending and attacking until a story scene starts.The game does not allow you to completely defeat Ganryu in this encounter, so do not waste consumables trying to find the “correct” finishing move.
What it is advisable to have before the next part
- “Firebird Flute” and at least its first useful improvement.
- Multiple Stamina Levels: After Burai, long bursts of attacks become commonplace.
- Pumped up Strength They are for counterattack stances and heavy opponents.
- Normal supply of hozuki before the next large infested area.
- The habit of keeping an eye not only on enemies, but also on the active Rift - this mechanic will return.
Previous part:Toribeno, Dohatsu-Ten and Benkei.
In the fifth part we will look at “Okuni’s Kabuki Dance”: the infected area near the stage, the flowers of corruption, new routes across the river and the next Rifts.
Sign in or create an account to leave a comment.
Be the first to share your thoughts.