
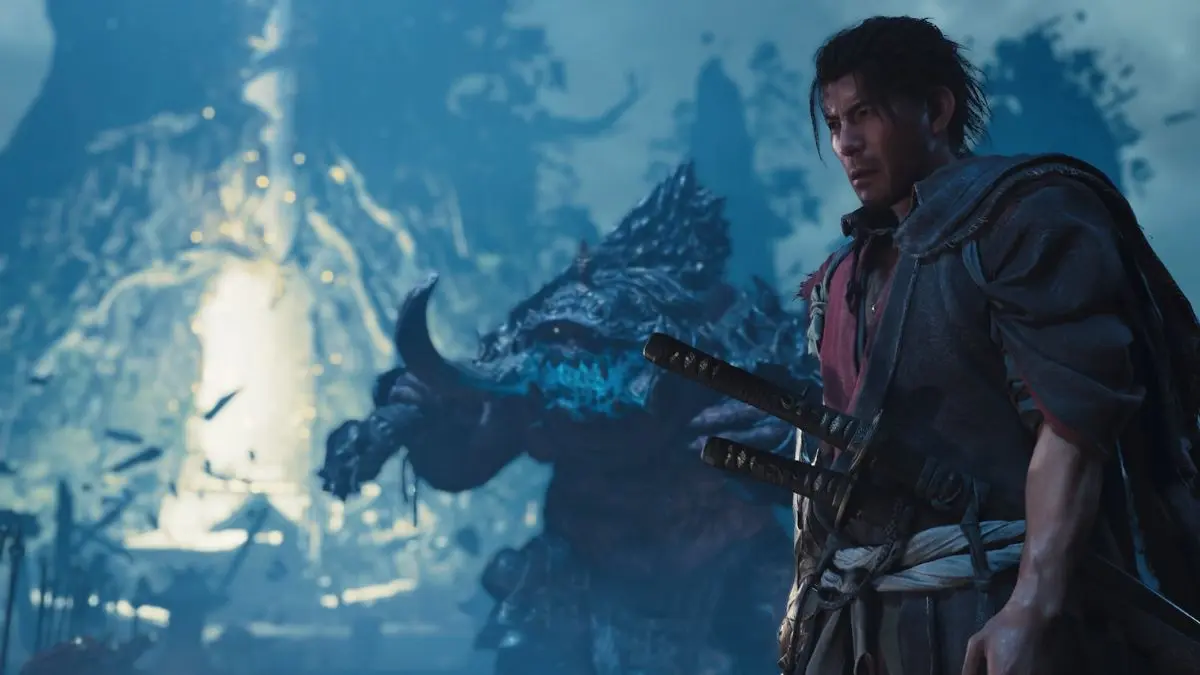
Onimusha: Way of the Sword It doesn’t require you to cram every room, but it easily punishes the habit of running only along the marker.Already in the first hours, the game several times returns Miyamoto Musashi to familiar areas of Kyoto, opens previously locked courtyards and forces him to use mechanics that seem almost optional at the beginning.
Therefore, our passage will not follow the principle of “go forward until the cut-scene”.We mark the places where you should stop, what is better to open before the boss, which attacks are safer to repel, and which ones need to be dodged, and what can be left for later without consequences.
Spoilers: Below is the prologue and the first eight story missions - up to Patching Up the Pouch.We will not reveal major plot twists beyond this point.
Before you start: three habits that make the game much easier
First, don't try to turn Onimusha into a regular slasher film.If the opponent has already begun a series, it is safer to read it and respond than to interrupt him with light blows.Parry, deflect, and Issen are not there for show: on strong Gemmas, they remove stamina faster than regular slashing and unlock Break Issen.
Second, absorb souls right away.Yellow ones restore health, red ones develop, blue ones charge Oni weapons.Later, enemies will appear who benefit from leaving souls on earth, not you at all.
Third, activate each Spirit Mirror.It heals Musashi, replenishes Hozuki's storage pouch, serves as a save point, and unlocks fast travel.In front of a serious boss, this is your free insurance.
Prologue: don’t rush to skip the training
The introduction introduces basic strikes, defense, Reflex Dodge and Isen.The game allows you to treat this as a short warm-up, but it is better to linger for a few minutes and catch the rhythm of counterattacks.Later, the windows become narrower, and the cost of a mistake is higher.
After a series of battles, Musashi receives the Oni Gauntlet and learns to absorb three types of souls.Don’t save Isen “for later”: the usual Gemma in the prologue are needed precisely in order to calmly check the timing.
Chapter 1. Battle of Randaino
Arriving at the Rokudo-chinnoji Temple, Musashi meets Izumo no Okuni and Ono no Takamura.There is already a fight with Gemma in the yard.
Clear the yard first, then another wave will appear.After it, go to the Rift and close it according to the prompt.There is no hidden condition here: if the Rift does not allow interaction, then the enemy remains in the zone.
After talking to Takamura, follow him through the temple to the backyard and well.Here the game explains why Kyoto is being taken over by Malice and what exactly Musashi will have to cleanse.
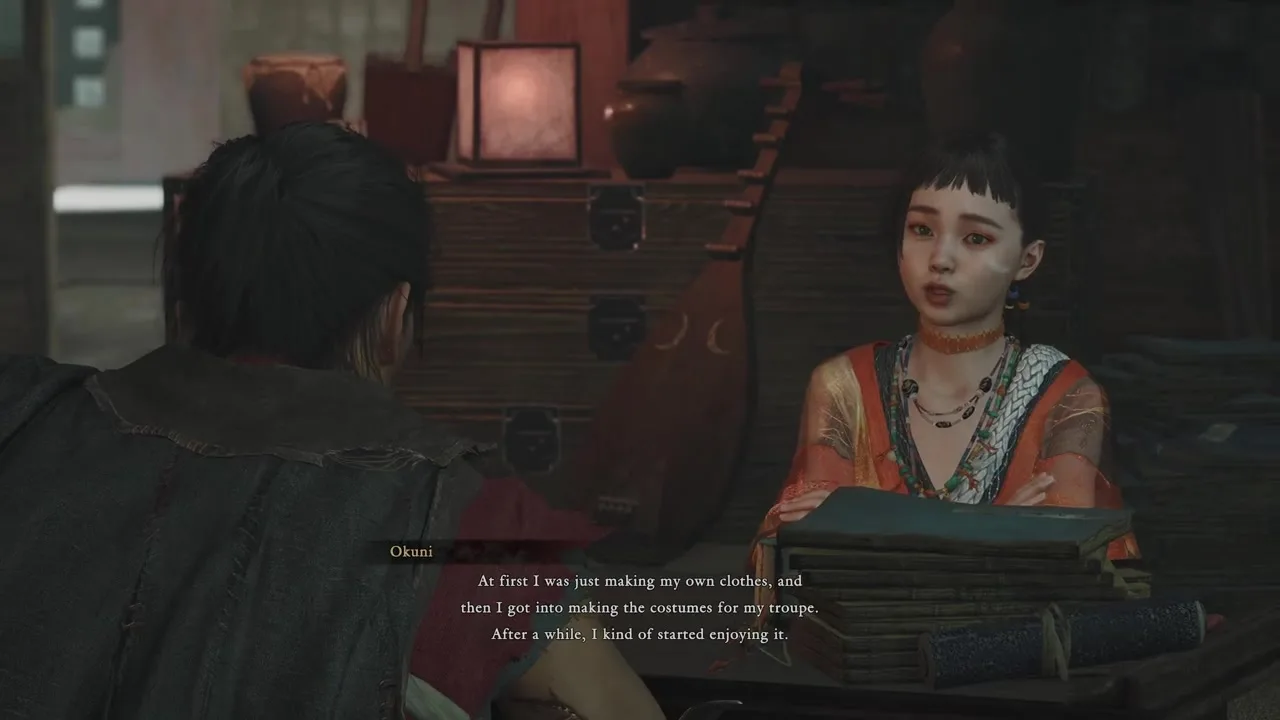
Before completing the quest, be sure to talk to Okuni at the Mirror of Spirits.She will give hozuki pouch - the main supply of treatment.Hozuki collected in excess of the limit automatically go into storage, so it’s always worth picking them up.
Chapter 2. The stage is set in Kiyomizu - the road to Kiyomizu-dera
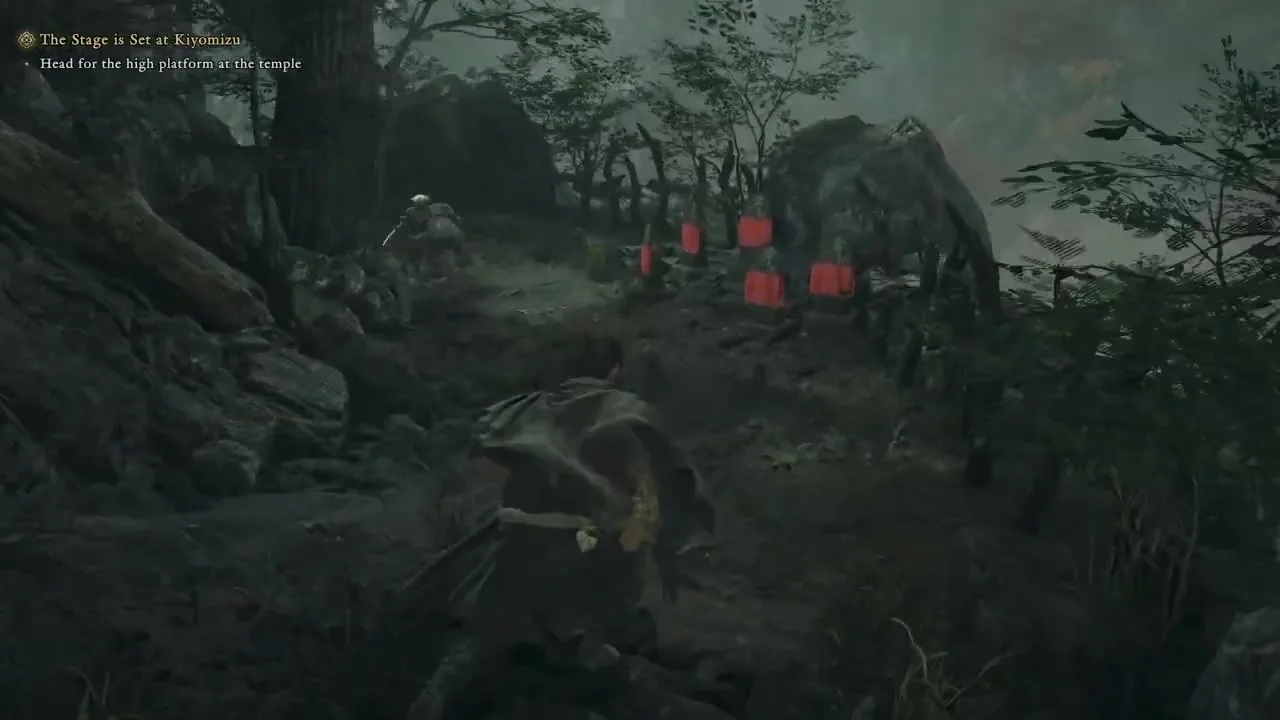
Through the Mirror of Spirits, move to the approach to Kiyomizu-dera Temple.The first sections of the route are almost linear, but already here the game begins to mix swordsmen and archers.
The rule is simple: do not stand in the open line of fire.If there are two melee units ahead and an archer on high ground, either move the swordsmen back around the corner, or quickly rush through to the archer and take him out first.Trying to parry a combo while arrows are flying at your back is the fastest way to waste Hozuki.
At the first red threads, turn on Oni Vision.The threads lead not to the door, but to the weaver creature.As long as it is alive, the passage will remain closed.This technique will be repeated more than once, so get used to immediately looking where each thread goes.
Don't miss "Two Celestials"
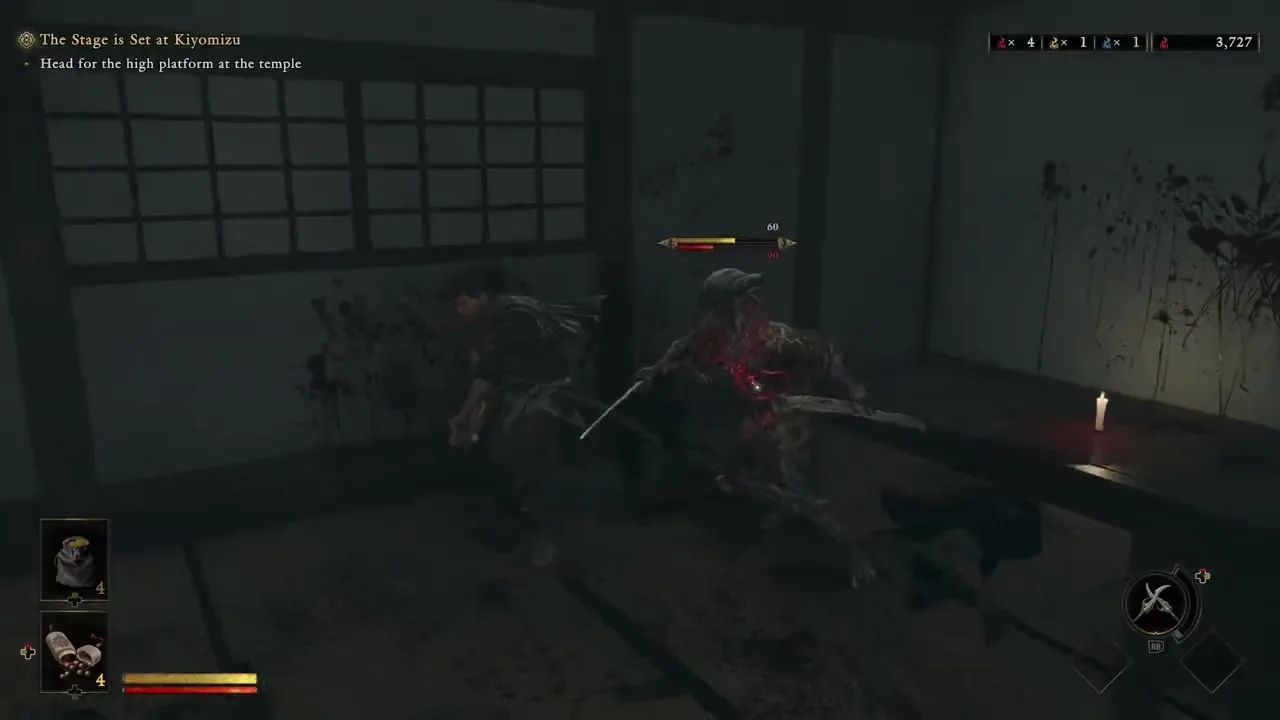
As you search for the source of the threads, you will find yourself in a cave with a hanging chest.Use Oni Sight to find the weaver and destroy it.The chest contains the first Oni weapon - Two celestials.It consumes blue souls and gives a strong short burst of damage.
Right after this, the game introduces the stronger Hitotsume Sho.Don't try to thoughtlessly squeeze him with a series.Wait for a heavy hit, defend, remove stamina, and use an Oni weapon when the gauge is full.
Boss: Sasaki Ganryu
Ganryu is dangerous not because of his speed, but because of his pauses.He often swings and delays the strike just long enough to waste an early parry.
- Don't hit more than two or three times in a row. After your long series, Ganryu likes to answer right away.
- Sword - parry or deflect. It is better to meet jumping kicks and grabs with dodging.
- Watch your jump height. A high jump often leads to a kick, a lower one to a weapon attack.
- Don't panic when crossing blades. If the collision started with a horizontal blow, respond with a vertical one, and vice versa.
Your goal is not to knock out health with regular attacks, but to reset your stamina and get Break Issen.After the first such counterattack, the battle will continue, but the principle does not change.
Shelter Oni and Bow Oni
After Ganryu, go down under the stage.At the dark mass, use Oni Sight and activate the sign that appears.So Musashi will get into Oni Refuge.
Almost immediately lies inside Oni Bow.It is needed not only against shooters.Charged arrows knock down armor, break locks and move structures with shining spheres.If a path appears to be closed "for no reason", look around for such a mechanism.
Boss: Daidara, Slavering Glutton
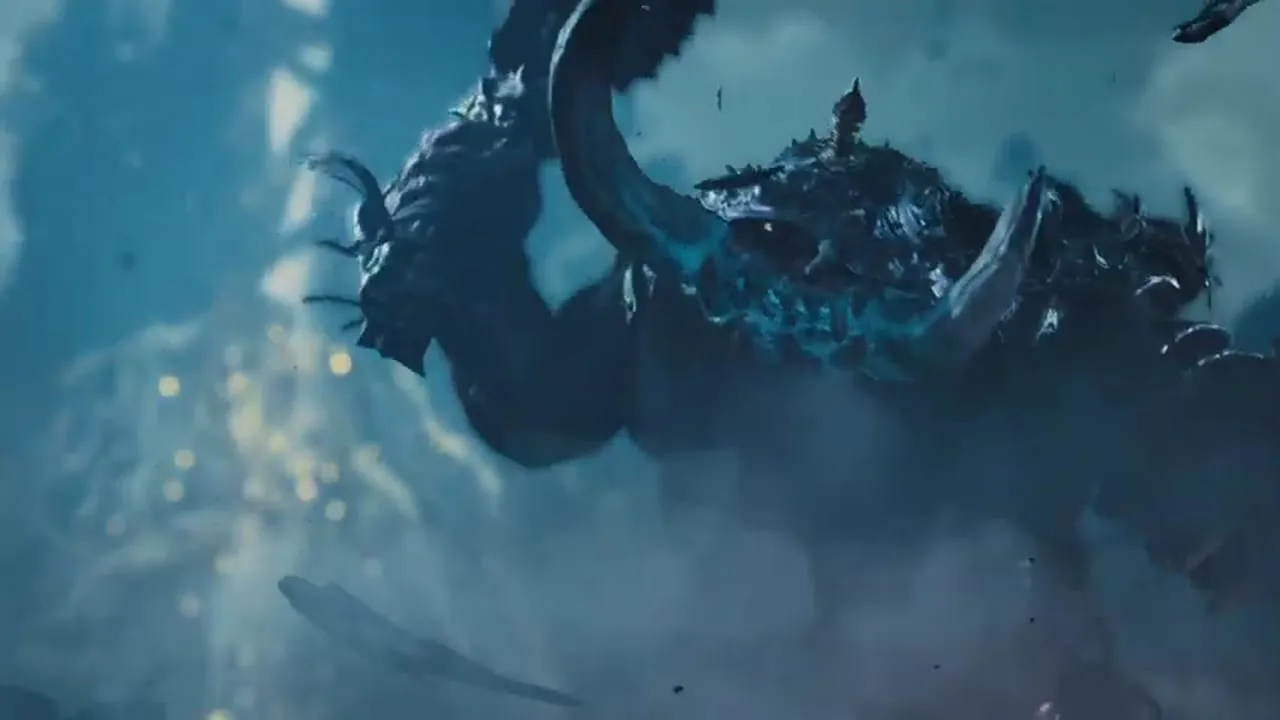
Daidara is huge, but the fight becomes much calmer if you don't try to pick at the armor with a sword.Use charged arrows from the Oni bow to break the plates on the body: the destruction of part of the armor briefly brings down the boss and provides a safe window for the series.
The most important mechanic is souls.Daidara can devour fallen souls and strengthen himself.Therefore, after successful counterattacks, immediately attract them with your glove.
- The mace series is slow - it’s easy to learn how to parry.
- Before running, Daidara stomps several times.Get out of the line of attack;if he crashes into an obstacle, he will lose a lot of stamina.
- In the second phase, a grip with a glowing hand appears.What's needed here is Reflex Dodge, not a block.
- When the weapon turns into a long, spiked whip, do not stand on the side of the boss: the radius increases greatly.
After winning, you will return to Kyoto and receive the next story stage.
Chapter 3. Infected Kyoto - two Rifts in Eastern Kyoto
Before leaving the temple, place Charm of the Healer, if you received it after Daidara: Hozuki's treatment will become noticeably more useful.Enma's Hall also opens in the temple courtyard, a place where talismans are strengthened.
Takamura is interested in two Rifts - western and northern.The route between them is clearer than previous missions, and this is where the temptation to clear the entire area at once arises.No need.Some gates, Malice barriers and chests are not yet physically accessible;the game will bring you back here later.
Use the Johari Shard to avoid getting lost, and activate the Spirit Mirrors along the way.At the Rifts themselves, first destroy the Gemm, then close the source.If there are upgrade materials nearby, take them, because the next chapter will finally open up normal leveling.
After the two Rifts, return to Rokudo-Chinnoji and talk to Takamura.
Chapter 4. Apprentice Oni - unlocking pumping and Wind Scourge
Shizuka is waiting at the Mirror of Spirits.After the conversation, equipment improvements, basic and special skills will open.Particularly useful from early purchases Chain Issen, if you are already more or less in the usual Isen.
Then ring the bell at the temple exit.He takes you to the Practice Ground, where Takamura will force you to practice the deflection separately.
Don't confuse this with parrying.A parry creates a window for a direct counterattack, and a series of deflections quickly breaks stamina and brings the enemy to Break Issen.Against tough opponents, the second option is often more profitable.
After mandatory training, collect your reward - the Oni weapon Wind Scourge.This is a good answer to groups: the whirlwind controls several enemies at once, rather than one fat enemy.
Chapter 5. Shrine of Yasui Kompiragu and Rasho-gan
Go to the temple Yasui Konpiragu Shrine and talk to the calm woman.After investigation, it will become clear that local wishes are fulfilled too literally.
The main task for the boss is to return the stolen supports of the sanctuary, Stout Pillars.Collect the seventh, first and third pillars and return them to the Hachidai Rikison Shrine.After restoring the sanctuary, absorb the dark mass at the Yorimasa monument - the battle will begin.
Boss: Rasho-gun
The main mistake is to fight him, ignoring the red connection to the altar.While the thread is intact, Rasho-gun gains additional capabilities.Turn on their vision and cut the connection with a sword or shoot down with a bow Theywhen she appears again.
- It is advantageous to parry a regular series with a blade to the end;the last blow is slightly delayed.
- Do not try to take a grab and a heavy blow from above with a block - go Reflex Dodge.
- It is easier to destroy a slow dark ball with an arrow than to run around the arena from it.
- If the boss lifts trees or pieces of the environment with threads, shoot exactly at the thread: the object will fall before it flies towards Musashi.
In the second part of the battle, do not be greedy.One extra hit after your safe streak often turns into a grab.Victory opens Oni Strength, which can destroy the barriers of Malice.
Chapter 6. Curse of the Kiyomizu-zaka slope - clearing the slope
A new ability is needed immediately.Go to the southeast of East Kyoto and destroy the Malice barrier.Behind it begins an area where plants emit a poisonous cloud: if you stand for a long time on the lower level next to such a source, your health will constantly drain.
Don't try to close every Rift that appears first.Priority - Malice Plant.Climb to the roofs, destroy the plant, and only then calmly deal with Gemma and the Rift.
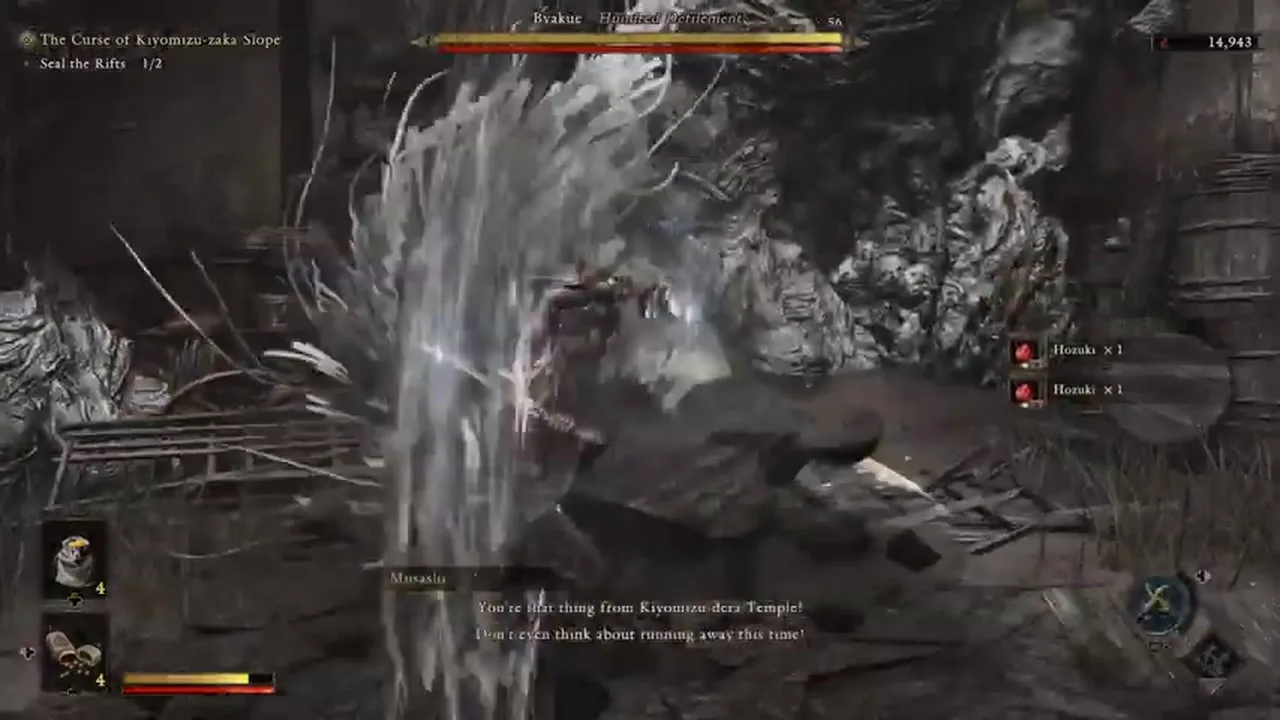
At the second large area after the Rift, move along the roofs to the east.The next plant seems inaccessible, but the stairs are on the back side of the building.After its destruction, Byakue appears.
Mini-boss: Byakue
Byakue has a huge ax and long, well-readable swings.Most weapon attacks are easy to deflect, but two attacks break this habit: the shoulder dash and the long run-up.Move away from them.
After winning, take it Byakue's Talismans, close the Rift and destroy the last plant.After the cutscene, a large part of Eastern Kyoto will be cleared.
Chapter 7. New Oni Power
After clearing the Malice, a lot of new things open up on the map.Here, for the first time, it’s really worth pausing and walking through the available quarters: collecting fabric and metal for equipment, activating Spirit Mirrors, opening treasure markers and at least a few Chance Encounters.
You can continue the plot right away, but the next part will become noticeably more comfortable if the sword, clothes and glove have already been improved.
When you're ready, talk to Takamura.The target will move to the southern part of the city, to a closed courtyard with a well.If the gate is still locked, find the stairs on the northeast side, climb to the top floor and drop down inside.It is convenient to shoot down the lock on the second gate with an arrow through a hole in the wall.
Go down into the well.In the room with the statues, turn on Oni Vision and activate the rune - it will open the passage to the Oni Vault.
There is no map inside, but the route is short.Jump under the moving wall, go right to the dead-end ledge and from there shoot at the shining sphere on the mechanism.The wall will move and open a tunnel.Then follow the only route to the dark mass and absorb it.After the scene, new upgrades will open through the Oni portals, and Musashi will return to Kyoto.
Chapter 8. Upgrading the Hozuki Pouch
Return to Okuni in Rokudo-Chinnoji.She will explain that the healing pouch can be strengthened and give Old Temple Key.
Exit the temple, turn right and go west to the large locked gate on the left.Open them with the key.Once inside, don't waste time on the closed gate on the right - you'll come back to it on the other side.
Climb over the fallen tree, go through the building and jump out into the courtyard.There will be archers and several waves of regular Gemmas here.Explosive barrels allow you to quickly take out shooters.After the fight, gather Hozuki in the garden.
In the next building, turn on Oni Vision.The rune will reveal a hidden chest with Oni Cloth (Healing) - This is exactly the material Okuni needs.On the way back, knock the lock off the gate and get a short exit to the beginning of the location.
Give the cloth to Okuni.It will improve the standard Hozuki pouch and open up a system for further improvements.From now on, materials for other bag options will appear on the map.
What it is advisable to have before the next part
- Open Deflect and, if possible, Chain Issen.
- The Two Celestials, Oni Bow and Wind-Whipper.
- Improved Hozuki Pouch.
- At least a few improvements to the sword, clothes and gloves.
- Activated Spirit Mirrors in Eastern Kyoto.
- Collected Power Stone and Oni Stone, which lie on already open routes.
Then it begins Windswept Kennin-ji, and the game noticeably increases the demands on defense: single training opponents are running out, and Gemm's set of attacks becomes less convenient for a simple block.
Continuation of the passage
Part 2: Kennin-ji, the underground laboratory and the Great Nue — we continue with the trip to Kennin-ji, sorting out Ifuu, Nue, the riddle with masks and the long route through the laboratory.
The route and mechanics were compared with the release version of the game, official Capcom materials and several post-release playthroughs.We deliberately do not list random chests and reappearing items as mandatory: their contents and appearance may differ after resting at the Mirror of Spirits.

Sign in or create an account to leave a comment.
Be the first to share your thoughts.