
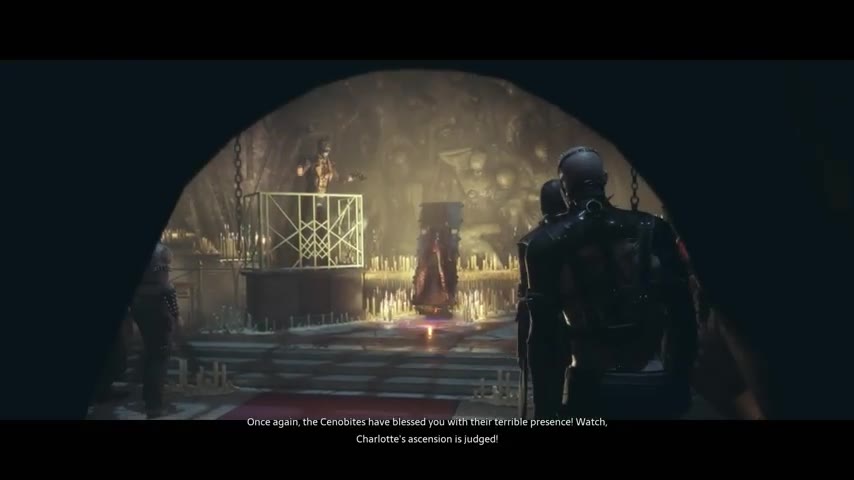
After escaping from the Scarlet Church, Aiden goes up to the club.Freedom appears to be only a few rooms away, but the normal exit is locked and the way out leads through a restricted area.To get the pass, you will have to search the neighboring rooms, fulfill the request of the woman in white and survive another meeting with Charlotte.Then the road will go underground, where more tenacious enemies will appear instead of the cultists.
This is the second part of the serial Hellraiser: Revival walkthroughs.We continue exactly from the stairs where we stopped yesterday: the gun has already been found, the puzzle with the duck has been solved, and the Genesis Configuration is not always available to the hero.Below is the route to the first outlet in the sewers.
Spoilers. The locations of items, plot events of the club, the order of actions during the chase and the characteristics of opponents in the dungeon are indicated.If you are completing the game for the sake of riddles, it is better to watch only the necessary section.
At the club, first find out why the exit is closed
Go up the stairs to the main hall and look around.Here music plays, visitors talk, and it seems that the danger of the Scarlet Church remains far below.But the locked outside door quickly brings Aiden back to reality.Talk to Zora Beckett, who will explain that the normal exit will not open until dawn.She mentions another route, through the privileged guest area.
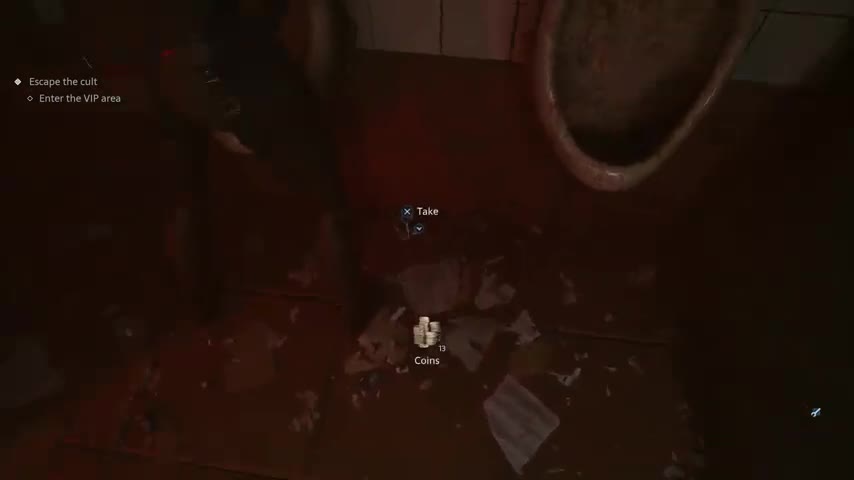
Don't run straight to the restricted northern door.First, go around the central part of the hall, inspect the tables and aisles on the sides.Near the entrance to one of the rooms there is an acolyte mask.This is loot that can later be sold.Put such things in your inventory while there is still room: the coins will come in handy for the merchant later.
To find the character you want, look for a separate room with a woman in white clothes.She lies on the bed and is ready to give the pass after a small favor.The path to it goes through one of the side passages of the main hall.Different room layouts calculate cardinal directions from different entrances, so it’s more reliable to navigate by the color of the outfit and the room itself, and not by the words “northeast” or “southeast” from someone else’s guide.
Three items for a woman in white
After the conversation you need to collect three items: a spacer, a spanker and an intimate toy (dildo).These things are in the side rooms of the club;there is no need to return to the chapel or sewer.Go around the side rooms in a circle and bring the woman the whole set at once.The game will count the items when you bring the entire set.
Look for the first thing in the room with the bed and visitors.Inspect the shelving or rack next to them: the item lies quite low, so if the interaction prompt does not appear, change your viewing angle and come closer.Do not confuse it with ordinary consumables on the shelves.
The second thing is in another side room, next to the girl in the cage.Inspect floor near the lamp.This is where it is easiest to pass by the desired object: it is not located at eye level and can blend into the surroundings.If necessary, use a flashlight and check the light limit.
For the third thing, go to the room on the opposite edge of the club corridor.Search table near the bed and visitors.Walk around the table if the interact button does not appear.After receiving all three items, return to the woman in white.
Don't buy or craft random items in an attempt to replace one of the three finds.As part of this assignment, the game is waiting for items from the club rooms.If the conversation is not progressing, open the list of story items and check that you have found all three, then repeat the interaction with the character.
How to gain access to a restricted area
Give the kit to the woman and perform the subsequent contextual action that the game shows.The scene may look unpleasant, but there is no separate code to the safe: the pass is issued for fulfilling her request.After the episode with Sunny's memory, you will receive an item in the form toy rabbit.It is he who serves as the key to the closed area.
Return to the main hall.The required door is located in its northern part, away from the usual exit.There is space on the mechanism for a figurine.Open the story inventory and use the toy rabbit.If the system does not accept an item, make sure you are standing at the door to the restricted area and not at the adjacent service aisle.

Behind the door begins another part of the club.Inspect the corridors more carefully: more unpleasant rooms will appear, and the further exit will again be connected to the Genesis Configuration.In the next room you can pick up fragment of the Labyrinth.Don't skip it if you want to read all the additional materials and collect the available finds from this site.
Trying to get out and going back through the club
Continue along the corridor to the recovery room, then look for the exit door on the right.Trying to leave will trigger a story scene involving Sunny.After it, you will need to return along the familiar path: go back through the glass door, then into the corridor with the save point.Do not try to open the same door again with multiple interactions: the script has already sent you to the return route.
Be sure to save your game at the checkpoint.Here it is useful to check the ammunition, the condition of the knife and free inventory slots.In the next episode you will have to run, and not calmly collect supplies in each niche.If the game offers a manual save for a token, decide in advance whether it's worth spending before pursuing.
Lies on a chair near the aisle coat or set of clothes.Interact with him: Aiden will change clothes, which will allow you to move on and trigger a new scene.Don't look for an additional card for this site.In the GameSpew and PowerPyx manuals, it is the change of clothes that is noted as a prerequisite for advancement.
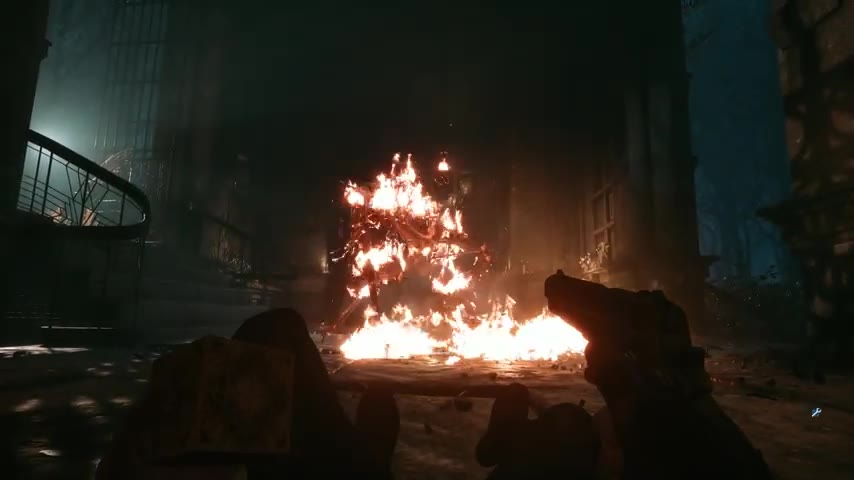
Go through the opened door and watch the scene in the courtyard.After it, the Genesis Configuration will be next to the hero.Pick up the box when the game returns control.Then the pursuit of Charlotte will begin.Don't linger for a full search of the premises: the next segment is based on movement.
Escape from Charlotte: where to turn
The main rule of the chase is simple: run to where Charlotte is not.It can appear ahead, so the usual pattern with memorized left and right turns does not always help.If the enemy has blocked the path, turn around and look for an alternative open corridor.Don't try to damage her enough to end the fight;here the goal is to escape.

Follow the available passages until you see stairs down.Get down and move on, without stopping near the side doors.On some turns, the obstacle itself directs you to a different route.If the door doesn't budge, check the adjacent hallway: the plot doesn't require a master key or special key right during this chase.
The road will lead to a sewer area with metal doors and stairs.After several transitions, you will need to slam the heavy door to cut off the pursuer.Wait until the game actually closes the passage, then go down the next set of stairs.A separate achievement for escaping from Charlotte for the first time is unlocked upon completion of this scene.
After the chase, you can move carefully again.Do not assume that the entire sewer is safe: other enemies will appear below, which are much stronger than ordinary cultists.Prepare a knife, a pistol and space in your inventory for useful consumables.
Sewers: first encounters with the Unworthy
Go down the yellow stairs and follow the narrow passage.Once you reach the area with the railings, go around the fence and move to the opposite side of the room.The straight door can be locked.Then look for a wide gap between adjacent openings through which you can jump lower.Next, focus on the red lamp and the exit in the next tunnel.
Will appear here Unworthy - opponents resembling the living dead.They can take more hits than the Scarlet Church cultists.Don't use up your entire pistol magazine on one enemy if they are already close to being able to use the power of Genesis Configuration.
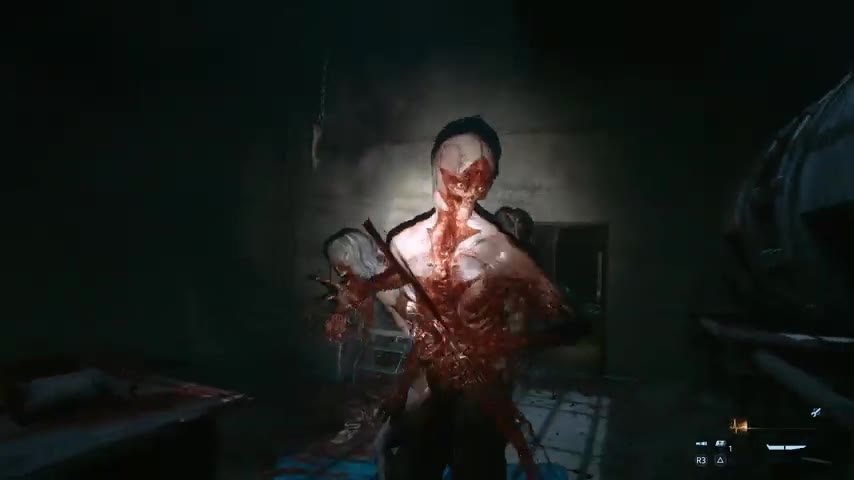
After a series of hits, the enemy will begin flicker blue.Get to a safe distance to interact and use the box to end the fight.Such finishing moves return part of the resource for supernatural abilities.Make sure there isn't a second enemy nearby before going into the lengthy finishing action.
Another Unworthy will appear near the next door.First, back away so you don't get pinned against the wall, then repeat the familiar pattern.If the enemy gets too close, you can use melee weapons.The goal of this section is to learn new tactics that will be useful far beyond the sewers.
Weapon repair and route to the merchant
Behind the next door, go down the steps.Examine the cabinet nearby: you can take it from above regular repair kit.Open your inventory and use it on the damaged melee weapon.Do not spend repairs on almost an entire item if there is no strong enemy ahead: these sets are more valuable than a random consumable.
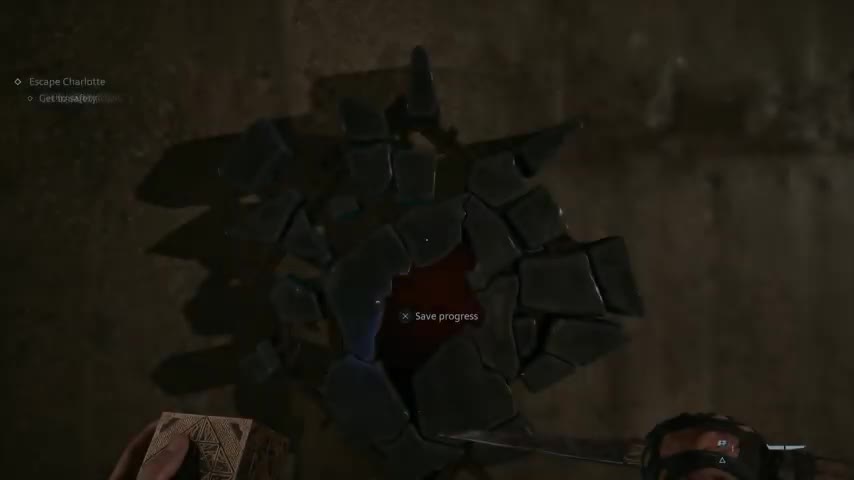
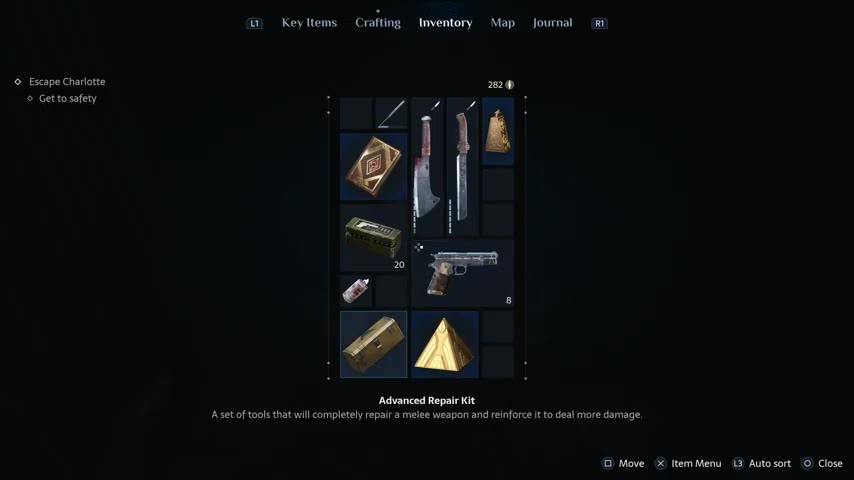
Next, the path passes through several rooms with enemies.Some have their backs to you, and you can eliminate them covertly.Before approaching, crouch down and check if the second enemy can see you.Sneak attacks save ammo, which is better left for more dangerous fights.
After the next turn, a pink lamp will appear.This is a good landmark: move in its direction and look for yellow staircase to the top.Behind it is Zora Beckett's outlet.Don't run past the save location and storage chest.
The first merchant Zora: what to buy with coins
Zora sells supplies, crafting blueprints, and permanent weapon upgrades.At the first meeting it is especially interesting Lighter pistol trigger for 150 coins and enlarged magazine for 180 coins.If you prefer a cautious style, choose an upgrade that provides a more noticeable benefit to your weapon.
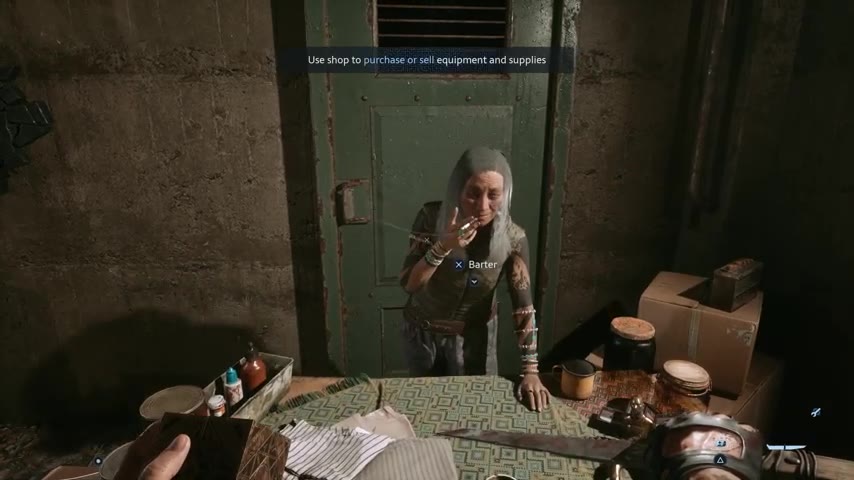
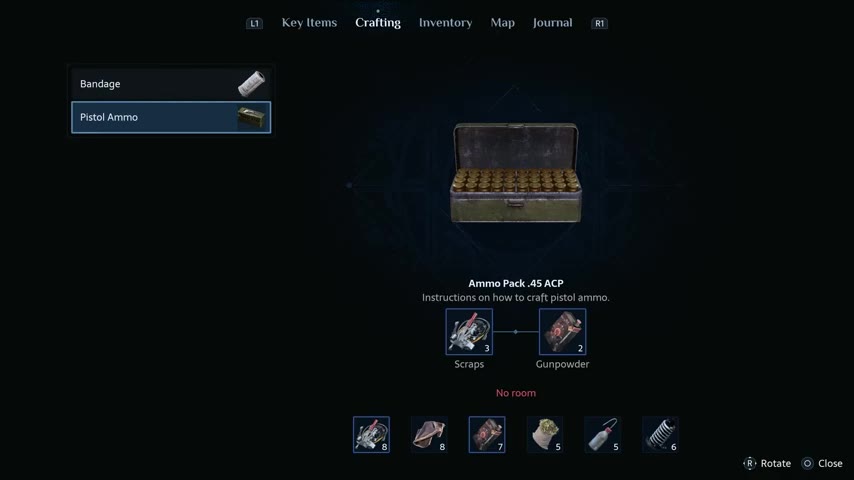
Among the recipes, PowerPyx indicates first aid kit for 200 coins, master key for 120 and regular repair kit for 120.For a first aid kit you will need two units of cloth, four herbs and one portion of chemicals.The master key requires three scrap metal parts and three coils.A repair kit is made from one scrap metal, one fabric and two spools.
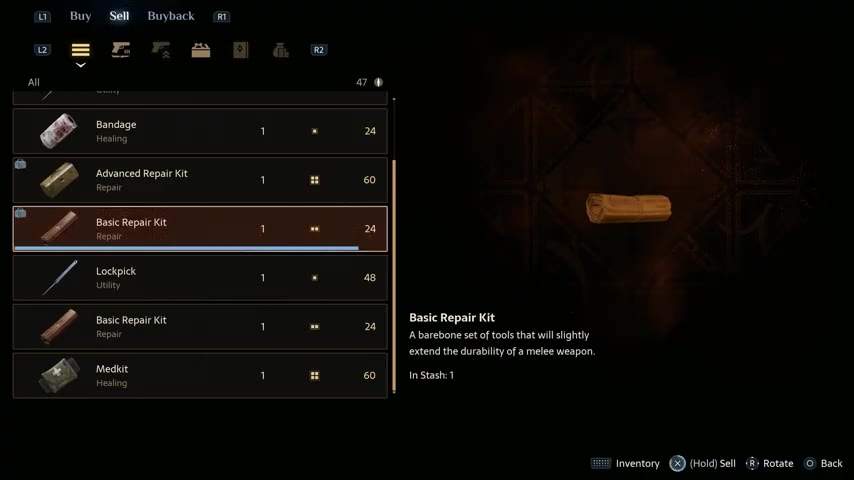
The store has a chest, so you don't have to carry valuables and items for sale with you all the time.If an item is marked as treasure, its primary purpose is to be exchanged for coins.Plot clues and puzzle items are best left untouched until the corresponding quest is completed.
Important note for achievement hunters on PS5. PowerPyx warned that trophy counters for spending over 666 coins and selling over 999 coins may not work properly if delayed until the next shop.The guide advises you to save before your first trade and use the buyback tab.This is a message about a possible bug in a specific version, and not a confirmation that the bug will affect every player.
Don't try to purchase the entire range the first time.There are few coins at the start, and later you will need new recipes and ammunition.It's much more useful to buy the recipe or upgrade you really need, empty your inventory, and save your game before moving on to the next area.
What to check before leaving the dungeon
Before leaving the store, open the quest log and check the route: the pass to the restricted area has already been used, the disguise clothes have been found, the first chase from Charlotte has been survived, and the Genesis Configuration is again in Aiden’s possession.If any of these are missing, do not leave the area at random: you may have missed an obligatory scene.
Make sure you have a pistol, melee weapons with sufficient durability, and at least a few recovery items in your inventory.On the way further you will encounter electrical traps and armored opponents.Sometimes it's better to spend a few coins on repairs than to face the next enemy with a nearly broken cleaver.
The next part will go through the dangerous areas around the van and the cemetery.There will be new keys, secret missions and especially easy to miss trophies.This is where we end the issue with Zora: this way the next route can be started from a reliable save point, and not in the middle of the chase.

Sign in or create an account to leave a comment.
Be the first to share your thoughts.