
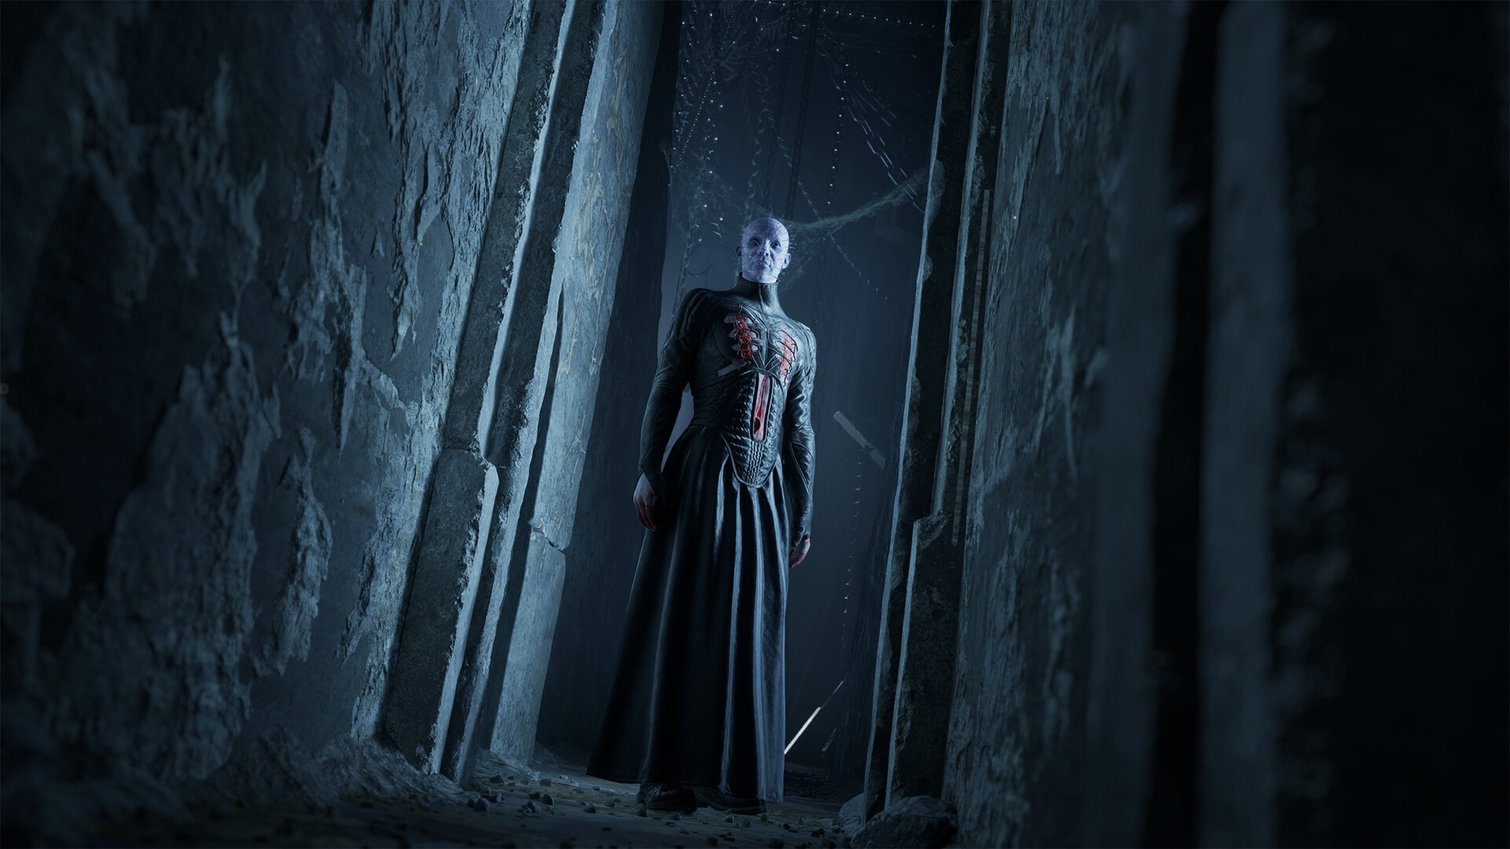
B Clive Barker’s Hellraiser: Revival You can’t just run after the marker until the next task.The prologue takes Aiden Lynch into the Labyrinth, and the escape from the Scarlet Church turns the first hours into a series of puzzles, chases and fights, where it’s easy to spend all your weapons before meeting a truly dangerous enemy.In this part, we will go through the path from the search for Sunny to the stairs leading to the club: step by step, with codes, necessary items and frames of specific game scenes.
Route of the first part: finding Sunny, puzzles with the Genesis Configuration, escaping from the cultists, door M359, tongue key, Bruno's bypass, escaping from Clicker, room 206, chapel and BDSM duck.After this, the path to the club will open.
Spoilers: Puzzles and events from the beginning of the game are revealed below, including how to avoid Bruno and the Clicker.Subsequent story chapters and the ending are not discussed here.
Before you start, do several manual saves.The game does not have the usual choice of chapters and free return to already abandoned areas.For a complete completion, it is especially important to ensure that you have found all five types of firearms, twelve crafting recipes, five pillars of pain and five pillars of suffering.You will have to look for what you missed in an irreversible location in an old save or during a new playthrough.
Prologue: follow Sunny and find a way out of the Labyrinth
After the opening scene, Aiden remains in a familiar apartment with the Genesis Configuration box.An ordinary door does not help: move towards the hole in the wall and enter the stone corridor.At the gate, look for a side passage on the right.It will lead you to a room with hanging chains.Crouch under the obstacle, climb through the narrow gap and continue moving towards where Sunny periodically appears.
Next, the game tests running and sliding.On the first landing, step on the pressure plate and quickly go through the opening passage.At the second slab, the door drops faster: accelerate and slide under it.If the grate is blocking the road, do not try to wait for it to rise.Turn into the reddish tunnel through the gap in the wall, cross the area with water and get to an apartment-like room.
It's easy to lose a few minutes here: after trying to leave, you will find yourself back in the same apartment.Pay attention to the inscription above the table - it tells Aiden to return to the darkness.Turn around 180 degrees.In place of the usual passage, a dark corridor is now open, through which you can get to the stairs and bridge.
On the platform above the abyss lies a heart.Pick it up to trigger the next scene.After the bridge falls, you will receive the first explanation of how the Genesis Configuration works.The game immediately shows two different actions - taking energy and moving objects.Don't confuse them: the solution to both riddles depends on this.
Genesis configuration: fire, stone block and bridge
First, find the pillar with the blue flames.Come within interaction distance, aim at the fire and take it away with the power of the box.Then turn towards the extinguished column and send a charge there.When the torch lights up, the mechanism opens the further path.On a gamepad, follow the interface prompts and not the keys from other people's videos: the layout is different from the PC.
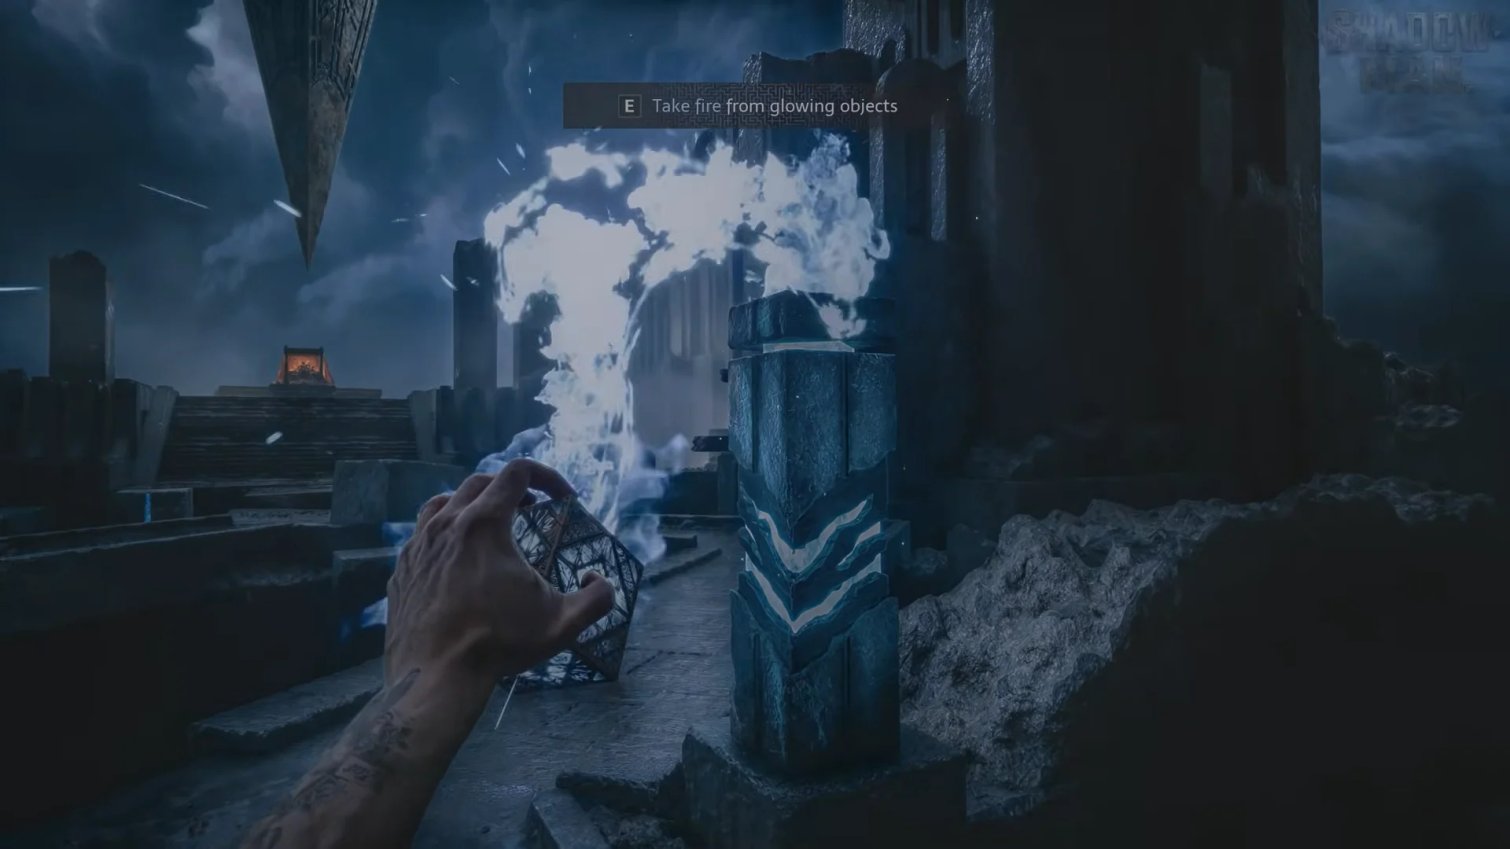
The next stop is the cliff in front of the stairs.There are several stone elements hanging in front.First, lift the interfering cube up.Then aim at the flat slab and move it into the gap between the edges of the road.The slab should become a bridge across which you can walk to the other side.When the path is open, go up the steps.The prologue will end with a story scene, and the next big task will appear in the Quests menu.
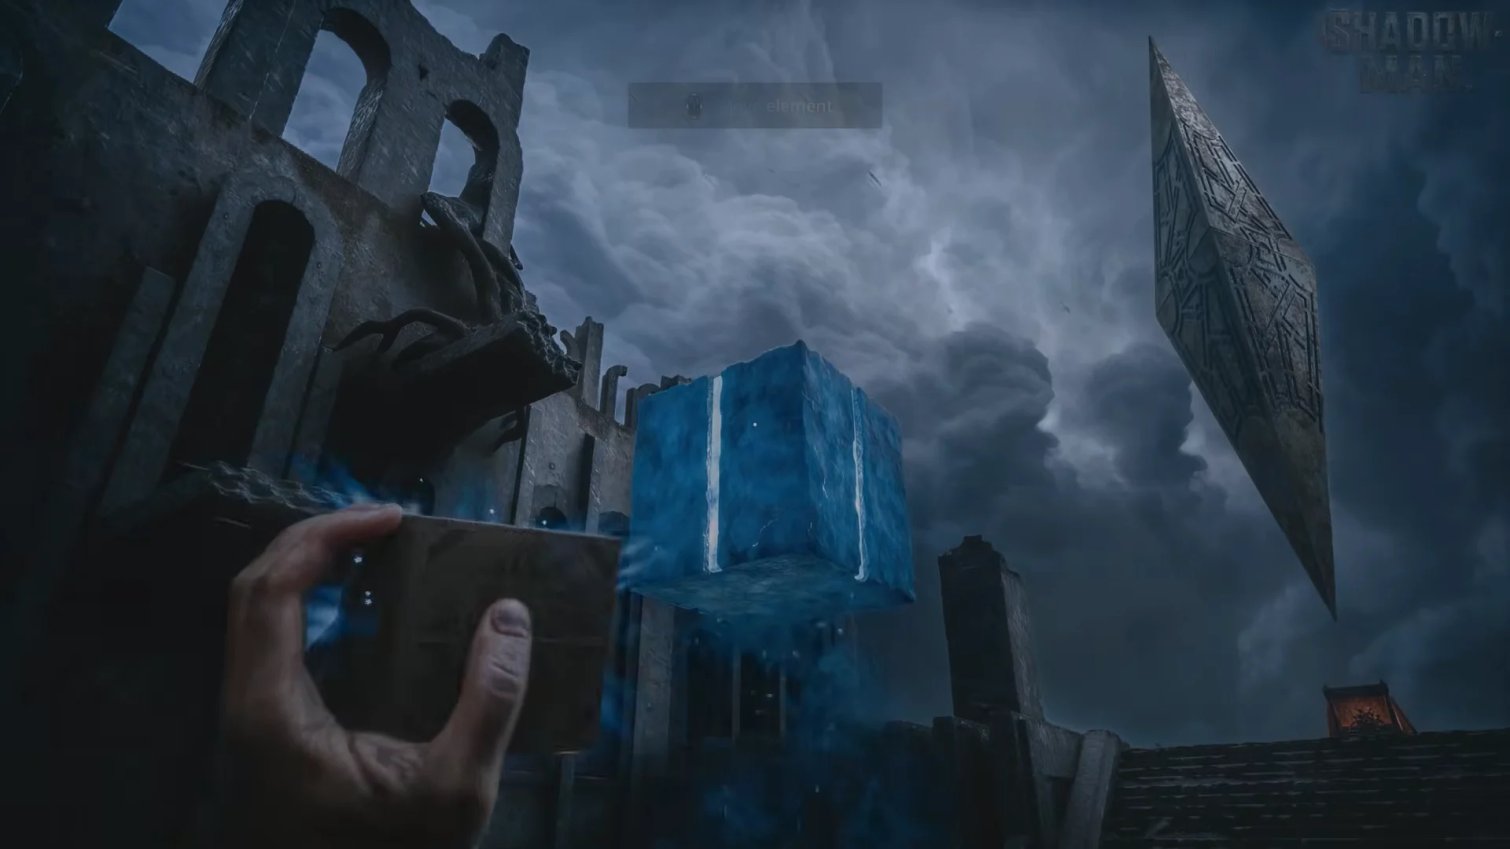
There are no required collectibles for trophies in this initial part.Don't waste time looking for a secret room among the first endless corridors.At this stage, it is important to understand how the game changes the space after the turn, and to understand the purpose of the box.These two techniques will be needed more than once.
“Escape from the sect”: free yourself and open M359
Aiden wakes up chained to a chair.Don't pull random objects: the sequence of interactions is given here.First, look down at your hand and pull out the nail, then pull out the hook, and then break the seams that hold the body together.When the hero is free, examine the nearby table, cabinet with medical supplies and drawers.Take the fabric and coins - bandages and goods from the merchant will soon come in handy.
Through the corridor you will come out to a metal door M359.Next to it is a lock made of two parts of a diamond-shaped figure.Both fragments are hidden in adjacent rooms, so there is no need to try to break into the door itself.First, go into the room with the red-lit niche and take out stained fragment.Then examine the second room, where next to the body and the image of wings lies stained diamond.
Return to panel M359.Set the fragment to top part of the figure, and the diamond is in lower.Unlike the later puzzle with Leviathan, there is no need to twist anything here.Once both pieces are installed, the heavy door will open.
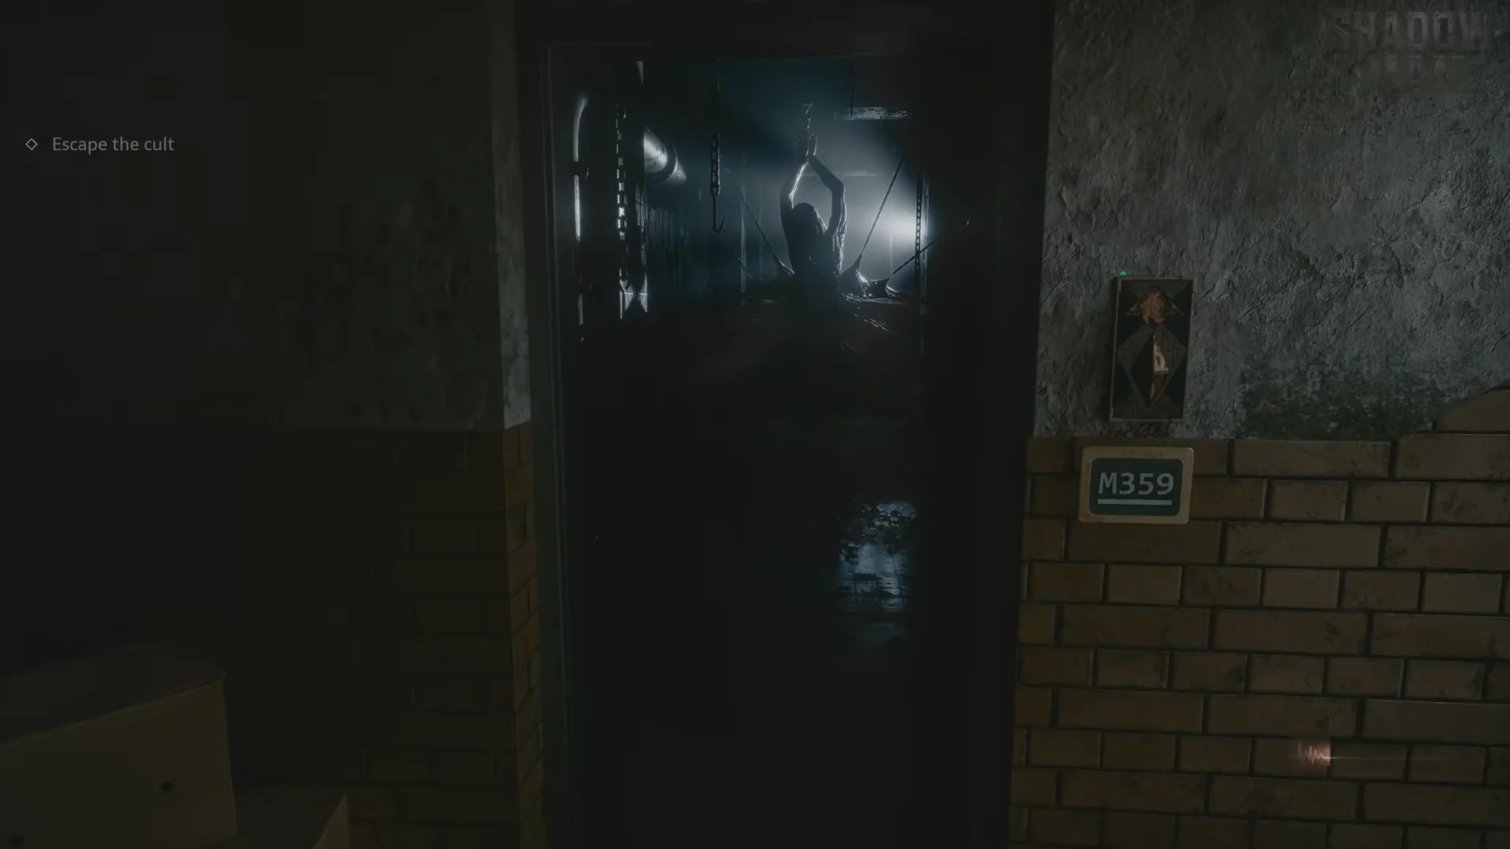
Behind the door, look into the refrigerator and cabinets: food, fabric and chemicals will help you survive the initial battles.Make it a rule not to fill up all your inventory slots from the very beginning.If the recovery item is not needed right now, it is better to save space for a key or weapon.
Elevator shaft, master key and yard key
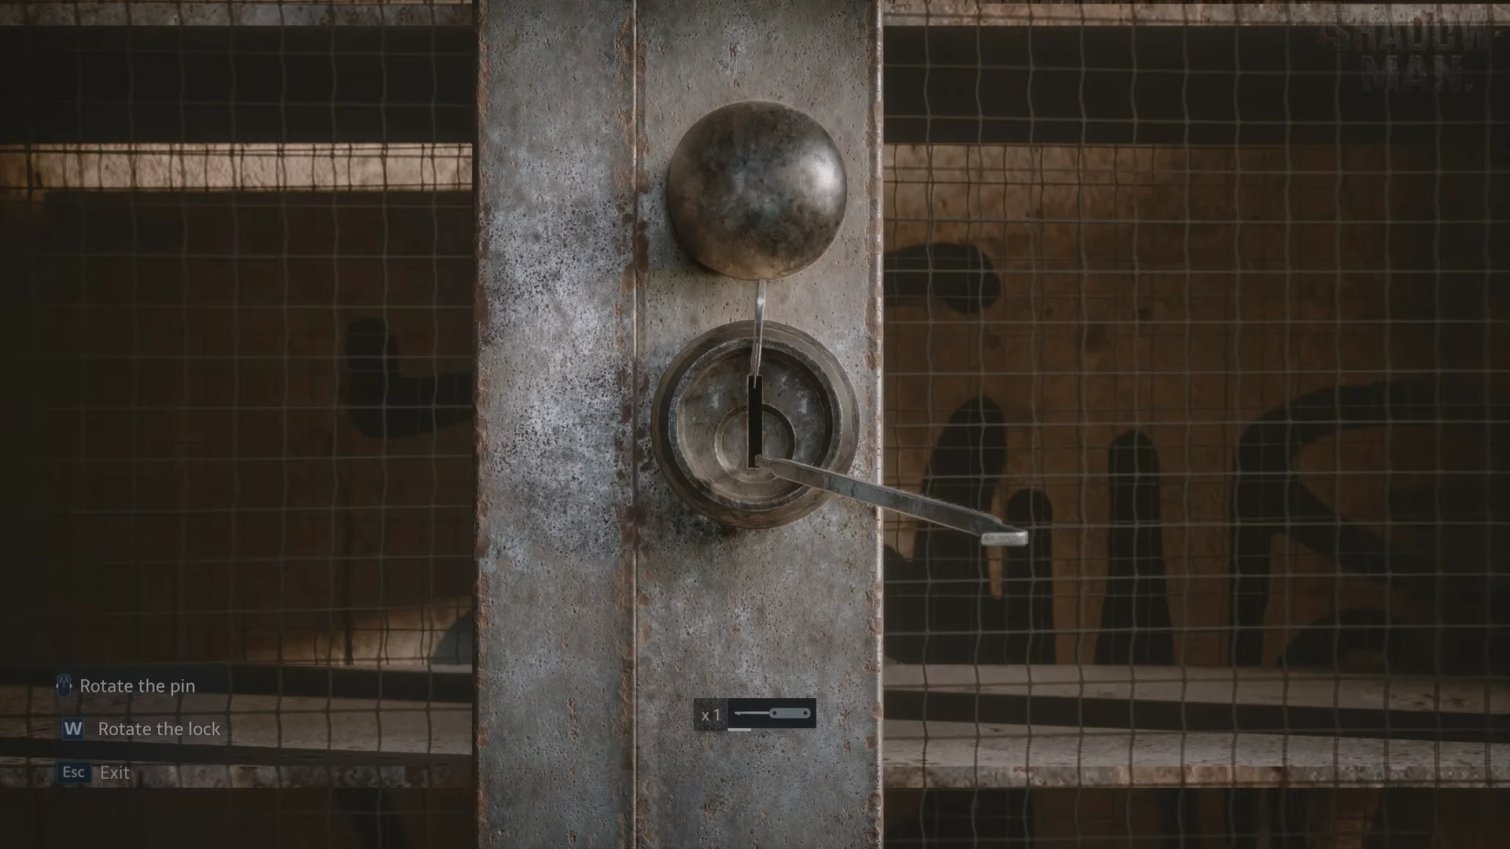
Further the path passes by the room where the cultists are holding the prisoner.The passage is closed by a grate, but there is a low hole nearby.Crouch and crawl under the obstacle.In the workshop, take the first master key and examine the additional locked cabinet.Hacking here is not a speed battle: slowly turn the master key and watch the mechanism shake.If you continue to press in the wrong position, the tool will break.
You can find another master key at the freight elevator.It is not necessary to spend both on secondary cabinets at once: it is better to have a reserve until the next fork.Next door is a destroyed section of the wall with a staircase down.Go down into the flooded tunnel, go through the arch and exit into the courtyard.
In the courtyard, one of the doors is locked, but opposite there is a utility room.This is where you need to go.There are clothes on the table: interact with them to make Aiden change his appearance, and pick up the key left under the things.A manual save point appears on the wall here.Save before returning to the guards.After that, open the opposite door with the key and go inside.
On Hellraiser's highest difficulty, manual saving requires a consumable save token.Don't waste it after every empty room: use it before an important chase, a new unfamiliar enemy, or an irreversible transition.On normal difficulties, follow the available save point tips.
How to remove the tongue key from the skull
From the courtyard, go along the corridor and stick to the shadows: it is easier to bypass the guards here than to fight them.On the left, through the office and bedroom, you can get to Bruno’s work room.Look for a desk with a skull with metal pins inserted into it.This is not a decorative object, but a castle.
Turn the skull so that the back of its head is facing you and press the pins in order left ;rear ;right ;top plate.In different videos, the hint may be given as “right, back, left” - the author looks at the skull from the opposite side.A reliable guide is to press the three available pins, then the top;the mouth should open.
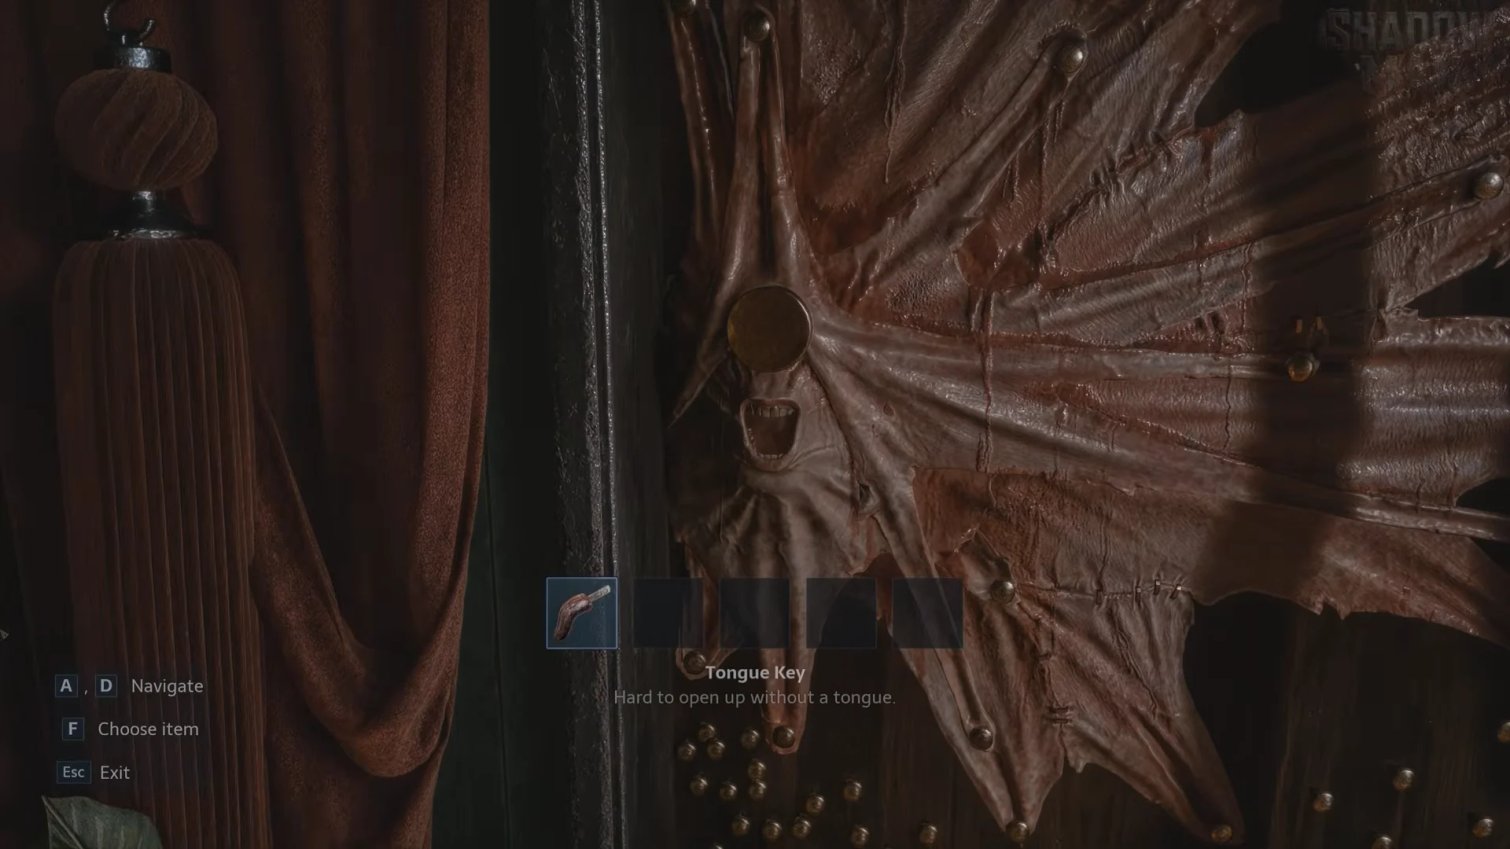
Take it away key-language and return to the strange door with a picture of a mouth.Use the obtained item on it.Behind the door, the transition begins to the operating room, where Bruno is.This is the next point in which it is better to save ammunition and not have a battle unnecessarily.
Bruno: how to pick up a card without getting caught
In the operating room, Bruno is busy as a prisoner, but periodically inspects the room.Don't run to the card directly.Sit down, walk along the balcony, then go down the metal stairs and move between the tables, screens and gurneys.Follow the direction of his gaze.When Bruno moves away from the center table, you have a short safe window.
Needed Bruno key card lies to the left of the operating chair, on a cart near the victim's location.Approach from cover, take the pass and retreat in the same way to the door under the green “Exit” sign.Use the card on the reader.It is more profitable to pass here without alarm: you will still have rooms with ordinary cultists and enemies in armor.
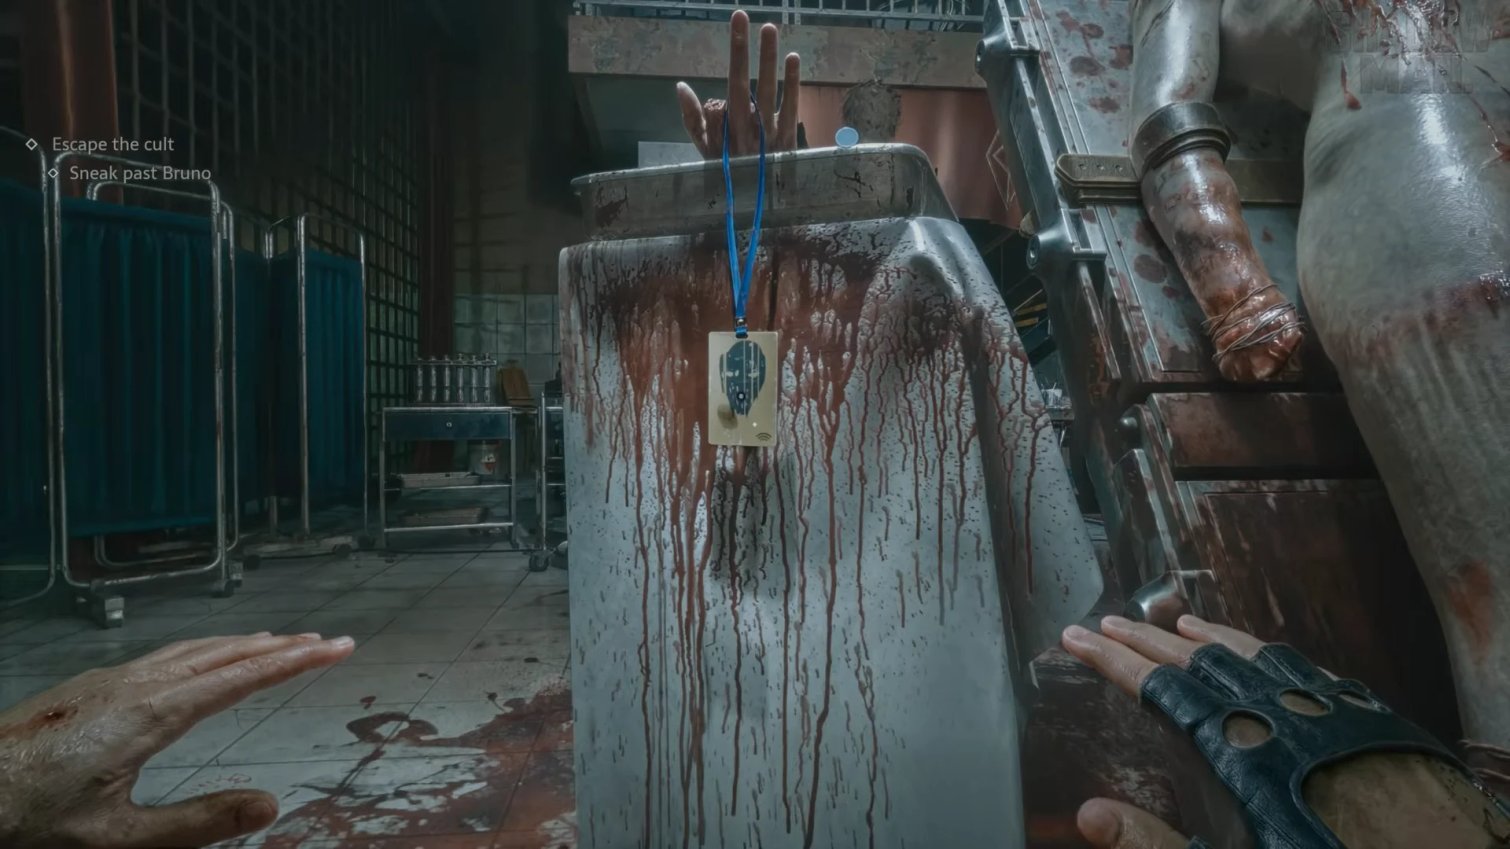
If you are spotted, don't feel like you need to defeat Bruno on the spot at any cost.The goal of the task is to gain access and get out of the operating room.If the entry is unsuccessful, it is easier to reload the nearest save and repeat the quiet route.
Corridor with paintings: code 9901 and meeting with the Nutcracker
Behind the door with the pass is the gallery.There are paintings with memorable dates on the walls, and near the entrance there is a cabinet with a digital lock.The required combination is taken from two tablets - with the numbers 99 and 01. Code 9901 opens a cabinet with useful supplies.If a particular version shows the dates read in reverse order, try 0199. This is an optional stash, but it contains consumables for later fights.
The large diamond-shaped figure in the gallery is not yet operational.Remember the place and don’t waste time on random turns: we’ll return to the mechanism after we find the tip of the Leviathan.Now go into the open side passage and go down the stairs.There is a save point on the wall below.It's better to use it before opening the next gate.
Then the first serious chase begins from Nutcracker.Don't stand still and don't try to fight your pursuer.It is important to recognize the moment when he appears right in front of you: make a quick turn and run along an open corridor.In some places the chains catch Aiden - quickly press the shown release key.At the end, head towards the bright exit, which will lead back to the hospital area.
The chase has scripted turns, so mechanically remembering “three times left and two times right” is worse than keeping an eye on the obstacles.If the path is suddenly blocked by an enemy, this is a sign to turn around.Don't stop to check dead-end niches.
Knife, secret passage in the library and sneak attacks
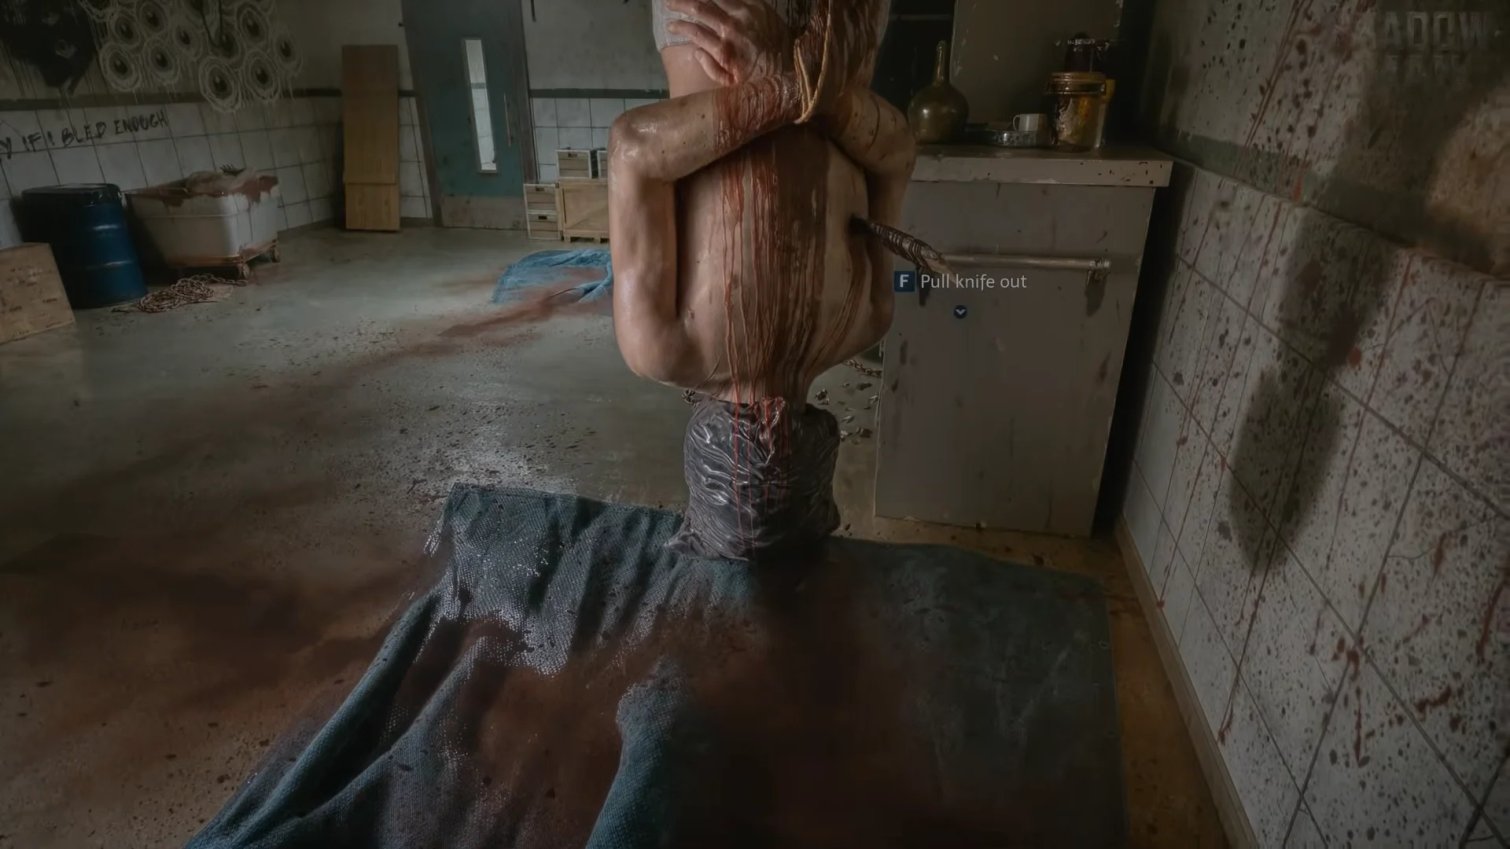
Back in the hospital corridor, open the green door and find a body from which you can pull knife.After this, the first mandatory contraction will occur.Try not to use up more valuable items ahead of time: a knife is needed primarily for covert eliminations, and they significantly save ammo.
In the next room, find a bookcase.Interact with the shelf, wait for the volume to fall out "The Collected Poems of Emily Dickinson", lift it and insert it back into the opened niche.The cabinet section will slide open to reveal a hidden hallway.Crawl inside and eliminate the cultist standing with his back if he has not yet noticed the hero.
Further on there are several rooms with patrols, and it is better to move from cover to cover.Approach a regular cultist from behind in a crouch, wait for the silent strike command to appear, and act only when the second enemy is not looking in your direction.This behavior will gradually advance the achievement beyond ten stealth kills, but more importantly, it will save your weapon until difficult encounters.
In the library, carefully search the premises before going through the next heavy door.Important finds are scattered throughout the restrooms, archives and laboratory benches.Items available at different difficulty levels may vary slightly, so rely on the name of the room and the location of the story exit: the number of items may vary.
Machete, cleaver and heavy club: what to leave in your inventory
In the archives after the shelves lies machete - look under the washbasin near the mirror.Later in the room with baths you can pick up cleaver.These two blades help deal with ordinary opponents, but their resource is limited.Choose a tool for the nearest threat and do not carry everything if your inventory is already filled with items for the task.
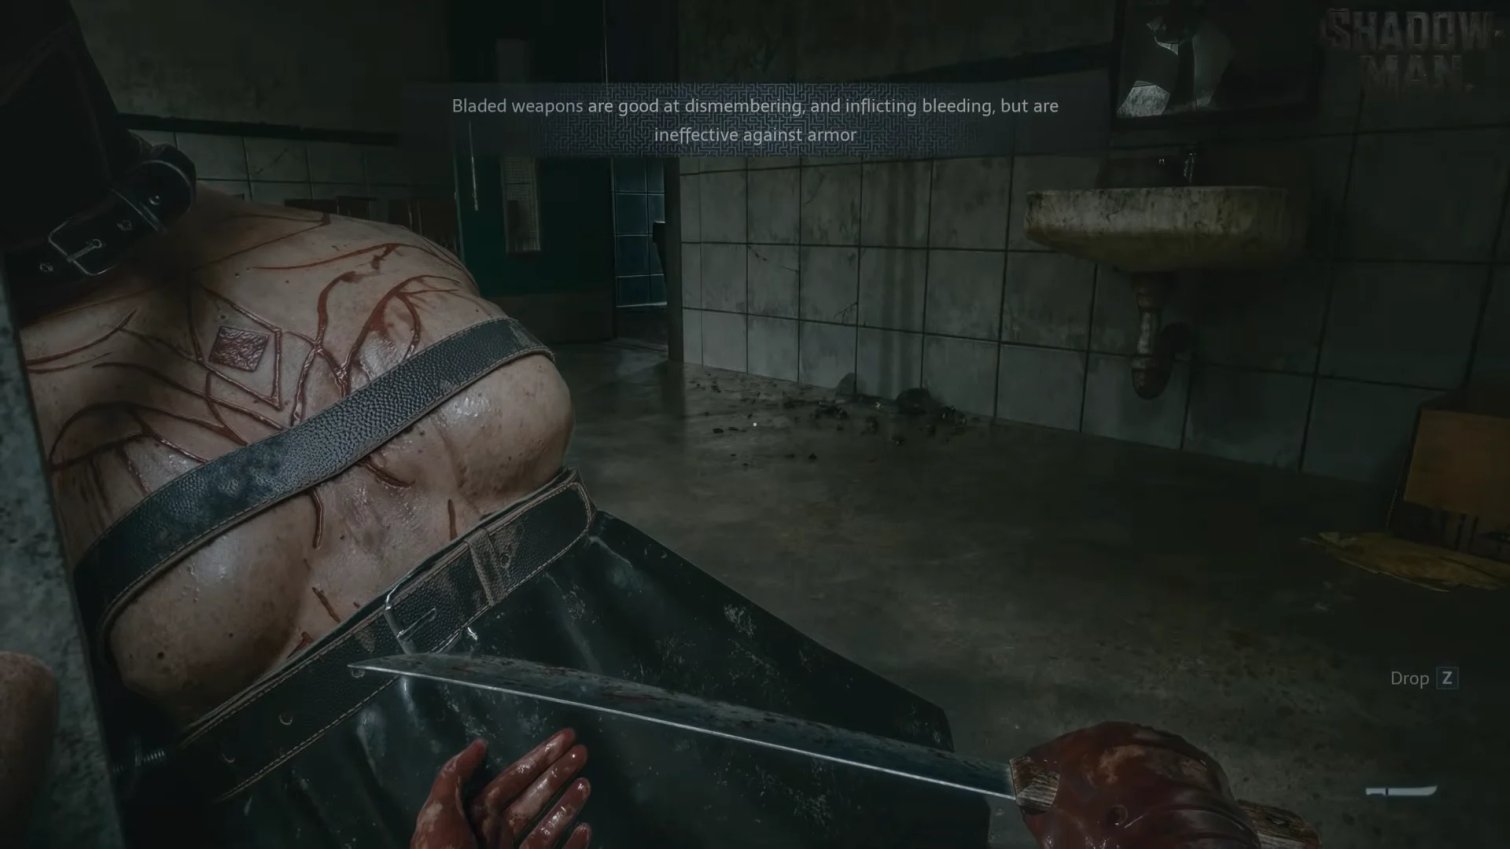
On the way through the hospital rooms there is another optional locked cabinet.After the library room with two enemies, look for a panel with a code: 9891.The combination is suggested by the numbers on the back of the body in the nearby bathroom.If you decide to open the closet, first make sure that there is no patrol around, so as not to spend the entire interaction under attack.
It is much more important not to miss heavy club.In the workshop with a large saw table there is a heavy crushing weapon.Pick him up while the armored patrol is distracted.Unlike cutting weapons, the club is good against armor.If you manage to find a repair kit, it’s worth restoring it later.
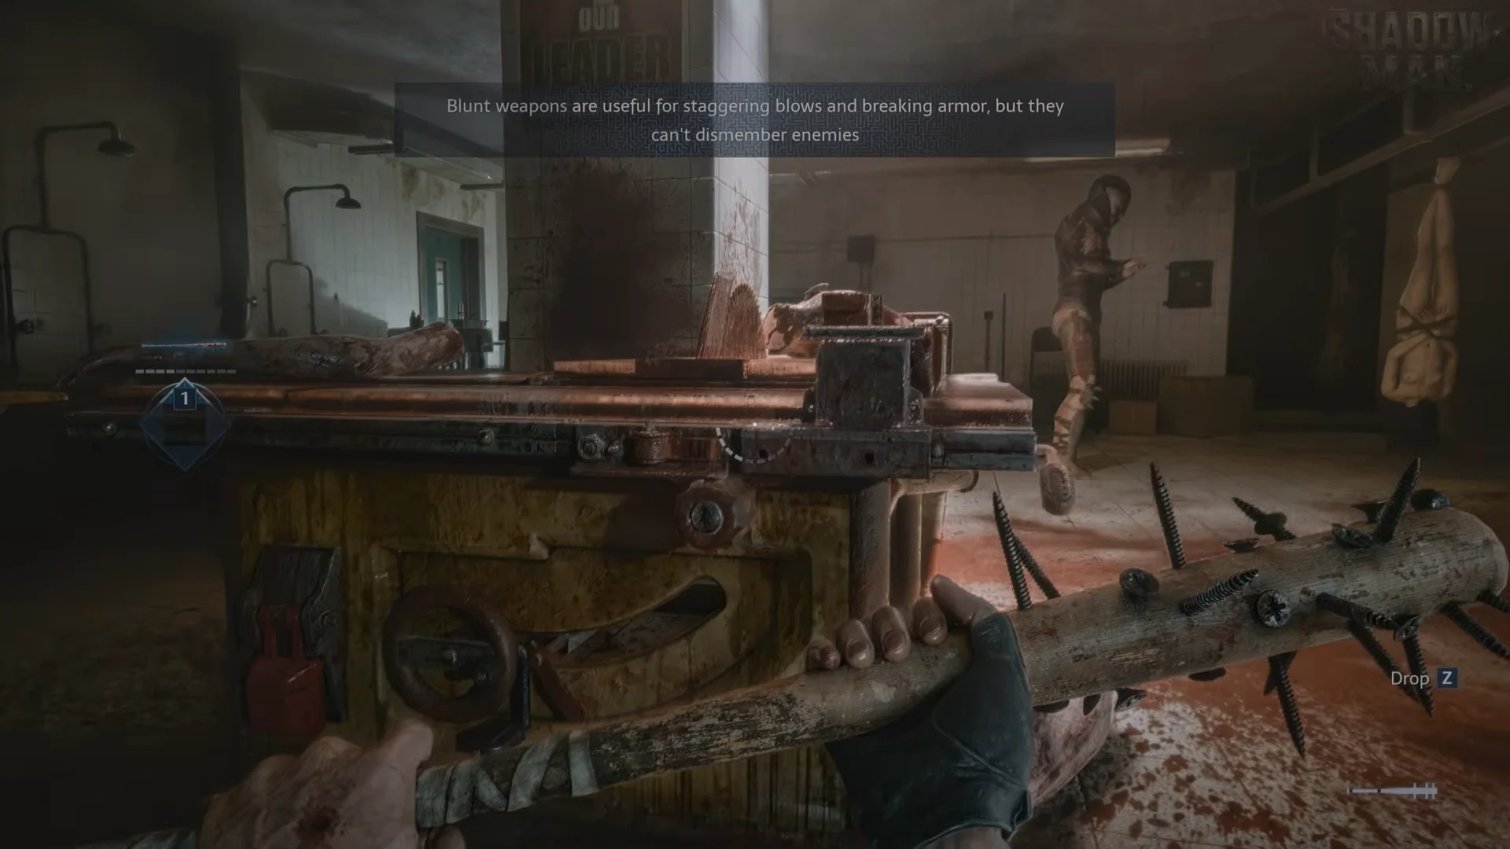
When leaving the workshop, do not necessarily try to destroy all the guards.If the path is open and you are not being pursued, saving health and ammo is more important than completely clearing it.But be sure to inspect the rooms where new tools and inventory upgrades are located: you won’t be able to go back very far after the plot transition.
How to restore power in room 206 and get a gun
The lights in the next corridor go out.On the right side take flashlight and turn on the flashlight.There is a note on the locked door with a hint about ward 206.This is where you need to go.Walk along the corridor with the chamber numbers: first 208, then 207 and 206. If you want to save resources, find a weapon repair kit in 208, and coins and herbs in the adjacent rooms.
B room 206 go to the green button next to the viewing glass and activate the switch.He will restore power and remove the blockage of the metal passage in the corridor.From here, return to the door where you previously found the note.Now it will open.
Behind her lies a wounded detective.Interact with the character and take pistol - the first firearm in your collection.Nearby will be a recipe for ammunition and some consumables.Pick them up, but do not reset your entire stock of materials at one moment: there are opponents ahead who are easier to bypass or stun with a club.
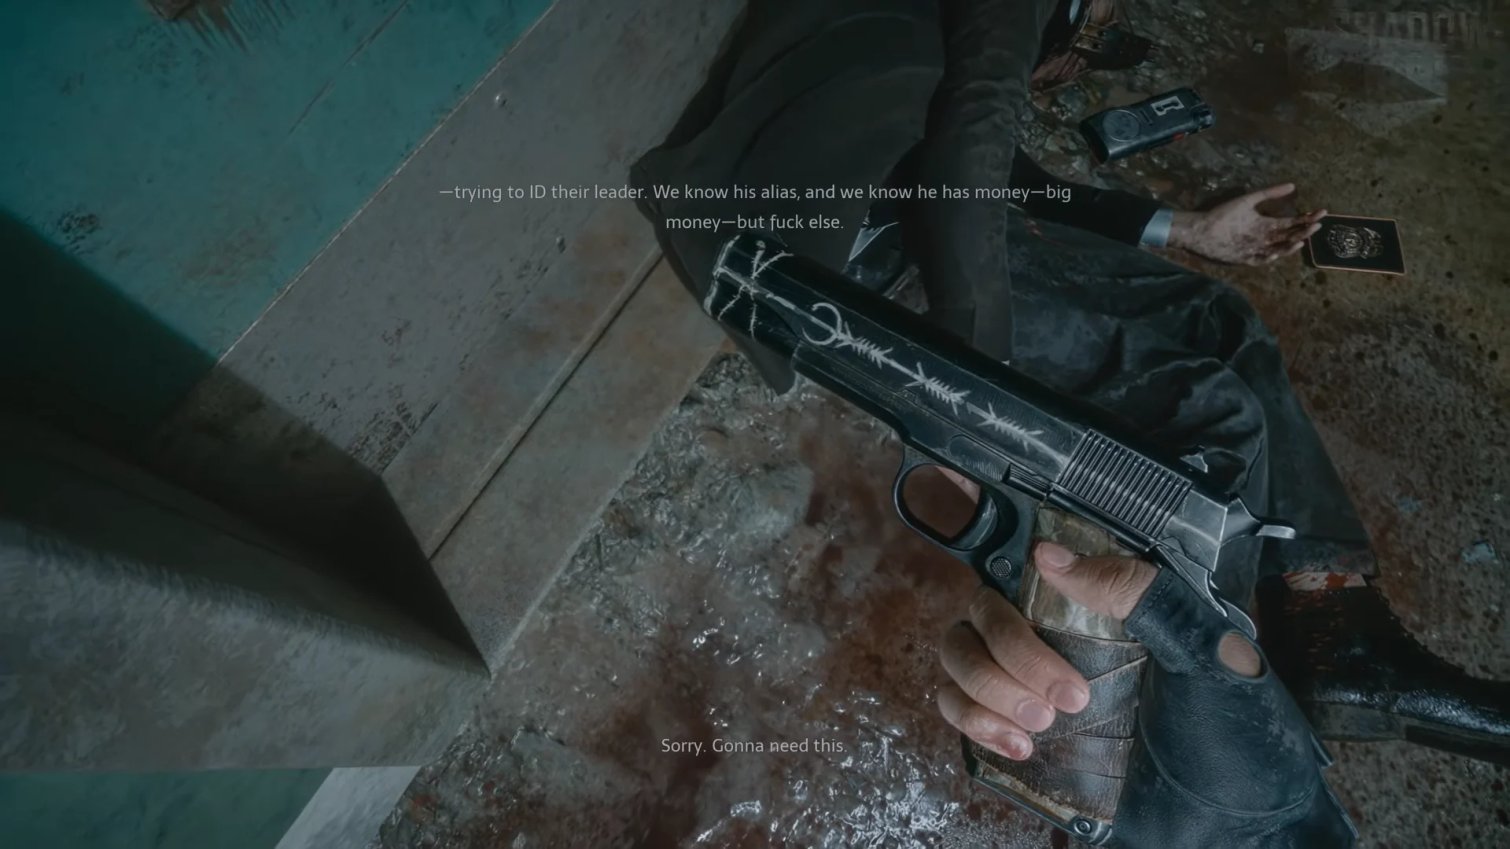
For the full set of trophies this is first of five types of firearms.The other four weapons will appear later.If you miss a pistol and leave part of the game, picking up the remaining ones will not compensate for this mistake - so be sure to check that it is in your inventory before the next big location.
Living quarters and path to the chapel
From the corridor with the first pistol, move to the utility rooms.Behind the green door near the fire alarm are boxes of materials.Then small rooms will begin: a kitchen, a living room, a shower room and a room with sleeping places.In the kitchen, it is often possible to silently remove the enemy at the counter.If shooting does start, retreat to a narrow passage and use the surrounding objects as cover.
Continue through the far exit of the living area, past the area with the plastic curtains and up the steps.In the next room, candles are burning, and cultists are patrolling nearby.Do not linger in the doorway: you will remain a convenient target for two opponents at once.Climb the wooden stairs to the upper corridor, save your game and move towards the opening leading to the chapel.
Chapel: how to survive the battle and find the tip of Leviathan
In the chapel, several cultists are located near the altar and a large statue.If you approach carefully, one of them can be eliminated covertly.The opponents will then notice Aiden and the battle will become open.Try to keep your distance from the fire: one of the enemies uses flammable objects.A heavy club will come in handy in close combat, especially if the enemy has protective equipment.
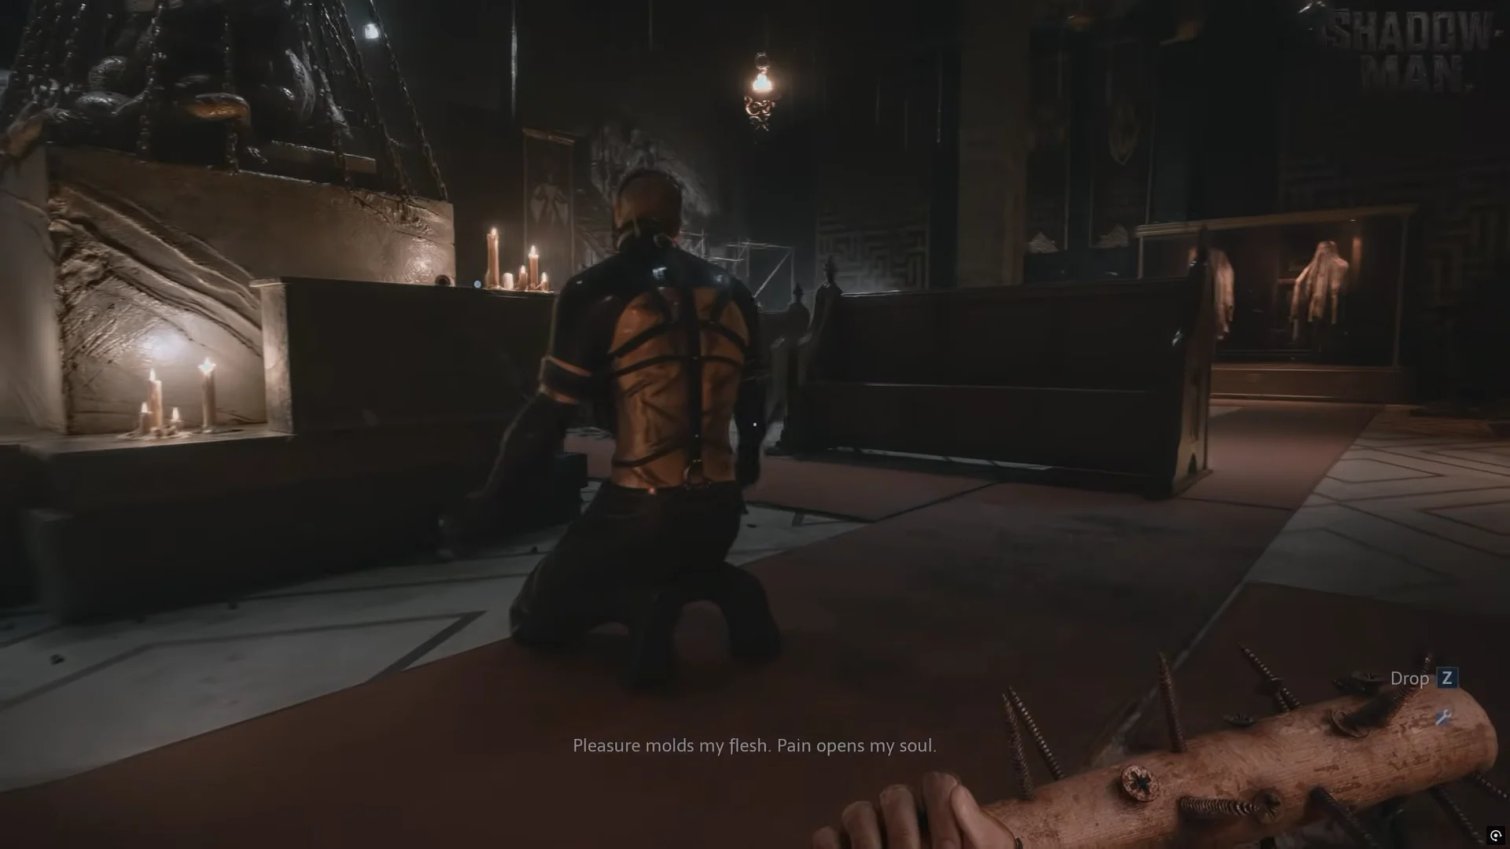
After the fight, examine the room at the exit - next to the locked door, marked with a picture of a duck, there is a small service area.Lies on the table with monitors Leviathan tip.Don't leave here without taking it: it's the missing piece of the large diamond-shaped mechanism you already saw in the corridor with the paintings.Improvements in inventory capacity can also be found in the office;check the locked cabinet.
Return to the chapel and go through the opened grated door to the gallery.The diamond-shaped figure of Leviathan still stands there.Now that the tip has been found, the mechanism can finally be restored.
Leviathan puzzle: collect the diamond and get a BDSM duck
Go to the pedestal, open the plot items section and install Leviathan tip to the top of the structure.After this you will be able to rotate the segments.What is important here is not the set of clicks, but the final pattern: the maze lines on all parts of the rhombus must connect, without breaking off at the joints.
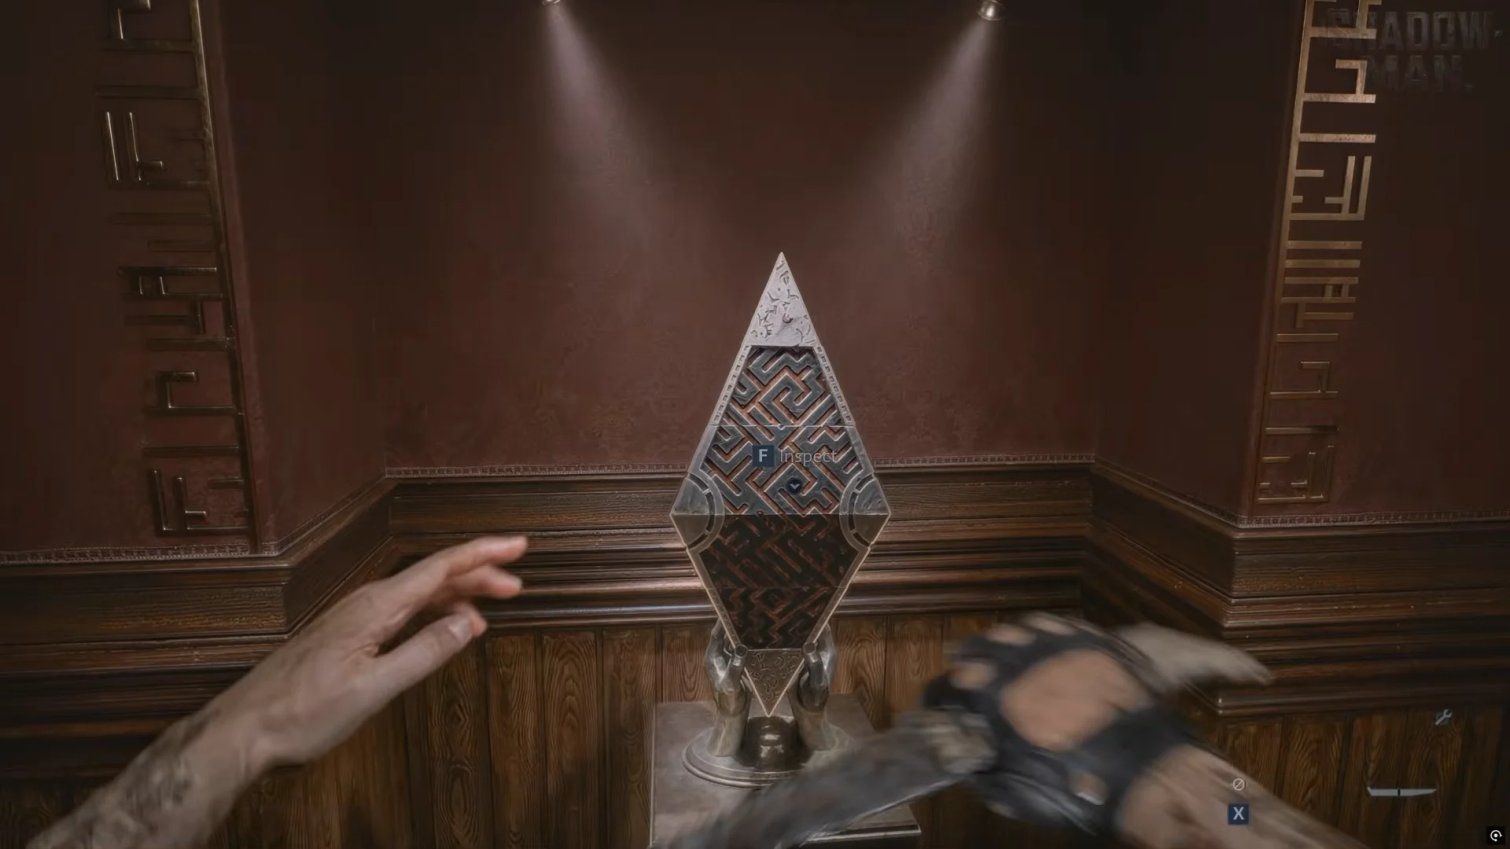
In a common starting configuration, it helps to turn the middle section once and the bottom twice, without touching the top.But for individual passages the starting position may differ.If the item does not open, continue to rotate the elements until the pattern matches, rather than repeating one combination blindly.As soon as the outline is assembled, the figure opens up and gives away BDSM duck - a small key item.
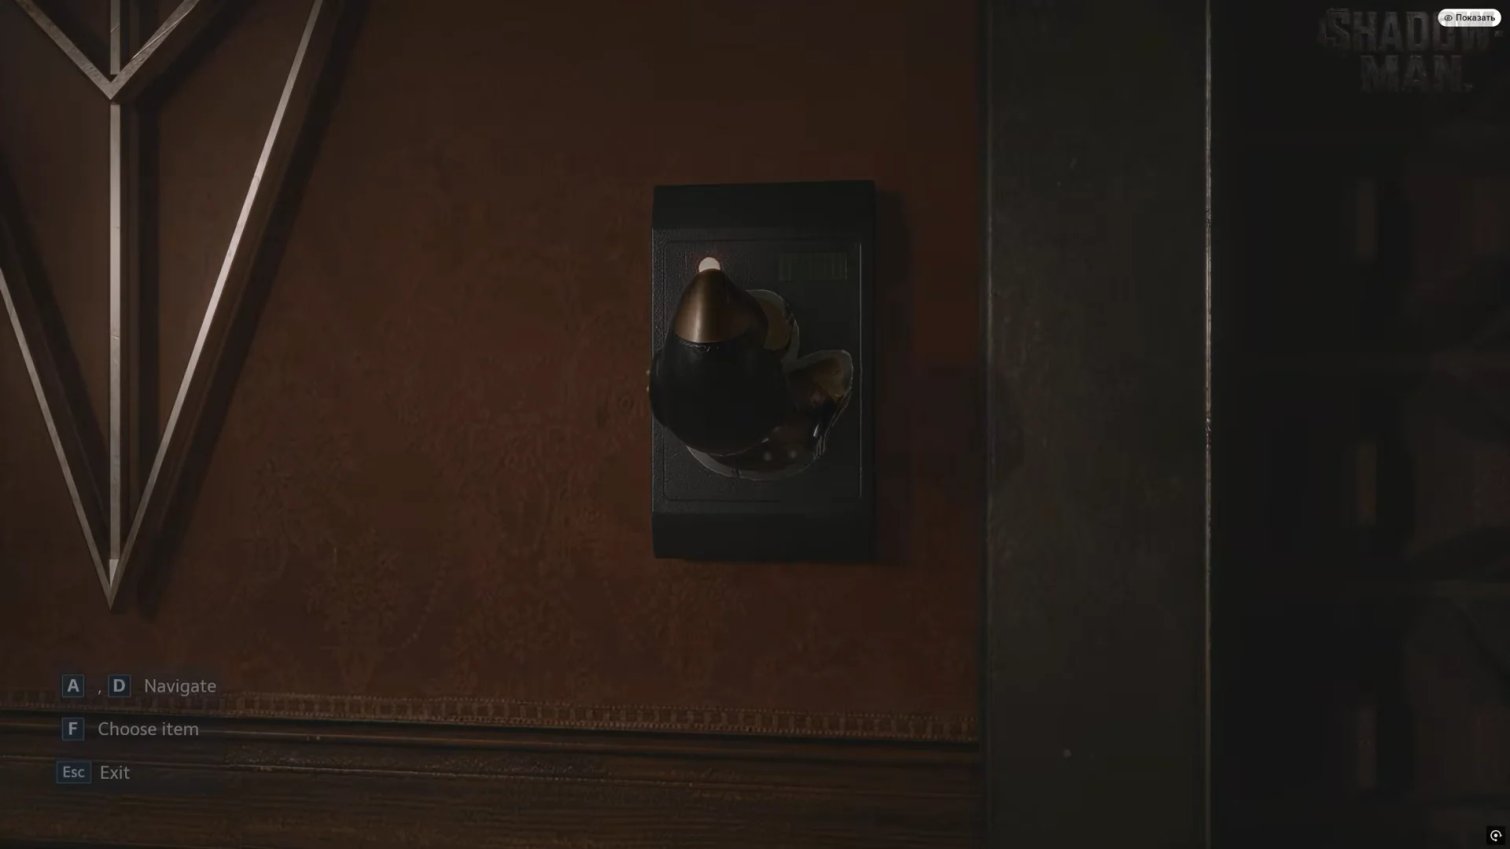
Return to the service door near the room where you found the Leviathan tip.There is a duck on the reader - this is the same lock.Insert the BDSM duck, wait for the electronics to unlock the door, and move on.If the card does not work, check that you are standing in front of the right terminal, and that the duck itself is indeed among the key items.
What you need to pick up before going to the club
Before leaving the Scarlet Church, check that pistol and knife are not missed, and important items for riddles have already been used.Anyone who strives for trophies should also check their recipe record: for headbands, cartridges and other crafts, the game does not show full statistics of already made options.It is better to record each new production manually.
Don't try to find all five types of firearms or all ten pillars right here: they are distributed throughout the further passage.The early stage is needed to get your first pistol, unlock save rules, learn how to move stealthily, and master the Genesis Configuration puzzles.
Go up the long stairs.The escape from the Scarlet Church is complete.The next stop is the club: there Aiden will have to get into the closed part of the building and return the Genesis Configuration.
Sign in or create an account to leave a comment.
Be the first to share your thoughts.