
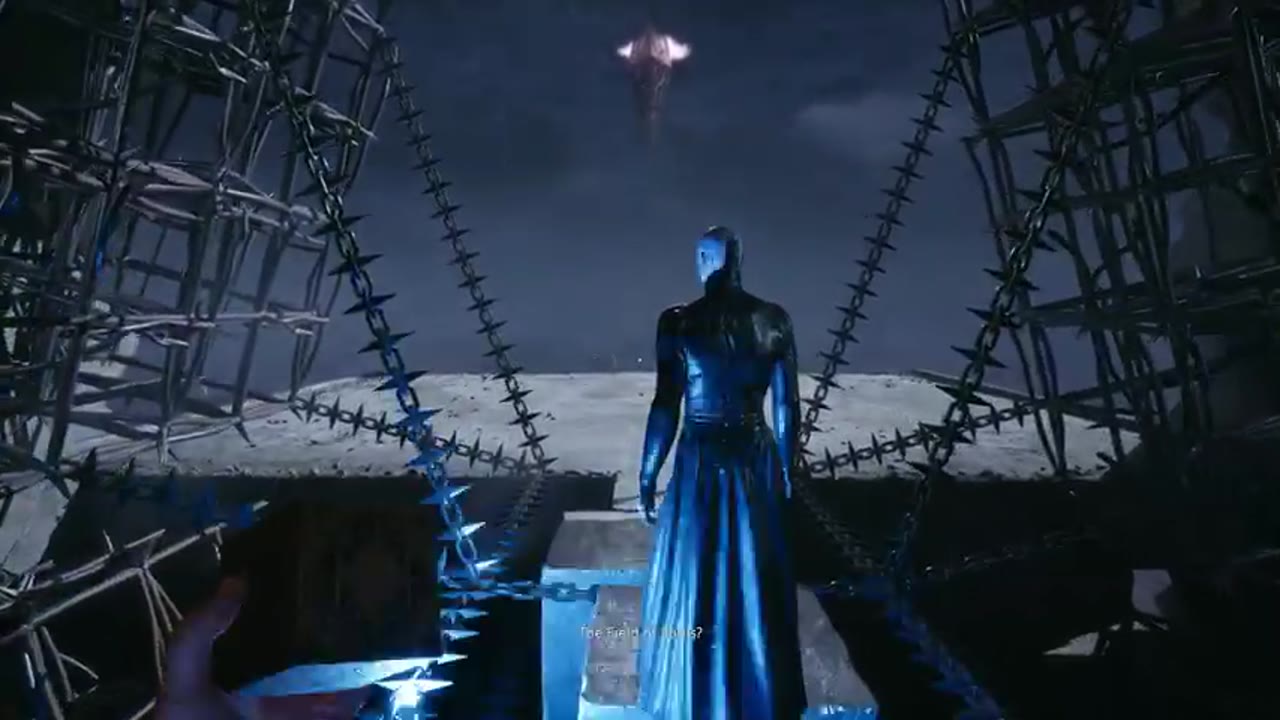
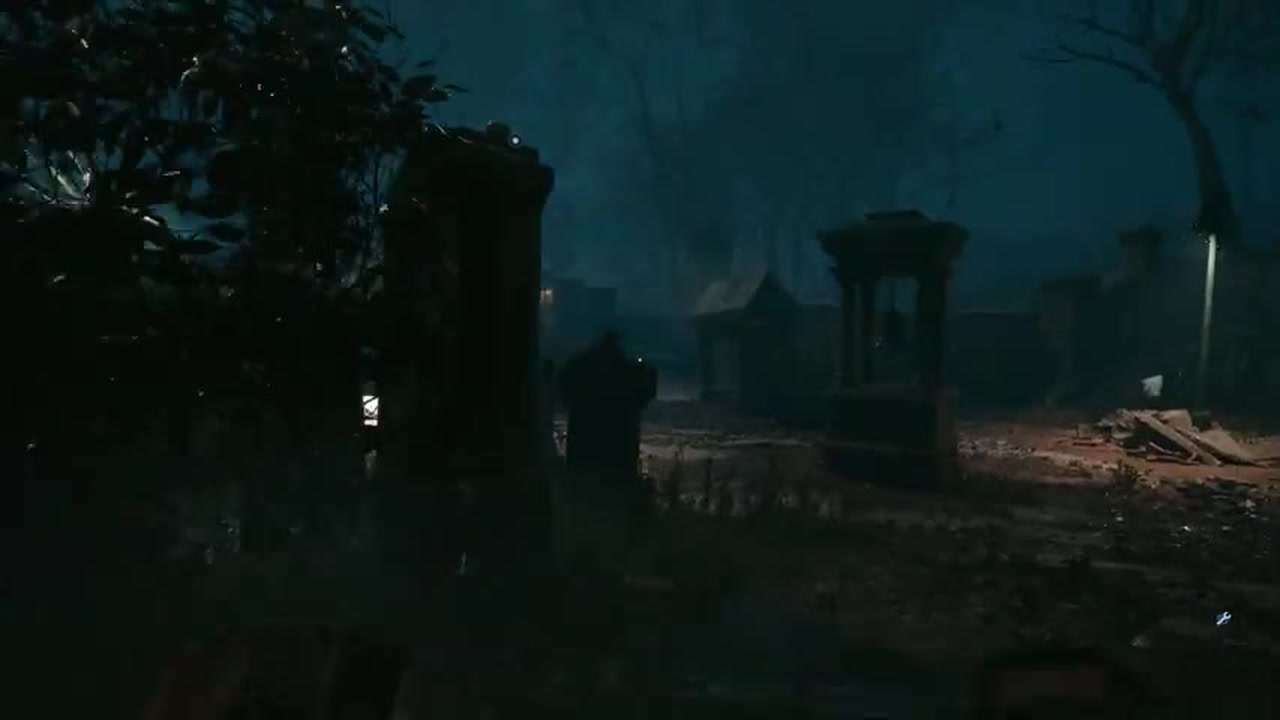
The cemetery is behind, and the deal with the cenobite has already been concluded.Now Aiden must return to the Labyrinth and pull Sunny’s soul out of its pillar on the Field of Souls.The road will be long: spiky corridors, puzzles with the Genesis Configuration, a second Chatterbox chase and several finds that are easy to miss.In this part we will go from the cemetery scene to the resurrection of Sunny, look into the apartment and go to Zora for some new clothes.
This is a continuation third part of Hellraiser: Revival walkthrough.The game does not have a choice of chapters, and you cannot return to an already completed area, so manually save before each major section and pick up everything on the first pass.The names of objects and actions are given in Russian.
Spoilers: Below are the story scenes, pillar locations, and puzzle solutions.If you want to figure it out yourself, read only about the place where you are stuck.
1. The deal at the cemetery gates
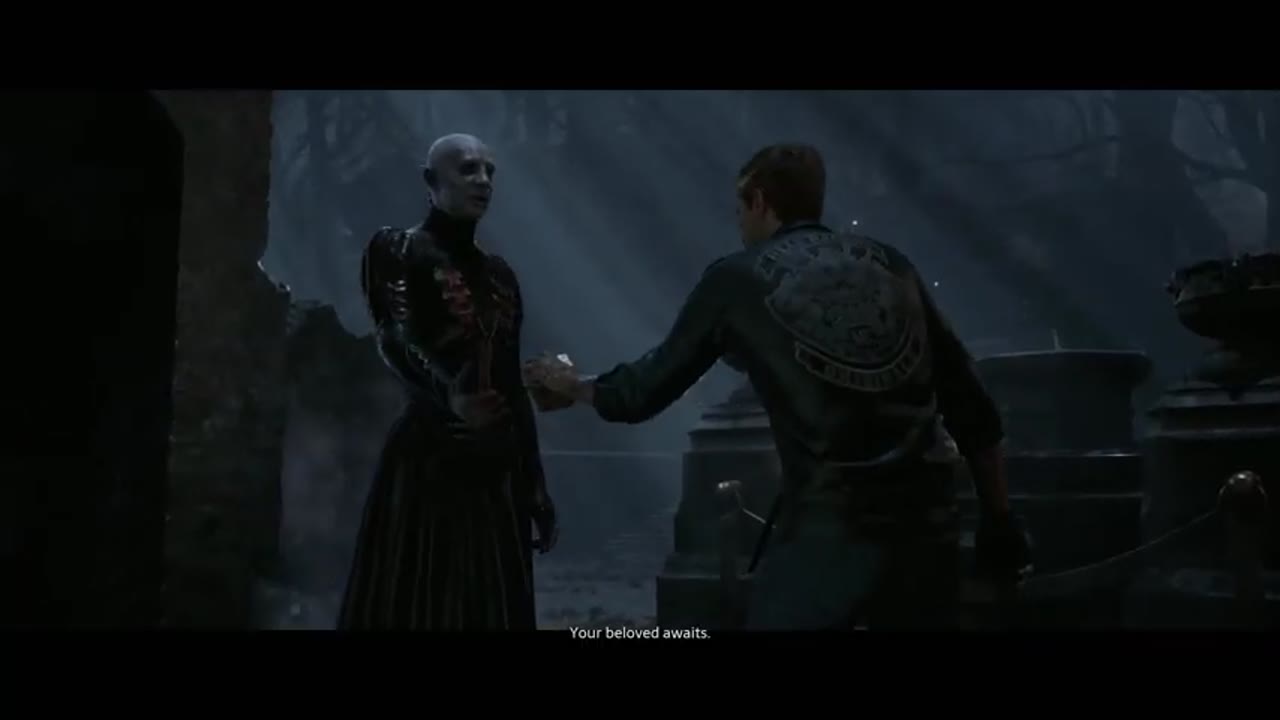
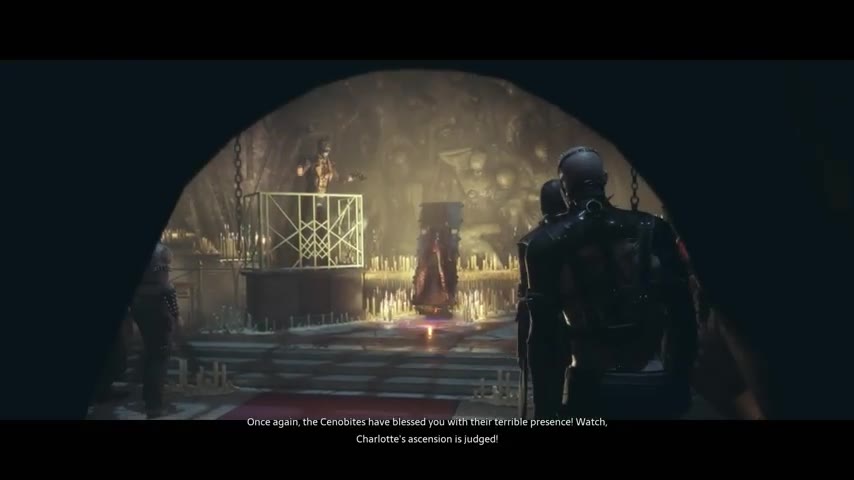
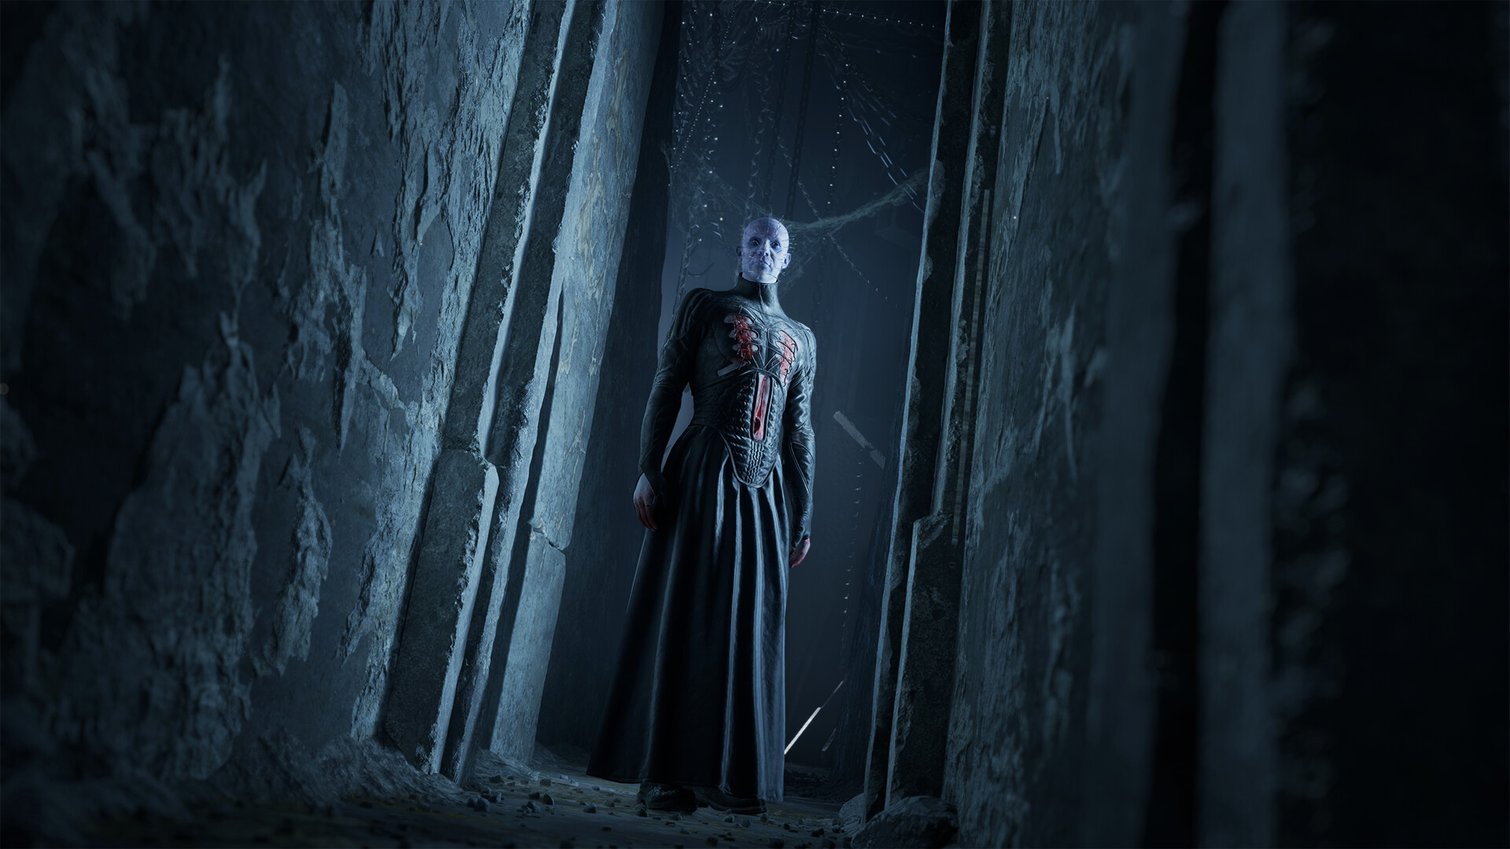
After the scene at the chapel, the Cenobite offers Aiden a treaty.Sunny will be returned, but in return the hero’s flesh will belong to the Cenobite: when the time comes, he will come for his payment.Aiden agrees, and the plot scene transfers control already in the Labyrinth.At the same time, an achievement unlocks here for talking with the Cenobite.
2. Warehouse and preservation in front of the Labyrinth
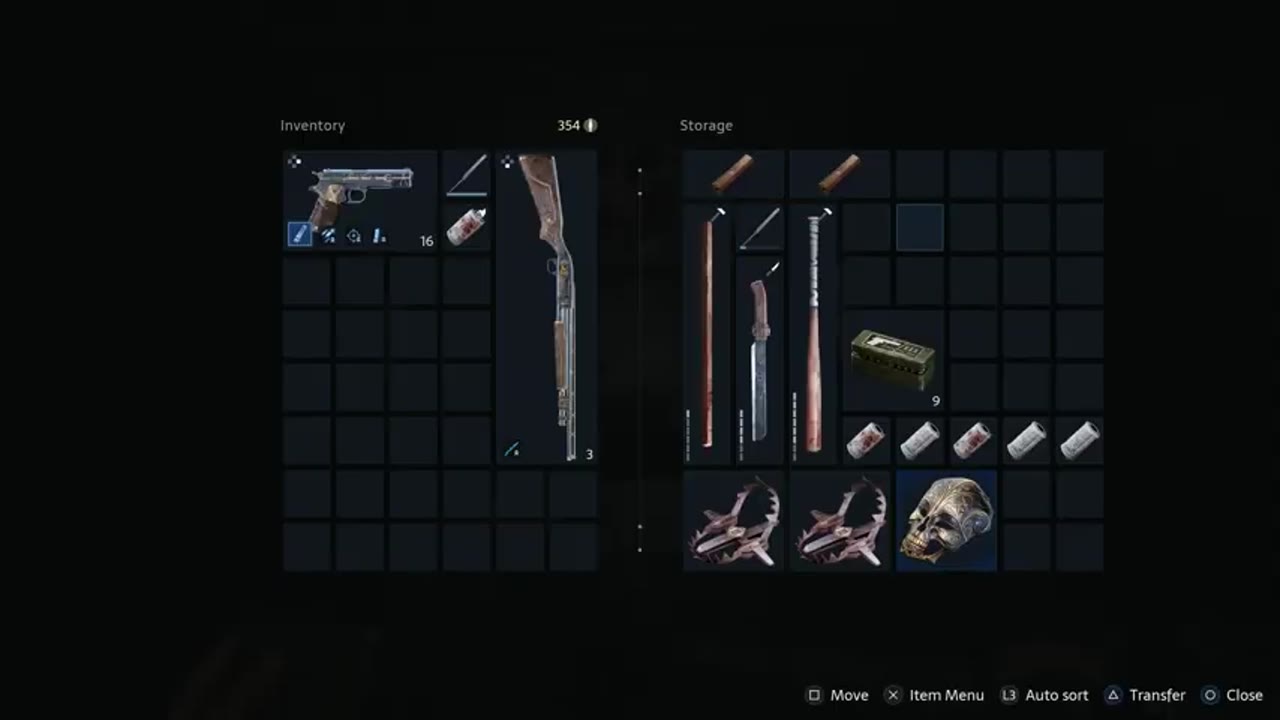
Before entering the Labyrinth, open the storage room and disassemble the inventory.Without selecting chapters, you won’t be able to return for what you’ve forgotten, so it’s better to immediately transfer the excess to the warehouse and free up the cells for finds.Leave in your bag what you will use: a pistol and a shotgun with ammo, healing consumables and a couple of spare melee items.
Make a manual save in a separate slot.The maze is built of long traps, and one mistake can set you back several minutes.
3. Goal "Free Sunny's soul"
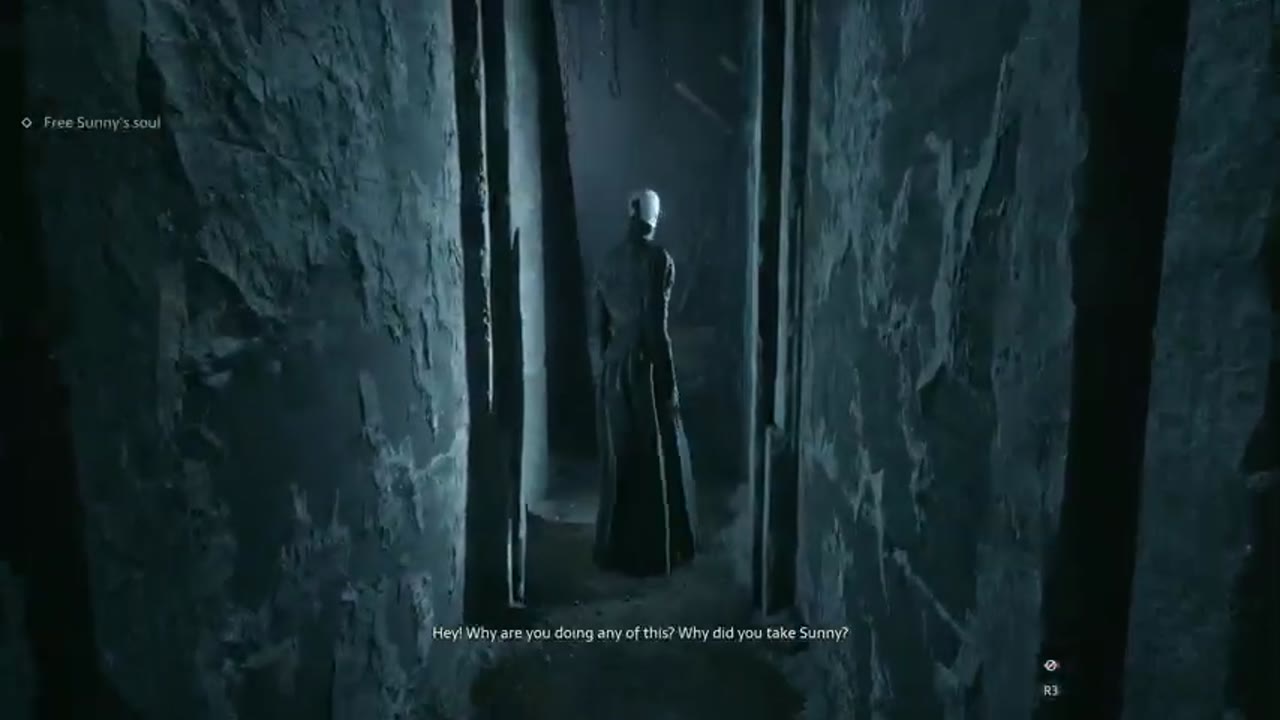
Once Aiden is in the Labyrinth, the item “Free Sunny's soul” will appear on the task list.The cenobite walks ahead and sets the direction, but there are no detailed instructions here.The game pushes forward along a single passage, with branches leading to pillars and finds.Don't jump straight to the finish line: this section contains hidden upgrades that affect your health and your supply of Suffering.
4. Pillar of pain No. 1: room with a bloody hole
The first corridor is blocked by a rotating diamond that goes back and forth.Pass it at the right moment and move on.At the next fork, turn right where you can see a bloody hole in the wall: behind it lies a room with four similar holes in a row, and on the opposite side stands artifact-pillar.
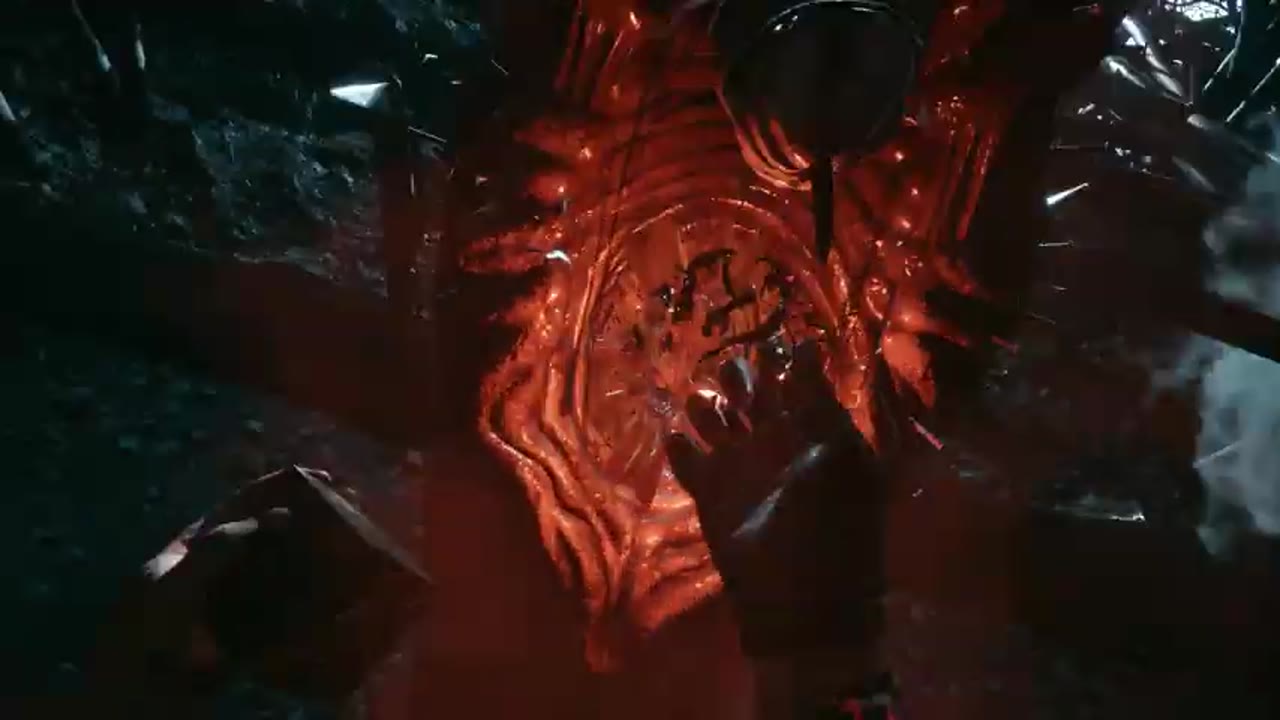
When you activate this pillar, your health will increase, and the game will give you an achievement for the first artifact of the Labyrinth.There are five such pillars of pain in the game, so you should take the first one right away: you won’t be able to return here later.
5. Pillars of suffering and a hint about the Field of Souls
Further, the Labyrinth forces you to solve spatial problems.In one of them you need to go through a rotating pipe with spinning traps.By completing it, you will receive an achievement for completing three Labyrinth puzzles.
Pillar of suffering No. 1 is located after the area where you run past spiky walls under a falling ceiling.At the next intersection with a red light from the wall, turn left: ahead you will see a pillar on the platform, around which traps rotate counterclockwise.
Pillar of suffering No. 2 hides in an area where Leviathan is visible in the distance, and Chatterbox appears around every now and then.Reach a place with several arches and immediately turn around: the pillar is standing behind you.If you reach the arch with two blue lights and gold details, you've gone too far.
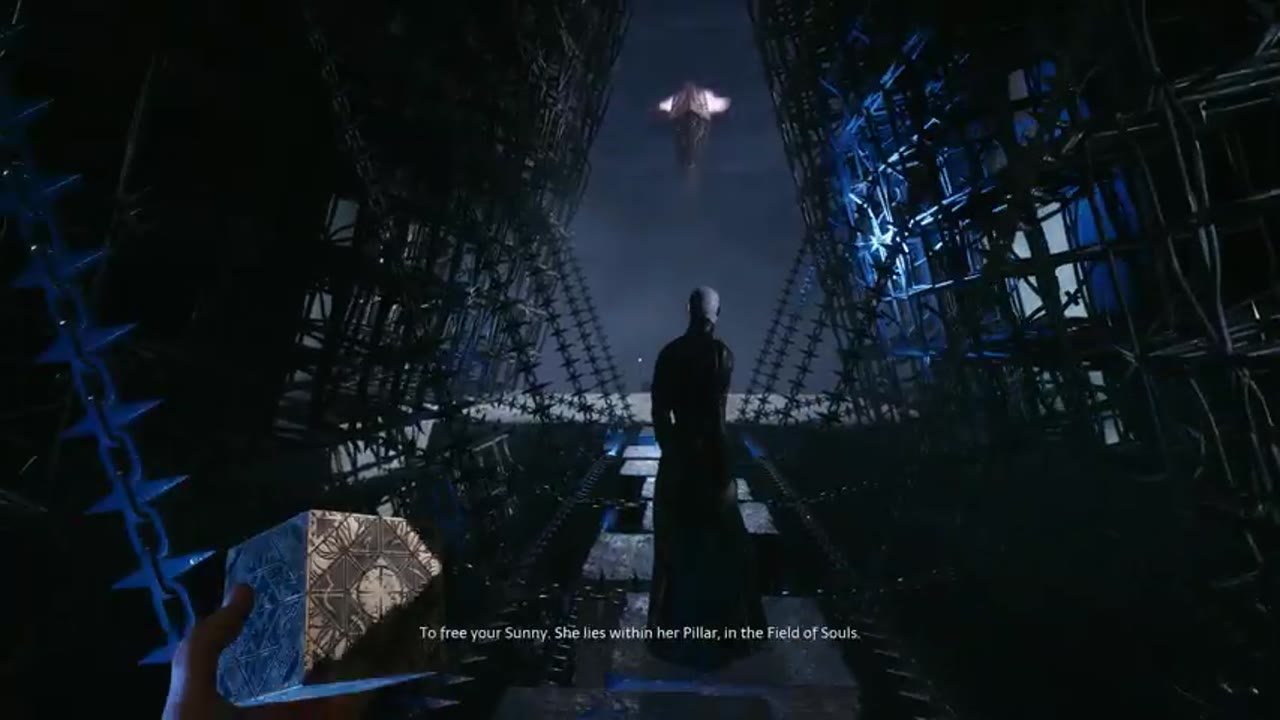
Along the way, the Cenobite reminds you where you are going: Sunny's soul is locked in its pillar in the Field of Souls.This is where the main road leads, and all other pillars are needed only to strengthen the hero.
6. Chatterbox's second chase and the prisoner's cell
At the exit from this zone, another chase begins.The rule is the same: run along those corridors where Chatterbox is not, and if he appears from the side or in front, change the path.This time there are blocks on the road that will have to be moved by the Genesis Configuration.
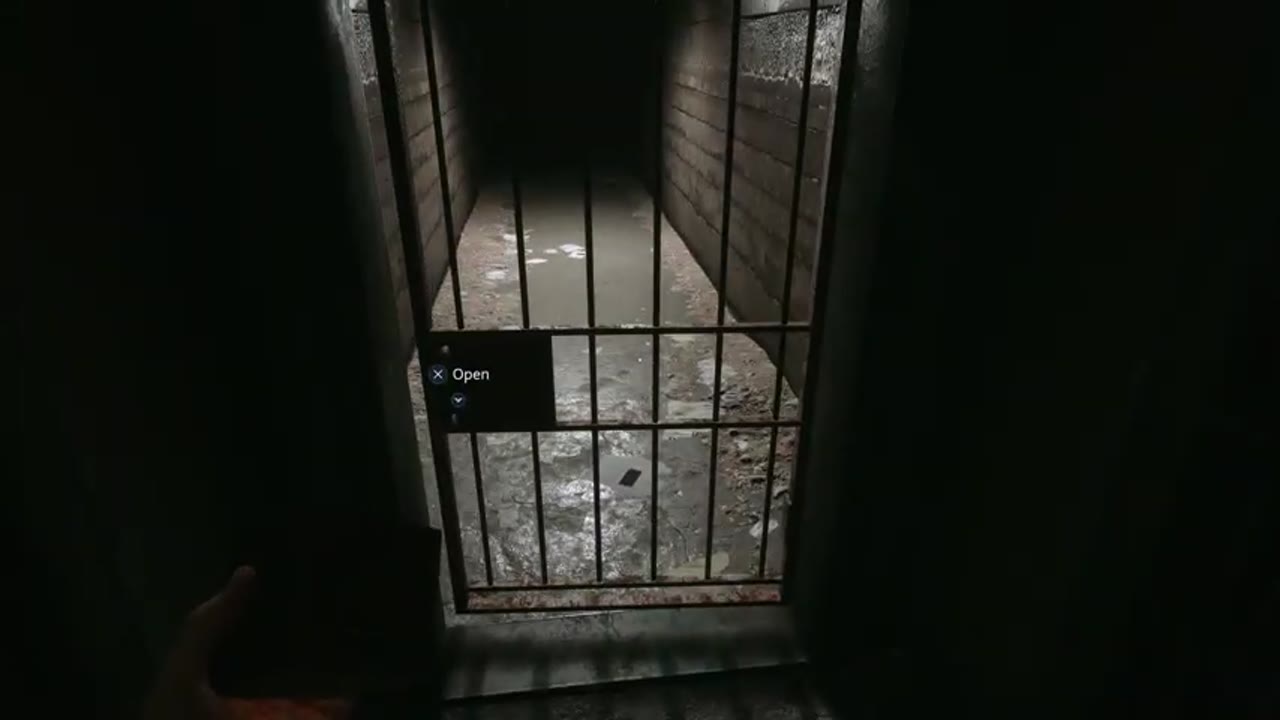
In the middle of the chase, Aiden is thrown into a prison cell.Open the bars, deal with the prisoner and return to running: the scene is short and obligatory.
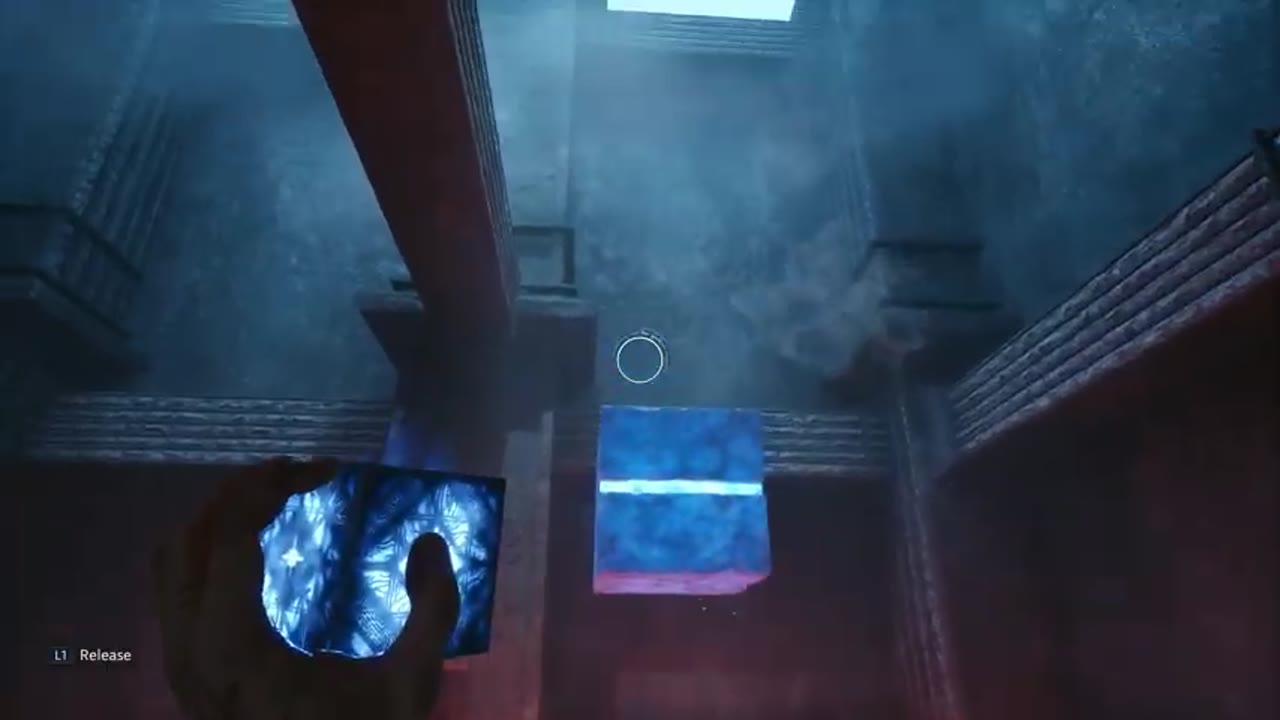
When you reach an open hall with many columns, go to one of the sides and lower one block down.Then move the second block to the left wall: it will press a button that will open the exit door.
7. Field of Souls: Sunny Pillar Mold
As soon as the chase ends, the achievement for entering the Field of Souls opens.Aiden finds himself on a foggy plain of stone slabs.Run forward to the Sunny pillar: in order for it to open, you need to pick up the Genesis Configuration form.
A groove will appear on the screen, and the Configuration itself will appear on the right.Rotate it and change the layout until the outline matches the cutout, then confirm your choice.
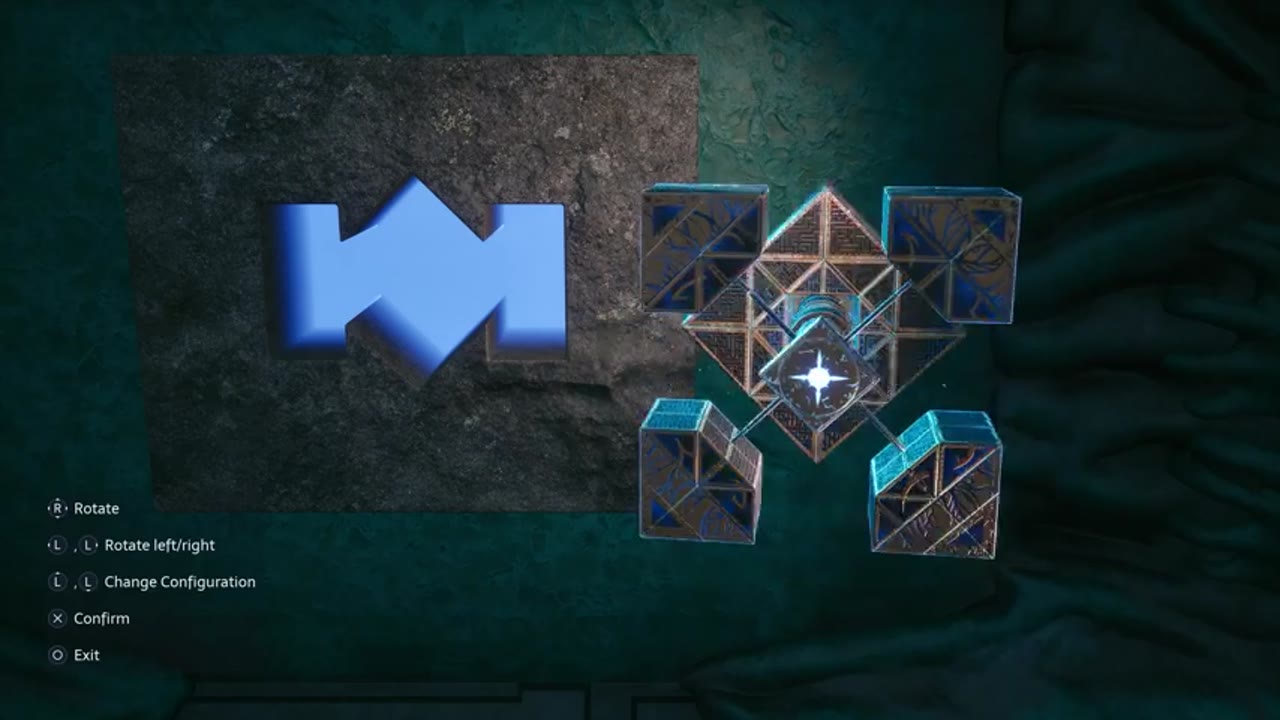
8. Exit from the Labyrinth and resurrection of Sunny
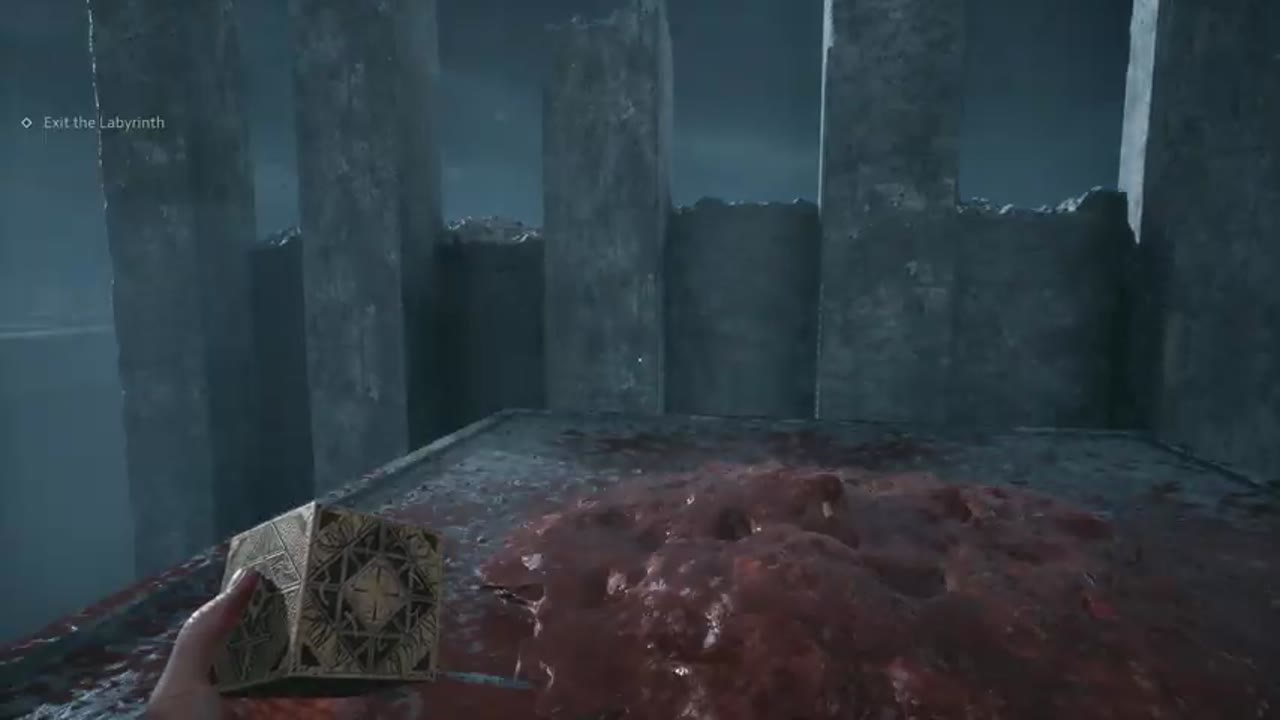
After the puzzle, the “Exit the Labyrinth” item appears in the tasks.The road leads along a red, seemingly swollen area between high columns to the final scene.As soon as you leave the Labyrinth, achievements for resurrecting Sunny will open, and then a scene in the apartment will begin.
9. Apartment: Heart Hunt
In the apartment, Aiden takes control after the scene, and the achievement for starting the heart hunt immediately unlocks.The objective “Hunting Charlotte” appears in the tasks.First of all, inspect the room: the enemies here attack right from the dark corners, and there are a lot of small things for crafting on the floor and in the boxes.
Crafting materials in the game drop out randomly: if you load a save and break the box again, the contents will be different.Therefore, collect everything and do not waste rare resources on low-value recipes.
10. Zora's second shop: shopping
On the street, Aiden finds Zora in her second store.Sell your treasures first: you can't farm coins in the game, and you can't buy everything, so spend them wisely.
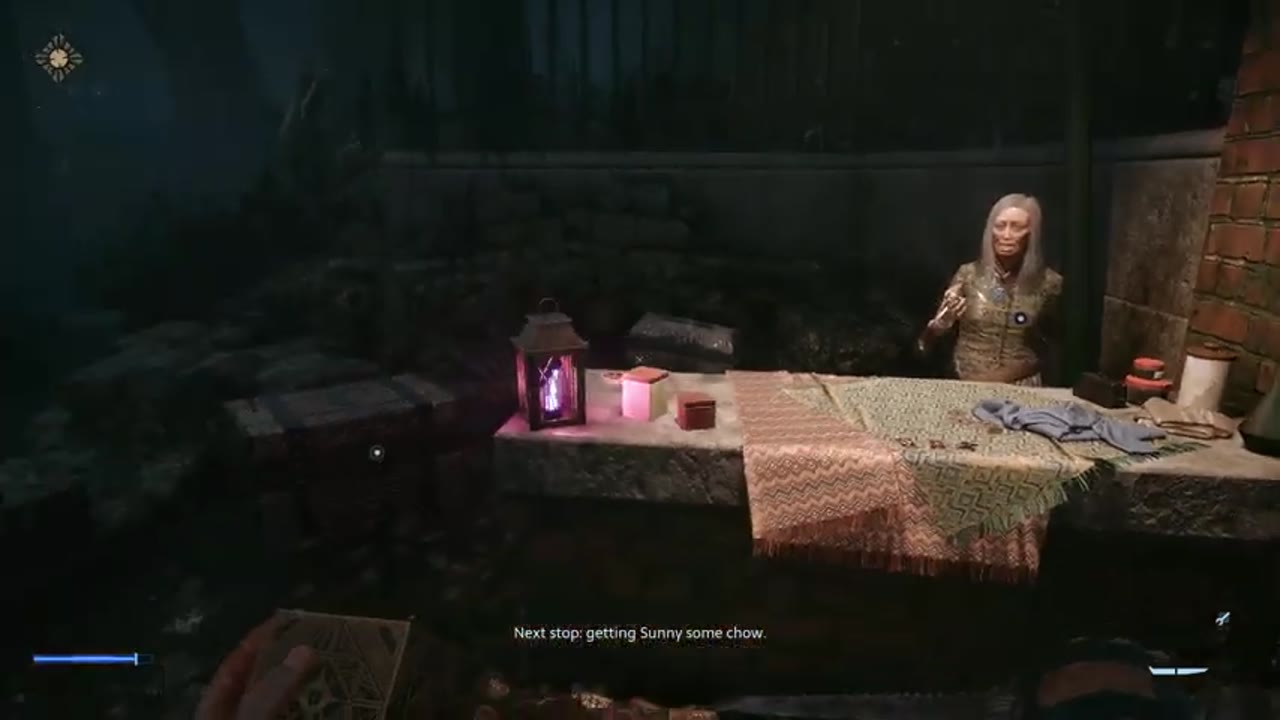
PowerPyx considers the upgrade of the Heavy Grain Bullets pistol for 160 coins to be the most useful purchase.For the shotgun, Zora has a Lightweight Forend for 150 coins.From the drawings, pay attention to the Advanced Repair Kit for 180 coins: it requires 2 scrap units, 1 cloth, 1 chemical and 2 coils.There is also a drawing of shotgun cartridges in the shop for 220 coins, and to create it you will need 3 units of scrap, 1 cloth, 3 portions of gunpowder and another dose of chemistry.
If you don’t have enough money for everything, start with pistol bullets: you will need a pistol most often.The shotgun is best saved for bosses.
Check before the next part
Check the result: the deal with the cenobite is concluded, pillar of pain No. 1 and pillars of suffering No. 1 and No. 2 activated, the Field of Souls is completed, Sunny is resurrected, and purchases from Zora are made.Make a manual save: then the mansion begins, where you have to find bolt cutters, deal with the chain on the door and fight Bruno.We'll talk about this in the next part of the walkthrough.
Sign in or create an account to leave a comment.
Be the first to share your thoughts.