
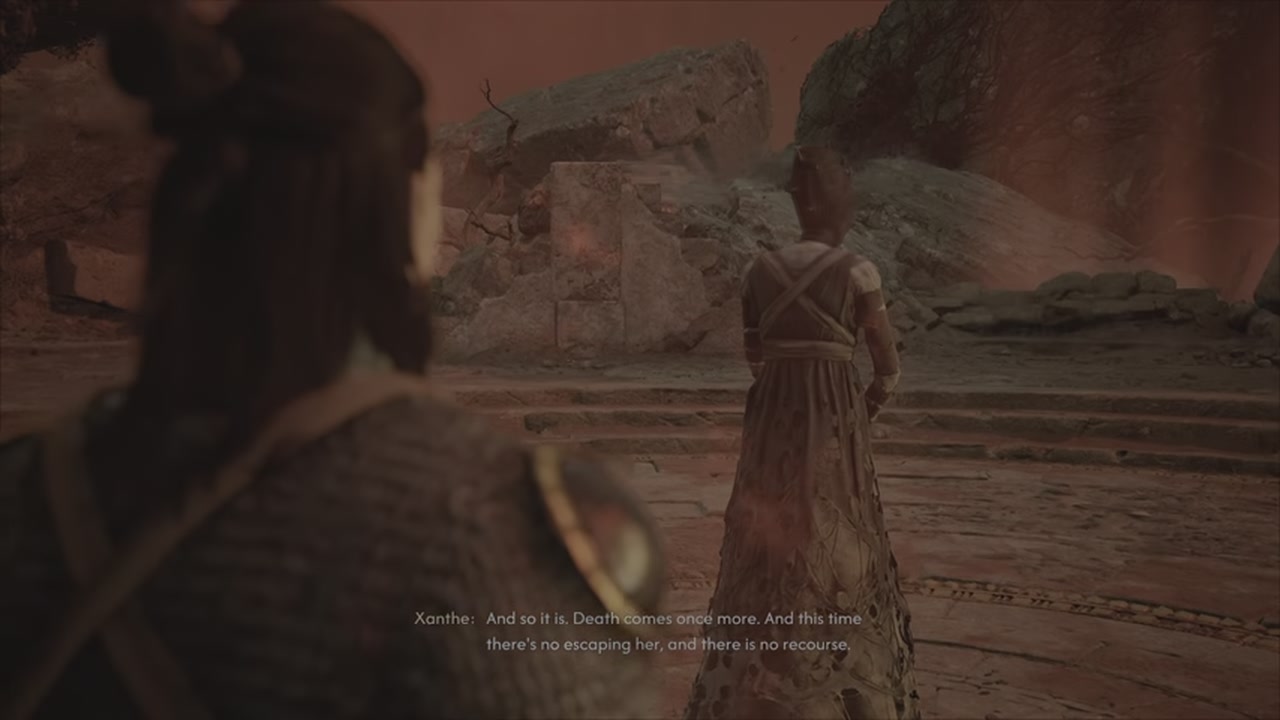
After Ambrus and Bakir, the last vassal of Brentsis remains - Xanthe.Her story leads through Blood Guard camps and ancient excavations to the gated mansion Howling Keep.Inside you will have to carry lanterns between the statues, open blocked passages and fight with the mistress of the estate.The decision after the fight will change the path to the final.
Entire route: complete Court Activities Xanthe until Anger is full → get Xanthe’s Lantern → get to Howling Keep → open passages with lanterns → pick up kennel key → find Relic of St.Dasius → meet Chariklea → defeat Xanthe → decide whether to accept her help.
Spoilers: Further, the mysteries of the mansion, the mechanics of the boss and the consequences of the decision are revealed.If you want to save both options, leave a separate manual save before the end of The Cycle of Love.
In the previous part we went through The Lunar Game, the fight with Bakir and the story of Farkas' ring.The passage below continues exactly this route, without re-explaining the prologue.
First get Xanthe's Anger to max.
Open Court and go to Xanthe.Her holdings are located mainly in the southern and southeastern parts of Vale Sangora - from the outskirts of Svartrau to Tantari Woods and The Silts.The Cycle of Love quest will not appear from simply visiting the mansion: you first need to disrupt a sufficient number of operations of its guards.There are a total of 15 Court Activities in this group, but you do not need to complete them all to challenge the boss.A practical guideline is approximately nine tasks;What remains decisive is filling the Anger gauge in your save.
Normal courtyard activity takes up about three game time periods.Moving along roads without completing quests in itself does not waste the period of 30 days.Therefore, mark the nearest points on the map and complete tasks of one area in a row, instead of constantly crossing the entire valley.
Step 1. Three Blood Guard recruiting camps
Taste of Power - in the courtyard of Swartrau
Start in Svartrau City.In the courtyard, find the Blood Guard recruiter, talk to him and deal with the opponents.After the fight, be sure to examine the golden box.Here you can pick up Phial of Brencis's Blood - it will be useful as a rare consumable item.Carefully check the other entries in the box: one of them marks additional Xanthe operations on the map.
Just a Bit More - near Silty Mug Inn
The next point is located east of the Silty Mug Inn.Talk to the recruiter again, defeat the guards and examine the box.If you decide to steal the blood, you will also have to defeat the person dependent on it.The reward for this choice is Phial of Ambrus's Blood.The activity itself counts towards completing its objective, rather than collecting all the optional loot.
Come Home - the third recruiting camp
In the third camp, proceed in the same way: conversation, battle, inspection of the box.If you wish, pick up the Phial of Bakir’s Blood and don’t miss the document that can show new activities.After these three operations, look again at the Anger gauge: its progress will help you decide whether you need additional long-range forays.
Step 2. Excavation - Unsealed Secrets, Malevolent Presence and Bloodied Dagger
Unsealed Secrets - collect two records
On the territory of the ancient excavations, first clear the camp, then turn on Focus Mode - hold L2 or LT on the gamepad.Look for highlighted notes: one is among the tents outside, the second is inside the ruins.A narrow passage in the hillside leads to the underground room.Don't leave after the first document: both finds are needed to complete the task.
Malevolent Presence - recording in the last room
The following ruins are occupied by supernatural enemies.Move to the far room, where you will have to defeat a ghostly enemy.Then take the note from the table in the middle of the room.If the journal still does not mark the operation as completed, look for the interaction item, not the next enemy.
Bloodied Dagger - chest with legendary equipment
Clear the excavations and defeat the enemy in the last room.There is an additional locked chest here containing Legendary Boots.To open it, go to Focus Mode, find the Ritual Dagger to the left of the hall and pick it up.After that, use the interaction with the body in front of the chest - it is this link that opens the reward.Missing a dagger does not block the main plot, but the loot is easy to lose sight of.
Step 3. Get Anger with nearby patrols
If the scale is not yet full, select available operations on your route.Fair Maiden and Chosen One transports travel along roads, so the marker may not coincide with the squad's current position: move along the desired path until you meet the escorts.For Past Glory and When Two Dogs... you also need to intercept a patrol and inspect the defeated fighters.
A more predictable fallback option is the Blood Guard stops: Unquenchable Thirst, Teach with Pain and Loophole.They need to destroy the guards.In Unquenchable Thirst, you can free the prisoner near the tree, and pick up the Sword Shard from the tent for the side quest Forge It Anew.Use exactly those camps that are already located next to open fast travel points.
Don't waste your time: After every second activity, check Anger.Once the scale is full and it becomes possible to go to Xanthe, the remaining camps can be left for later.On high difficulty, it is useful to make a save before meeting the boss and refresh your healing supply.
Step 4. Get Xanthe's Lantern and go to Howling Keep
When resistance reaches its limit, soldiers approach Cohen and offer to investigate the disappearances of young women.Agree to receive Xanthe's Lantern.Now head to Howling Keep in the southern part of the map.The Cycle of Love quest itself requires four time periods and does not have a separate irreversible failure along the way.

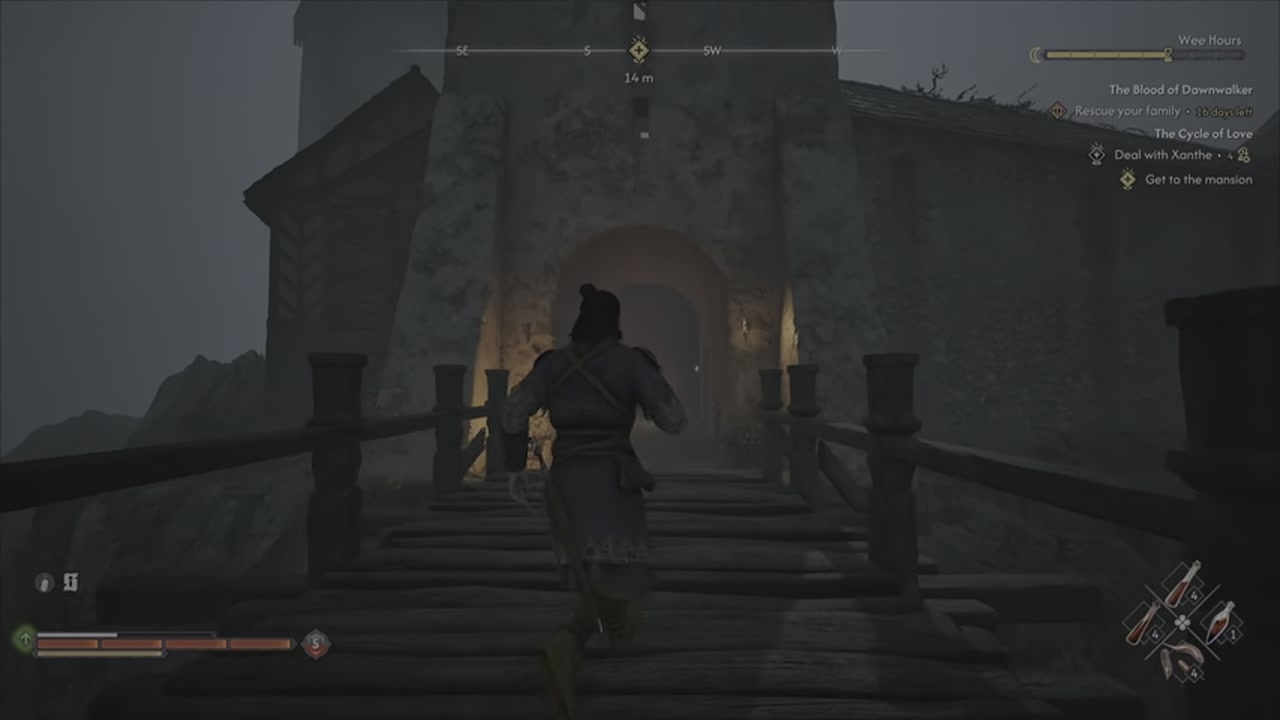
A couple of enemies will appear at the entrance.Defeat them and place the lantern in the hands of the statue on the left.Blue lanterns remove red growths from nearby doors and passages.You will use this rule all the way to Xanthe's room: the lantern can be picked up after opening the route, but only if this does not close the return exit.
Step 5. Move the first lanterns to the balcony
Inside the estate, deal with supernatural opponents.They may appear again when you return through the main hall.Climb the southern stairs to an open doorway with a statue.From the next room, go through the northwestern open door, talk to the girl at will and pick up the available lantern.
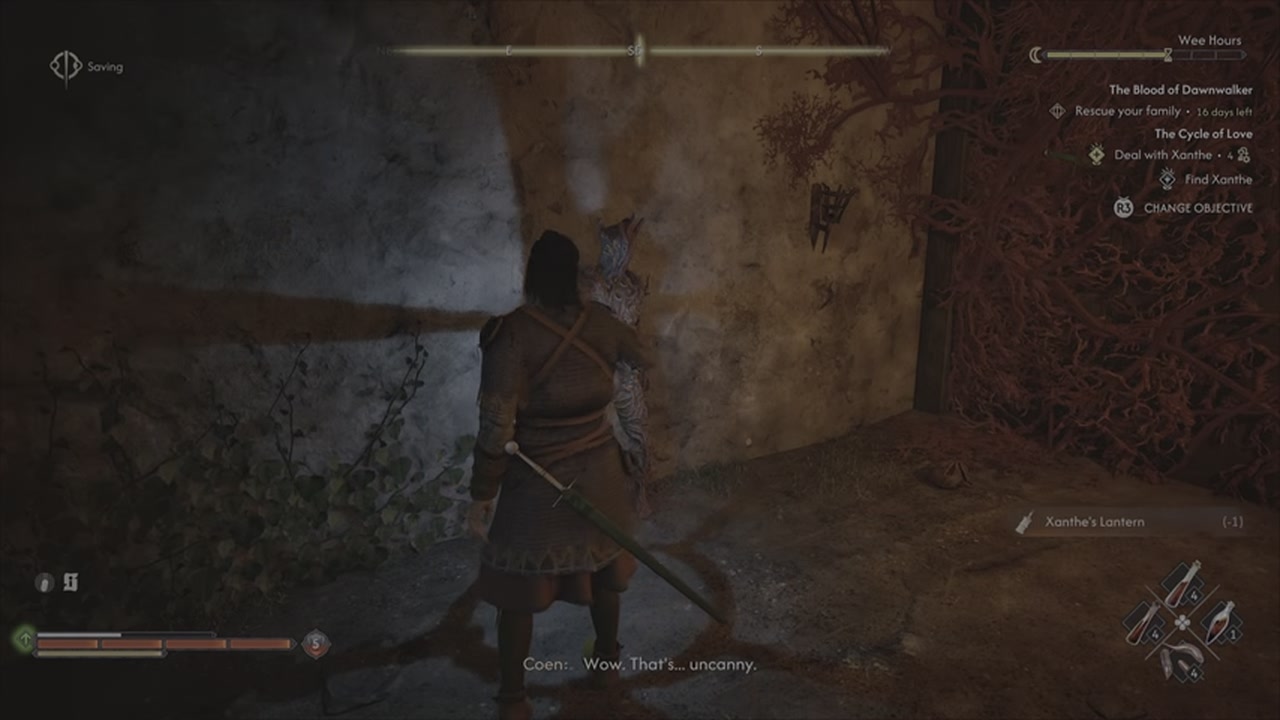
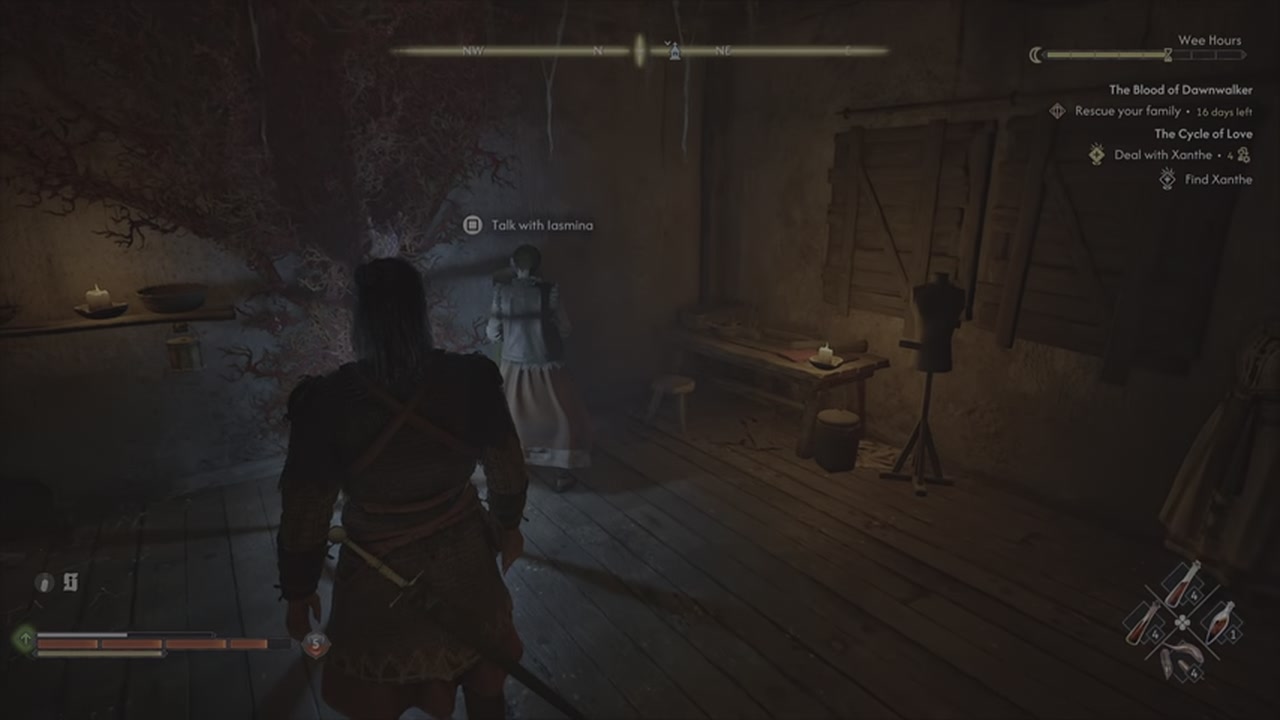
Return to the balcony of the main hall and place the lantern on the statue standing there.This will hold the door open.Now go back to the previous room and take the second lantern: thanks to the balcony statue, you will be able to leave with it without locking yourself in.An easy mistake to make here is to move the lantern before providing an open return passage.
Step 6. Open the West Wing and get Key to the Kennels
Halfway down the stairs you will access another room.Place the lantern on the statue and explore the rooms: there are Cycle of Ruin and Dirty Trick Manuals, as well as a note related to the quest A Friend Like This.After inspection, remove the lanterns from the statues that no longer hold the door you need and return to the main hall.
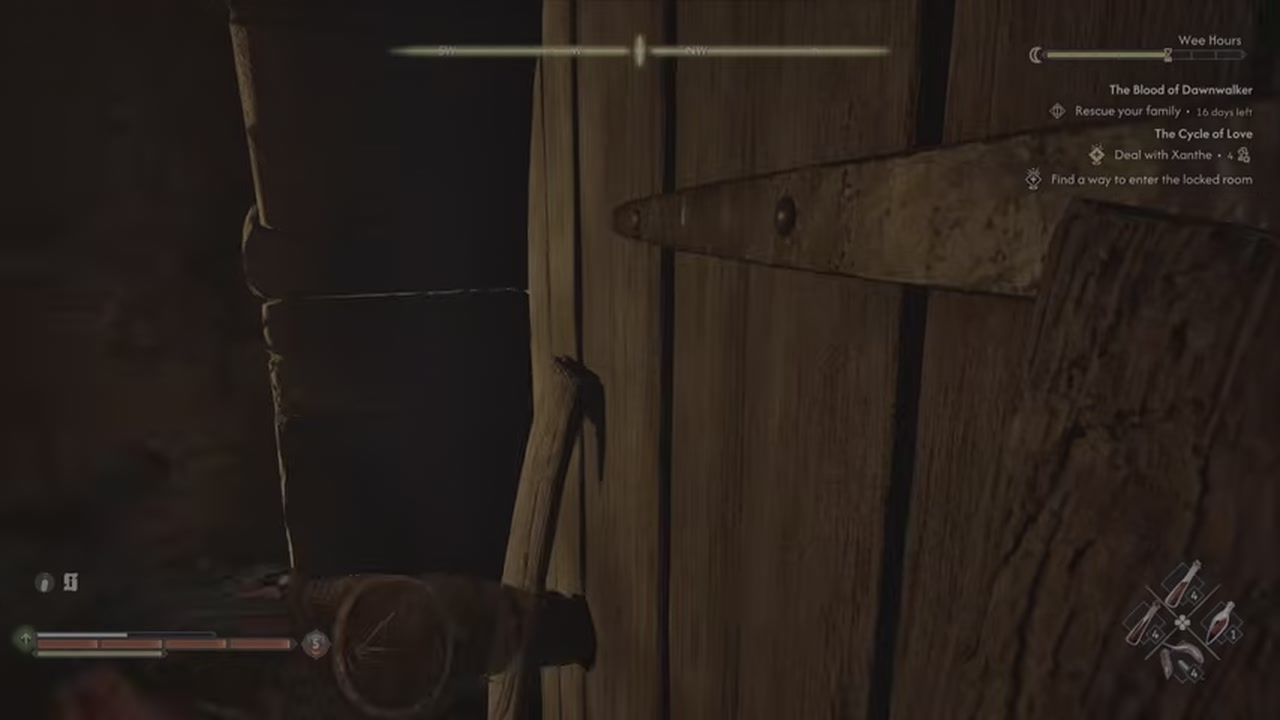
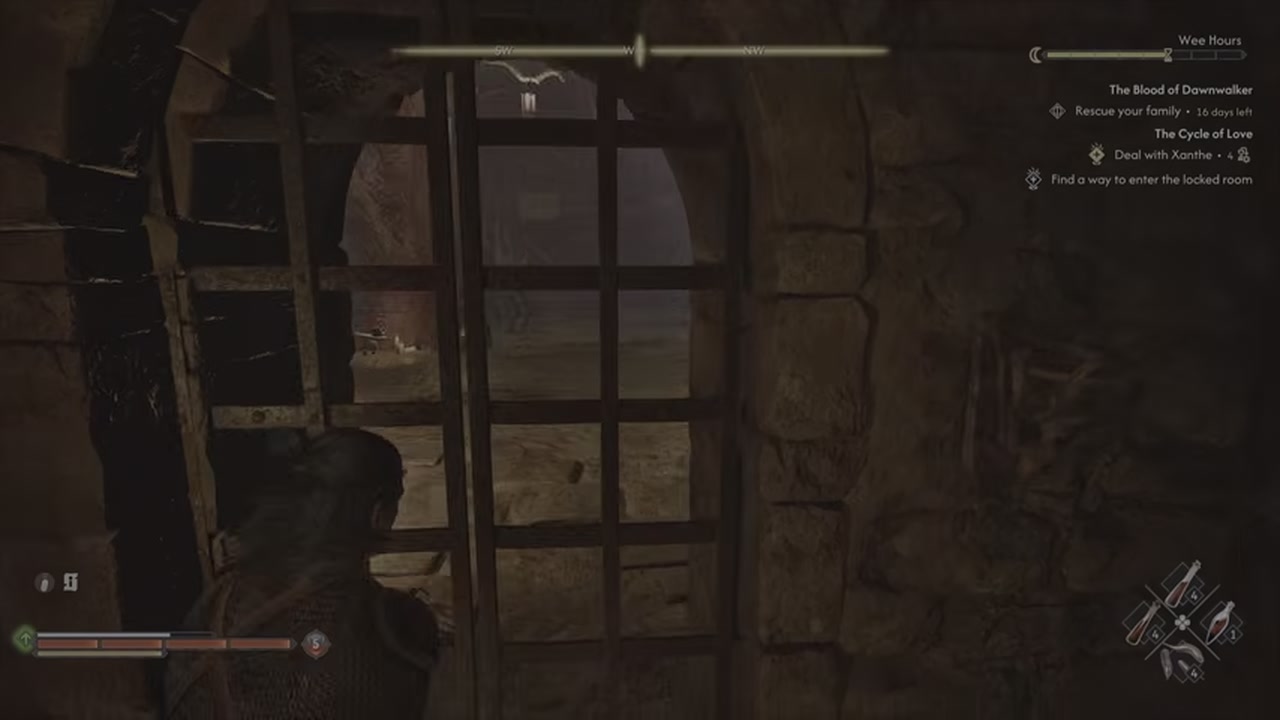
On the lower level, use the lantern at the western door.Defeat a new group of supernatural enemies and go to the back room, where there is another lantern.Take it, open the hatch in the floor and go down to the lower rooms.Continue along the underground passage to the room with the dogs.
In the kennel, examine the luminous body - you can take from it Key to the Kennels.The key opens the nearby wooden door, leading back to the central part of the estate.Before going up, inspect the premises: it is inconvenient to return here.In the main hall, take the lantern from the statue;get ready for another group of enemies.
Step 7: Don't miss Relic of St.Dasius
There are already enough lanterns for the story passage, but before the final door, look into the western upper wing.Climb the western stairs and place the lantern on the statue: two balcony doors will open.In the left room, on the table, there is a legendary amulet The Relic of St. Dasius.It is needed in the Arbiter's Armor crafting chain and remains one of the most useful optional estate rewards.
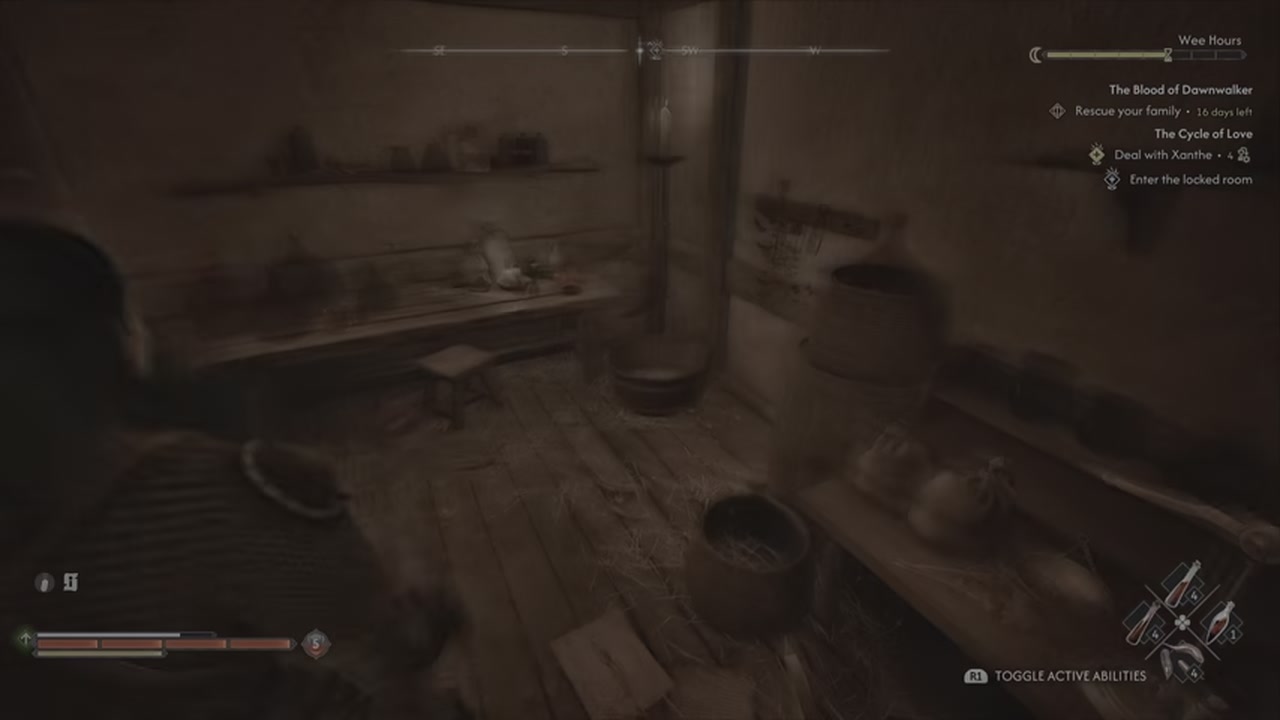
After taking the amulet, remove the lantern and return to the first room of the mansion.Move one lantern to the statue holding the passage, and take the other from the balcony.Go through the far door and place a lantern in the two statues on either side of the stairs.Now the path to the locked room opens.
Step 8: Meeting Chariklea triggers the fight
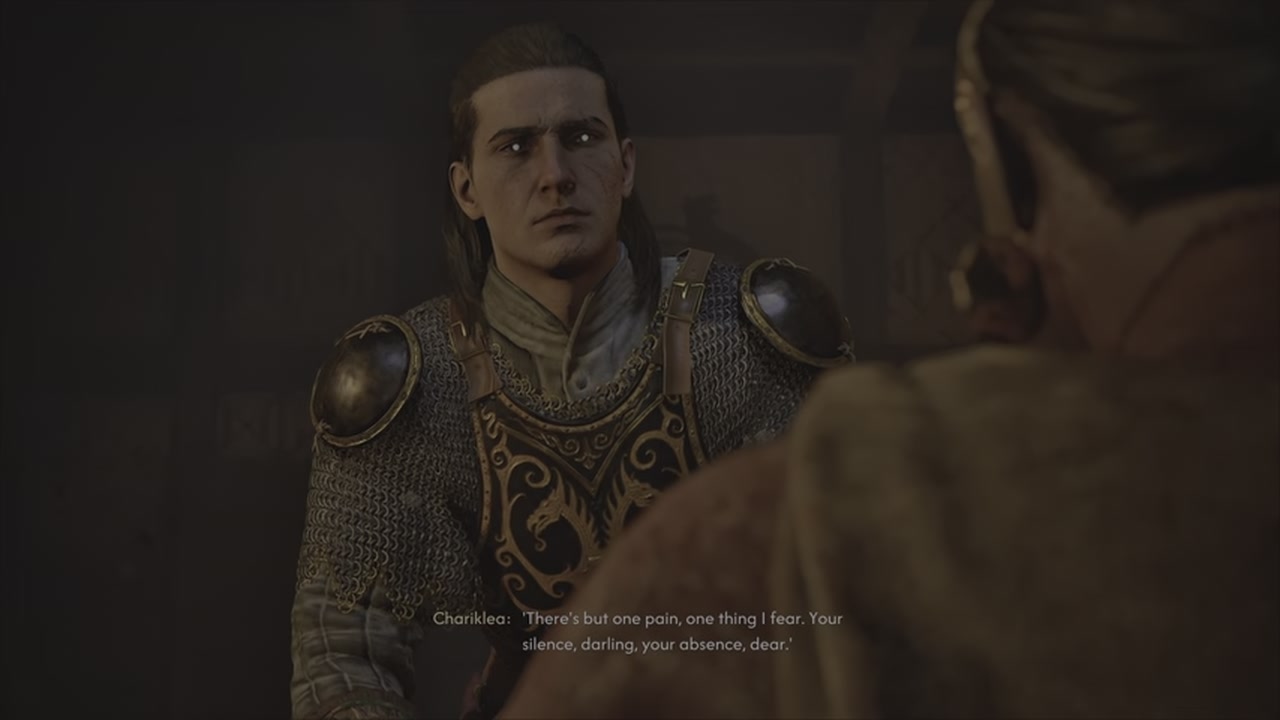
Enter the room that opens and talk to Chariklea.In this scene, Cohen's remarks do not change the key outcome.When the conversation ends, Xanthe will appear and the hero will be transported to the Kennels area.This is the start of a mandatory fight.If possible, save before entering: going back and re-arranging the lanterns after a mistake is unpleasant.
Step 9. How to defeat Xanthe - blocks, circles on the ground and blood orbs
First, watch the ground and the direction of the red tentacles
Xanthe floats above the arena and alternates between two main attacks.If a dangerous zone appears on the floor, roll over its edge - there is no need to stand and try to block such a blow.When she attacks with red tentacles, attacks from the left, right or from above are possible.They can be reflected with a directed block.Play defensively and use precise parries instead of attacking during a long magic animation.
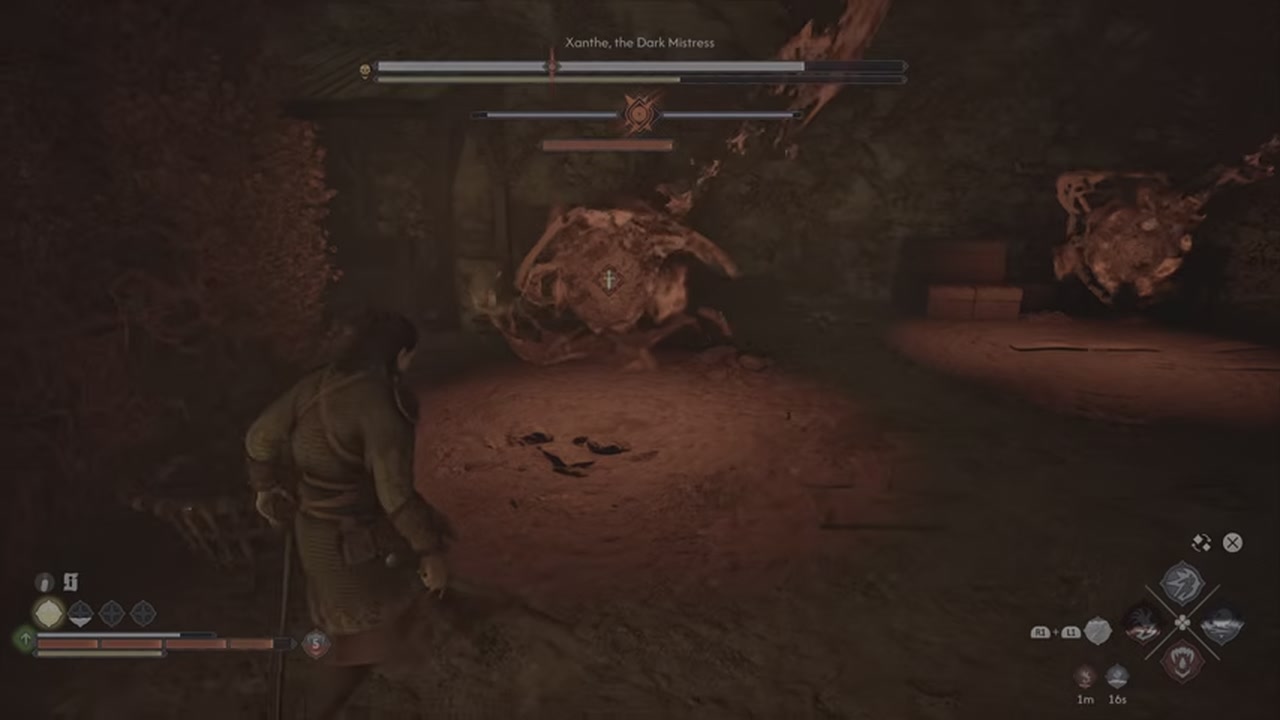
Remove the yellow scale, then hit the white one
In battle, there are two successive stages of health reserve: first the yellow scale, then the white one.Red control marks are visible on the white one.Upon reaching them, Xanthe is transported and creates bloody orbs in the arena.If you leave them untouched, she will restore some of her health.Therefore, at these moments, stop chasing the boss and destroy the spheres as quickly as possible with regular attacks.
The spheres appear twice, at two control marks.Once they're destroyed, the fight returns to parrying tentacles and dodging ground spells.There is no new required technique for the final stage: bring the white scale to zero and wait for the conversation scene.
Step 10. Kill Xanthe or leave him alive
Unlike Ambrus and Bakir, after defeat, Xanthe offers cooperation. Both decisions count as victory over the third vassal and open the way to the finale.
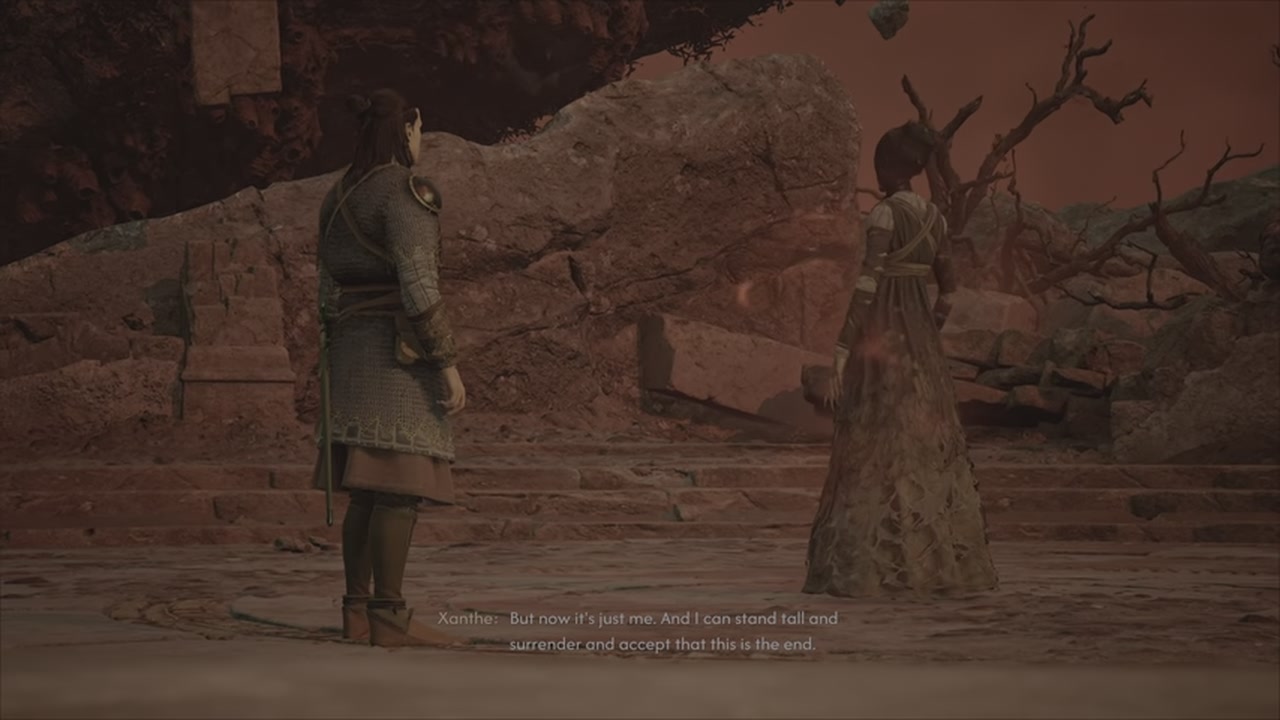
If you agree to the deal
Xanthe will remain alive and will later make progress through Greifberg Castle easier: supernatural enemies in the sections of the castle associated with her will disappear.You won't be able to drink her blood right now and immediately gain Blood Surge, but the corresponding effect can be found in the form of blood consumables in other places.
If you finish her off and drink her blood
You lose Xanthe's help during the assault on the castle.But drinking her blood unlocks the vampire ability. Blood Surge.Supernatural opponents will remain in the final castle, so additional battles will have to be fought on the way to Brentsis.The choice depends on the character build: an easier final route or a new ability now.
For the first playthrough: if it is more important for you to reduce the number of fights before the final, it is more profitable to accept Xanthe’s offer.If you're collecting vampiric abilities and are ready for some extra combat, consider a different outcome.In both cases, The Cycle of Love will be completed.
What to do before the final
Check that the Ambrus, Bakir and Xanthe branches are complete in Court.Wait until the next day if the maximum Infamy has already been reached: then Brentsis will send an invitation to negotiate and A Deal with the Devil will appear.Before accepting his terms or challenging him to a fight, make a separate manual save and do not overwrite it — it will be needed for alternative endings.
The next, final part is dedicated to A Deal with the Devil, the fight with Brentsis and all seven endings.It is scheduled for October 14, 18:00 Moscow time.
Videos and verified sources
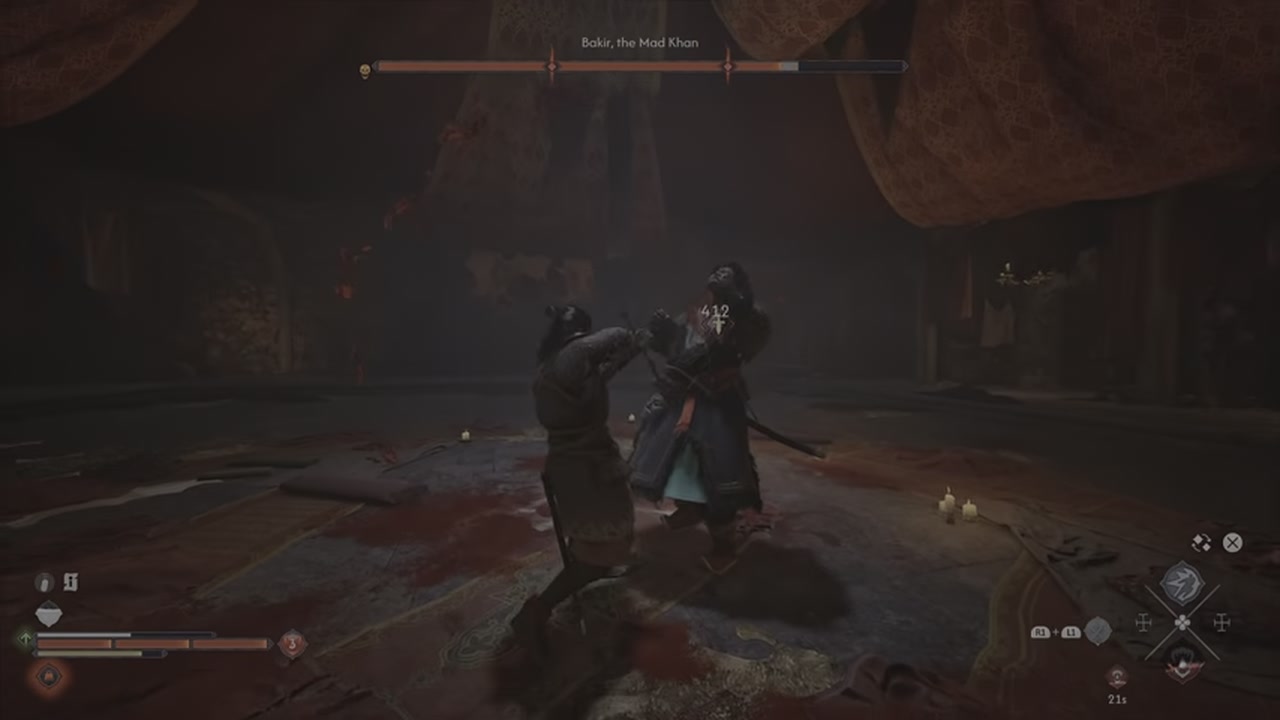
Video walkthrough The Cycle of Love – Howling Keep and fight with Xanthe shows the route around the estate, rearranging the lanterns and the boss battle.The footage above is taken from this recording.
The order of the lanterns and the fight with Xanthe are checked according to completing The Cycle of Love on PowerPyx, details of Court Activities - by the complete Court Activities directory.Illustrations - official game screenshots of Rebel Wolves from Steam.


Sign in or create an account to leave a comment.
Be the first to share your thoughts.