
The sixth part of the walkthrough of Onimusha: Way of the Sword begins immediately after Okuni's Kabuki Dance.Now the game takes Musashi away from the usual streets of Kyoto for a long time for the first time: ahead of Mount Oe, a huge route through ruins and caves, a new Oni Armament, Shuten-dōji and then a short but intense chapter around the Yasaka Shrine.
This is one of the longest parts of the campaign.It’s especially easy to miss forks, Spirit Mirrors and rare materials here, so don’t just follow the marker.First, we close everything useful in the city, then we go to the mountain and after returning we clear out the Rifts around Yasak.
Spoilers: Chapters 18 "Demon on the Mountain" and 19 "Phantom Distraction" are fully dissected below.We will not reveal the events of the next chapter, “Storm Chaser.”
Before Mount Oe: the last big circle around Kyoto
After the fifth part, the map of Eastern Kyoto is almost completely open.Before talking with Takamura, it makes sense to collect what became available after clearing the shallows: new chests, Oni glyphs, Rifts and side events.Particularly useful materials are for Oni Gloves and fabrics for Hozuki pouches.
In the north-west of the city you can reach several previously closed courtyards.Use Oni's Agility on the walls, check houses with stairs, and don't ignore the new fel barriers.Important finds here include Power Stones, Oni Stones, fine silk cloth and tamahagane.If your equipment is still noticeably below level five, this is a good time to get materials before a long hike.
You can also close additional Rifts.In one of them, Byakue or Dohatsu-Ten appears again.Their materials will be useful for the final improvements, and the extra red souls in front of the mountain definitely won’t hurt.
Chapter 18. “Demon on the Mountain”: going to Mount Oe
When you're ready, talk to Takamura in Rokudo-Chinnoji.After the conversation, a new travel point is activated - Entrance to Mount Oe.Before the transition, check the healing, improve the main sword and take the Oni Armament, which is convenient for you to quickly remove the stamina of heavy Gemmas.
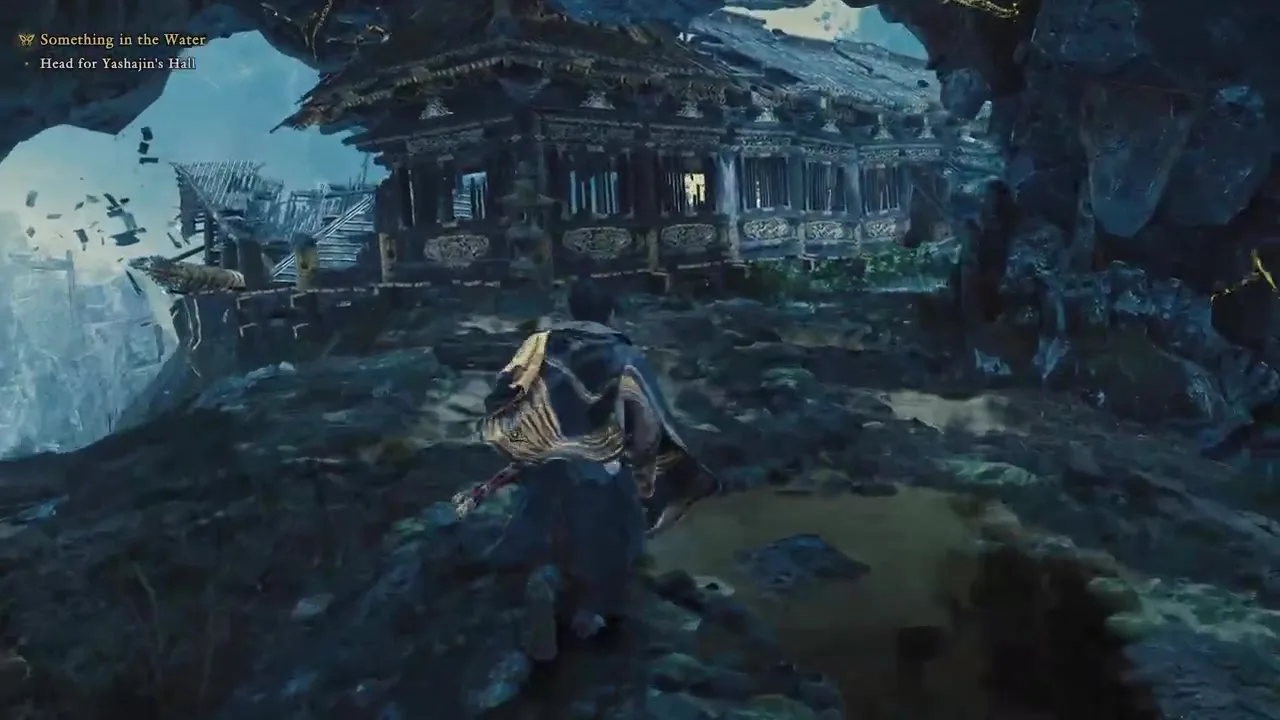
After moving, follow the only path to the first big scene.The route then leads to "To the Ruins I".Be sure to activate the Mirror of Spirits at the entrance: there are many vertical transitions ahead and several places where a fall or an unsuccessful fight will send you far back.
Two weavers and the first serious barrier
In the ruins, the path is blocked by a barrier held by two weavers.The first one is on the southwestern branch: go down the stairs, run across the wall and go through the cave.Look for the second one under the platform next to the western courtyard.Oni's vision quickly shows both red threads and eliminates wandering around the floors.
After destroying the weavers, Byakue will appear.The arena here is tighter than the city squares, so don't let him pin Musashi against the wall.It is still easier to survive a dash and shoulder strike with a dodge, and long ax swings with a Deflect followed by a short series.
Valley: shoot at the mechanisms and lower the bridges
The tunnel leads into the valley to the Mirror of Spirits "Cave".Next, the game checks several times to see if you remember the Oni Bow.When the path seems broken, look for the glowing mechanism holding the bridge.One such mechanism is located directly opposite the shore, the other is above the stairs at the fork.
Do not try to look for a detour where the bridge is clearly visible but raised.A charged shot solves the problem faster than any research.The central cave will also have a gate with explosives behind bars: shoot the barrels from a safe position to open the way.
Glyphs Oni and Gemma's notes
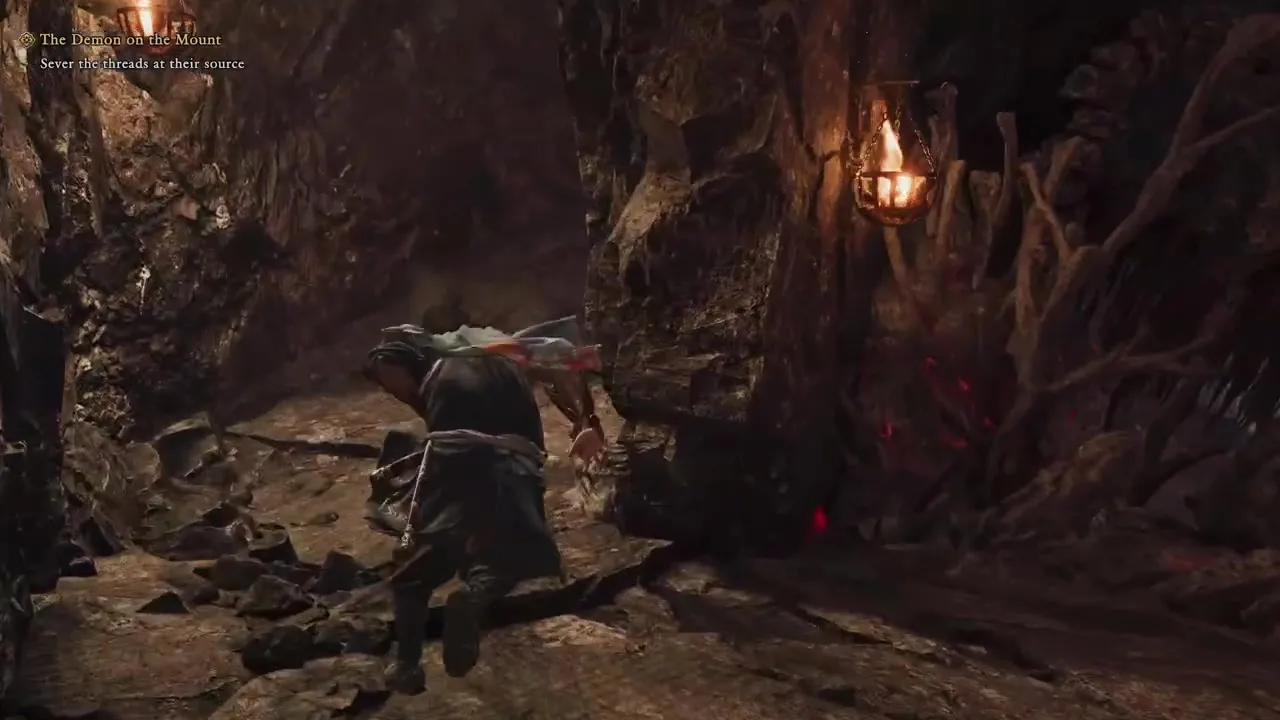
There are several Oni glyphs on the side branches of the mountain.One opens a chest with an entry about Oboro Garasu, the other opens an entry about Hirehime.They are not necessary for the plot, but if you are collecting materials and notes, it is better to take them right away: after a long ending, returning to these caves is inconvenient.
In the area of hanging boxes, a switch changes the position of the platforms.First, use it once and jump down to the lower route for the Power Stone, then go back and rebuild the boxes for the main path.This is where the right sequence saves a few minutes of repeated climbing.
Castle Courtyard: Don't miss the new Oni Weapons
After the destroyed gate you will come out to "Entering the Castle".Almost immediately after the elevator there is a western branch into the cave.Don't pass by: it's in the chest Flashing Void, new Oni Armament.
The weapon works well as an emergency tool against dense groups and late bosses.Even if you don’t intend to change your usual set, it’s worth getting it: further on, the game increasingly throws up waves of enemies and short windows for safe damage.
Watermill Path: Weavers, Rift and Rolling Logs
On the mountain path, save the monk and continue to the top.The next barrier is again supported by weavers, but here the route is more confusing: go down to the scaffolding, destroy the side fel barrier, open a shortcut and only then enter the building.In one of the rooms there is a chest with tamahagane - the door mechanism is shot through from the adjacent passage.
After the obligatory Rift you will reach "Caves I".Immediately behind it begins an area with rolling logs.Don't try to break everything on the spot.Stay to the edge of the slope, use wall runs and move to the side platforms.The Oni Stone is hidden on one of them.
Further, the route leads through several more bridges, a courtyard and a house with a dark mass.After absorbing the mass, the elevator lowers Musashi into the deep caves.
Dungeon: key, weavers and the last Rift before the boss
B "Cave II" look for a narrow passage in the wall that leads to a closed chamber.After removing the barrier and fighting, one of the survivors will give the key to the dungeon.They can open the adjacent lattice with materials.
Then a large infected zone begins.Turn on Oni Vision and go not to the barrier itself, but along the red threads.The first weaver is located in the northern part, the second is accessible after rearranging the boxes and running along the walls.After removing the protection, don't forget the top platform with the Oni Stone.
Before "Warehouse" the obligatory Rift appears: two waves of normal enemies and Dohatsu-Ten in the third.Don't use up all the Oni Armament on the first Gemmas.The boss is familiar from the previous parts, but here it is much more profitable to save the charge for his other half.
Boss: Shuten-douji - don't let him heal at first
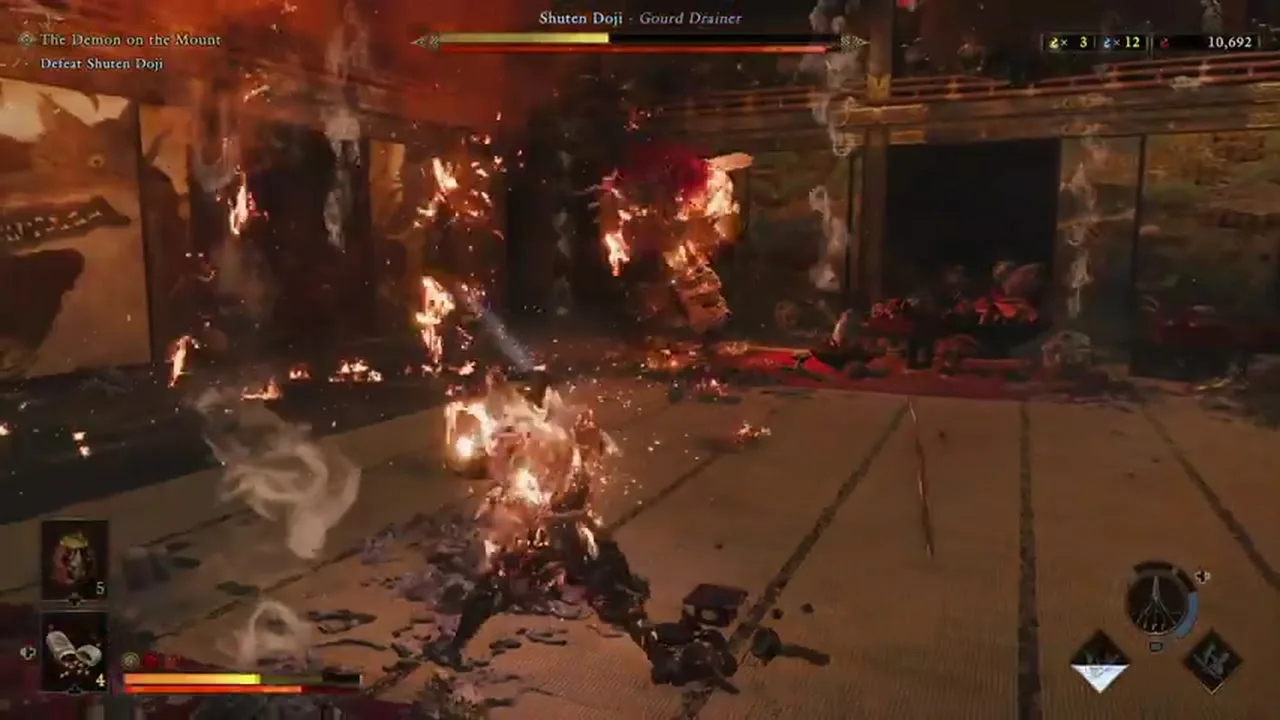
After leaving the warehouse, the battle begins with Shuten-dōji.He has fewer different moves than he looks, but the fight specifically punishes greed.Up close, he uses kicks, sweeping pumpkin movements, and a sword.
The main feature is pumpkin with sake.When Shuten-dōji starts drinking, he regains health and stamina.Don't watch the animation: walk up and hit him while he's drinking.If you knock down a pumpkin, the boss can jump on it and cause an explosion - immediately move out of the radius.
Which attacks are safer to read
Regular sword strikes are clearly visible in the swing.The exception is a sharp lunge after the boss seems to lose his balance and fall to the side.This strike comes out faster than the others, so don't automatically attack when you see it "stagger".
If the Shuten-dōji begins to pull Musashi towards the pumpkin, prepare for an unblockable attack.After the pull, he makes a wide swing with his sword.Evasion is safer than trying to defend everything.
After losing some of his health, the boss adds fire.He breathes out a fan of flames and can then send fire upward, causing hot projectiles to fall from above.At this moment, do not stand close and immediately follow the ground and the direction of breathing.Reflex Combo and Armament They survive the most unpleasant moments well.
Second and third phases
After the first stripe is completely removed, the staging phase begins, which cannot be ended with regular damage.Don't burn consumables trying to "finish off" the boss.Survive until the story transition.
In the third phase, Musashi gains a new advantage.Shuten-doji becomes more aggressive and adds more fire, but the basic design remains the same.Watch the headlock, don't stand in front of the fire breath and continue to answer after familiar series.After the final victory, the chapter will end.
Chapter 19. "Phantom Distraction": Return to Yasaka
After Shuten-dōji, the game returns Musashi to Kyoto.Before the continuation, a new portion of side activities opens: archer quests on Mount Oe, “Fish Story”, “Hidden Treasure No. 4”, “Night Parade” and several more events.If you are collecting everything, it is better to close them now.
Also on Mount Oe, local guardian lions and another Oni glyph with an entry about Shuten-dōji become available.For a sufficient number of lions found, Mrs. Murasaki issues a new appearance for the sword.
Yasaka Shrine Rifts: Fel Plants First
Travel to the Spirit Mirror on Shijo Street and head east.The area is once again filled with corruption.Here the task is built around four plants: each one opens the next safe part of the route or relieves pressure from the Rift arena.
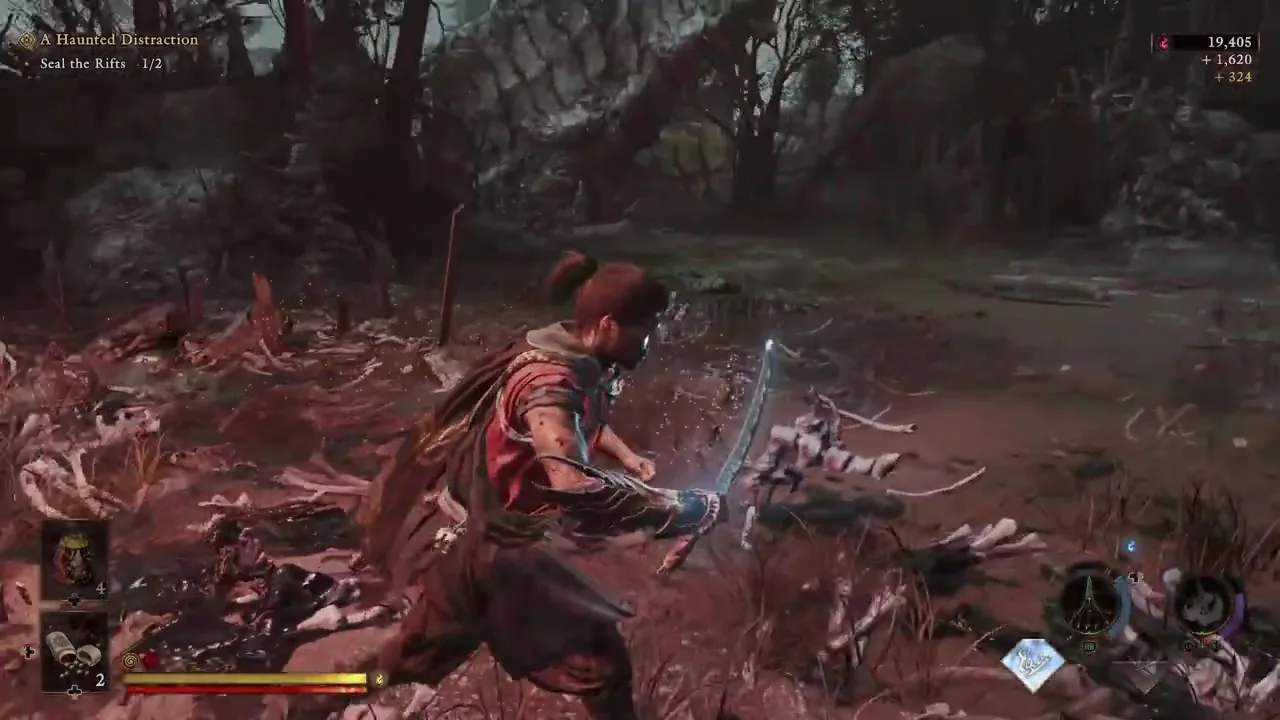
The first plant is located above Shijo Street.After it, move across the roofs to the second one.Don't jump into the middle of the infection while the plant is alive: the extra constant damage makes regular Gemmas more dangerous than they really are.
After the first Rift, go further east.The third plant is near the next staircase, the fourth is behind the wall run area.Before the second Rift, there is another plant on the roof south of the area.Destroy it before the wave starts.
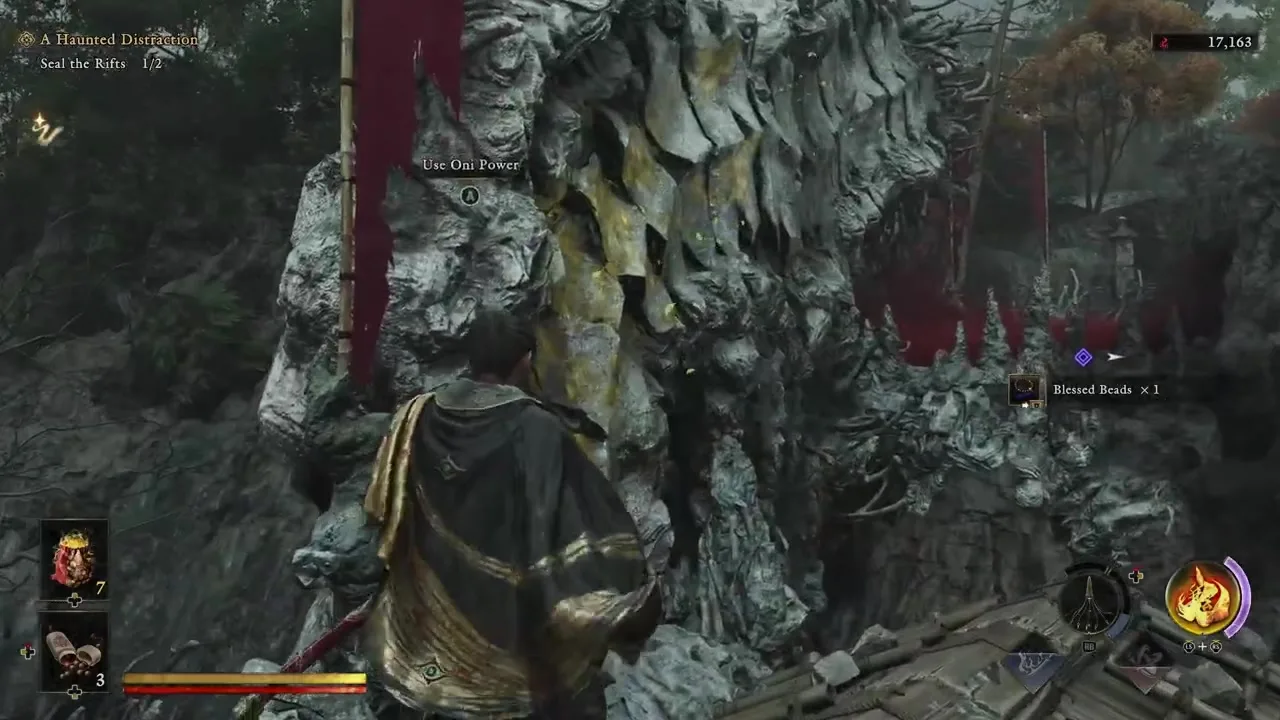
Second Rift and Dohatsu-Ten
In the second wave, Dohatsu-Ten appears.Here his tactics have not changed: do not pursue the boss after retreating, reflect the readable blows with your sword and save your stamina for a sudden jerk.In a confined area, it is especially important not to squeeze yourself against the wall.
After closing the Rift, a story scene starts and the next chapter, “Storm Chaser,” begins.Before it, restore your treatment and spend the accumulated materials: then there are several major battles in a row.
What is advisable to have before part No. 7
- Obtained “Shining Void” and at least one familiar backup version of Oni Armament.
- The main sword, the Oni Glove and clothes are about level five.
- Pumped up Oni Strength and Reflex Combo.
- Open Spirit Mirrors on Mount Oe and at Yasaka Shrine.
- Filled Hozuki Pouch: The next part leads almost immediately to a dual boss.
Previous part and continuation
Previous part:Kabuki Dance Perches, Shoals and Rifts.
Part No. 7 will be released on September 23 at 18:00: we will analyze “Storm Chaser”, a joint battle with Ifuu and Burai, Arashiyama, the third meeting with Ganryu and Dokyo.

Sign in or create an account to leave a comment.
Be the first to share your thoughts.