

The first part of the CONTROL Resonant walkthrough covers prologue Orientation and the first mission of the main chain Welcome to Manhattan.Here, Dylan leaves his confinement at Oldest House, enters twisted Manhattan for the first time, undergoes a ritual with Jesse, gains basic movement abilities, defeats The Artist, and opens Central.
Spoilers: Below is the entire start of the game before receiving Level 1 Keycard.Collectibles along the way can be collected for lore purposes, but are not required to complete these two missions.
Orientation: exit from Oldest House
After the game starts, exit Dylan's cell and move through the doors with green indicators.At the locked grate, go into the room on the left and press the button to open the passage.From there the path is almost linear: go through the large metal doors, take the elevator and deal with the first group of Hiss: this is where the game introduces basic combat.
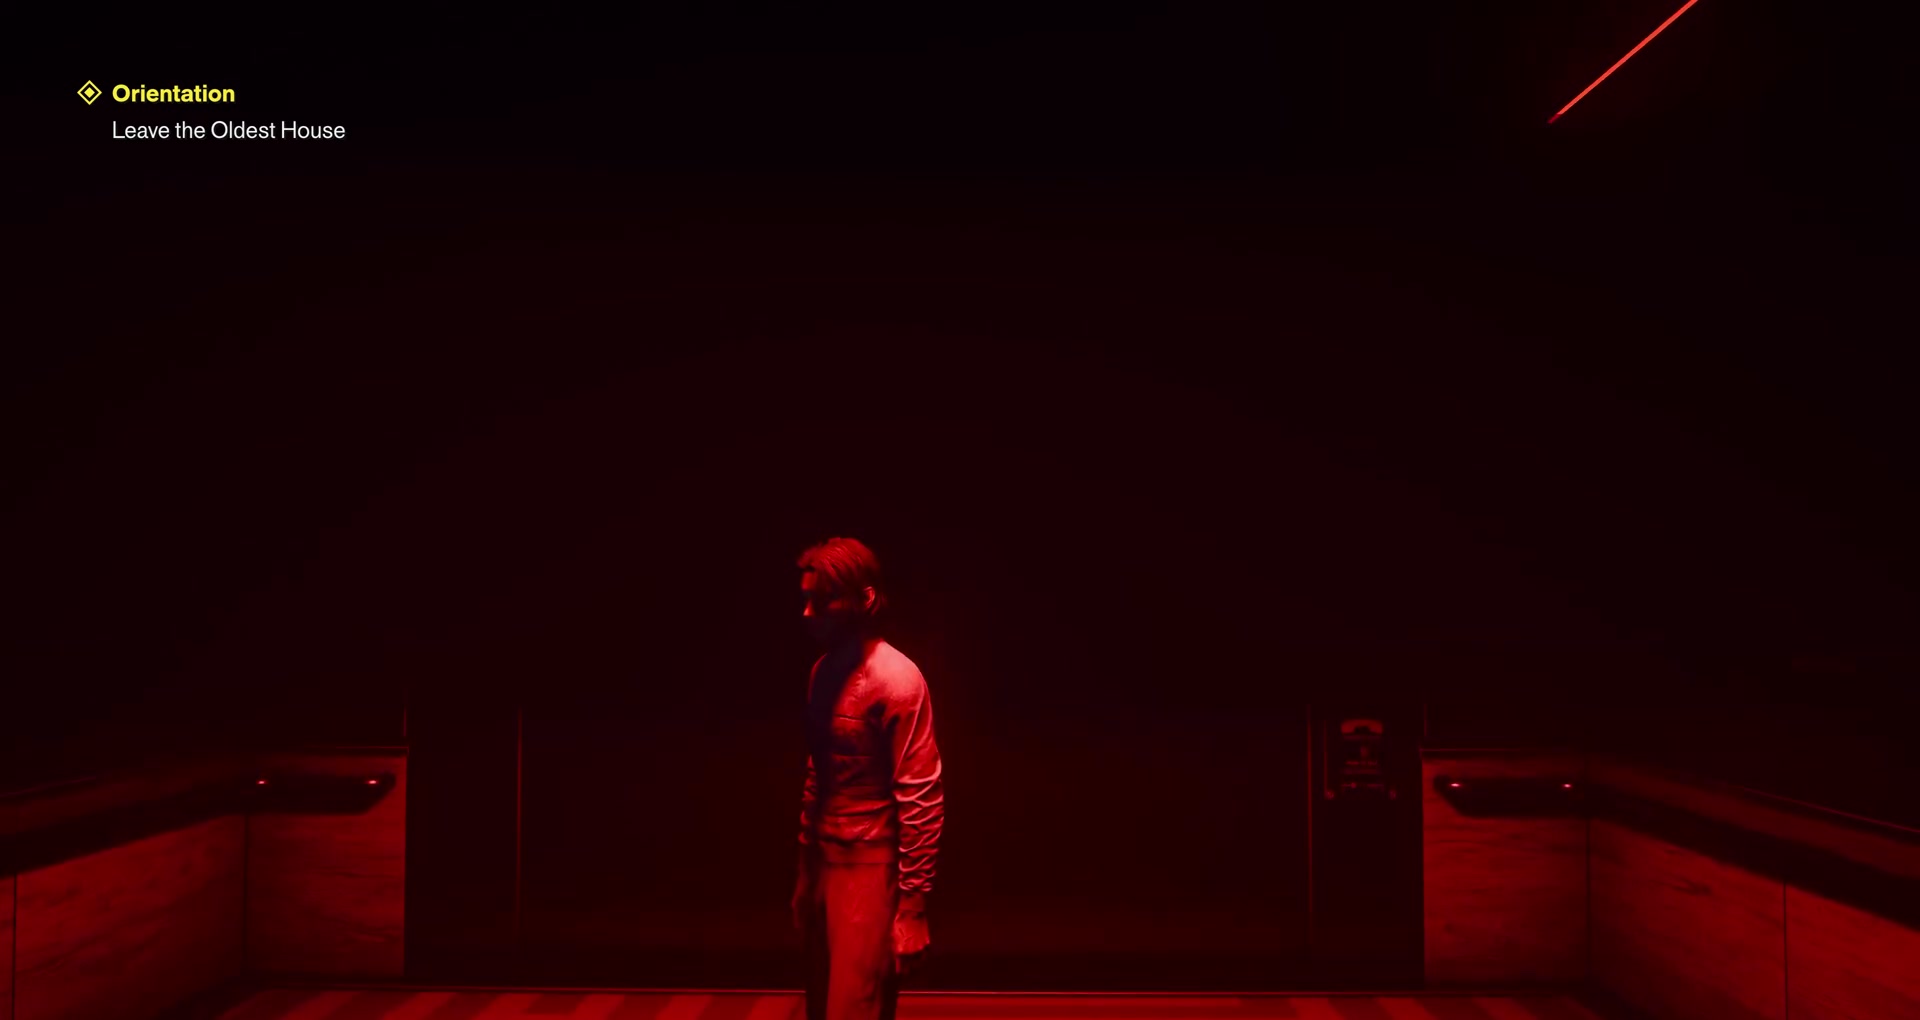
After the fight, go up the stairs and look for a corridor with a sign Thomas Street Exit.Another elevator leads to a hole in the wall: interact with it to get out.
Path to Zoe at the Hotel Building
There is no map of the area yet, so be guided by the marked Hotel Building.From the Oldest House exit, head southwest, cross the street, then turn into the alley.Along the way there will be several groups of Hiss and the first choice of an additional melee form.
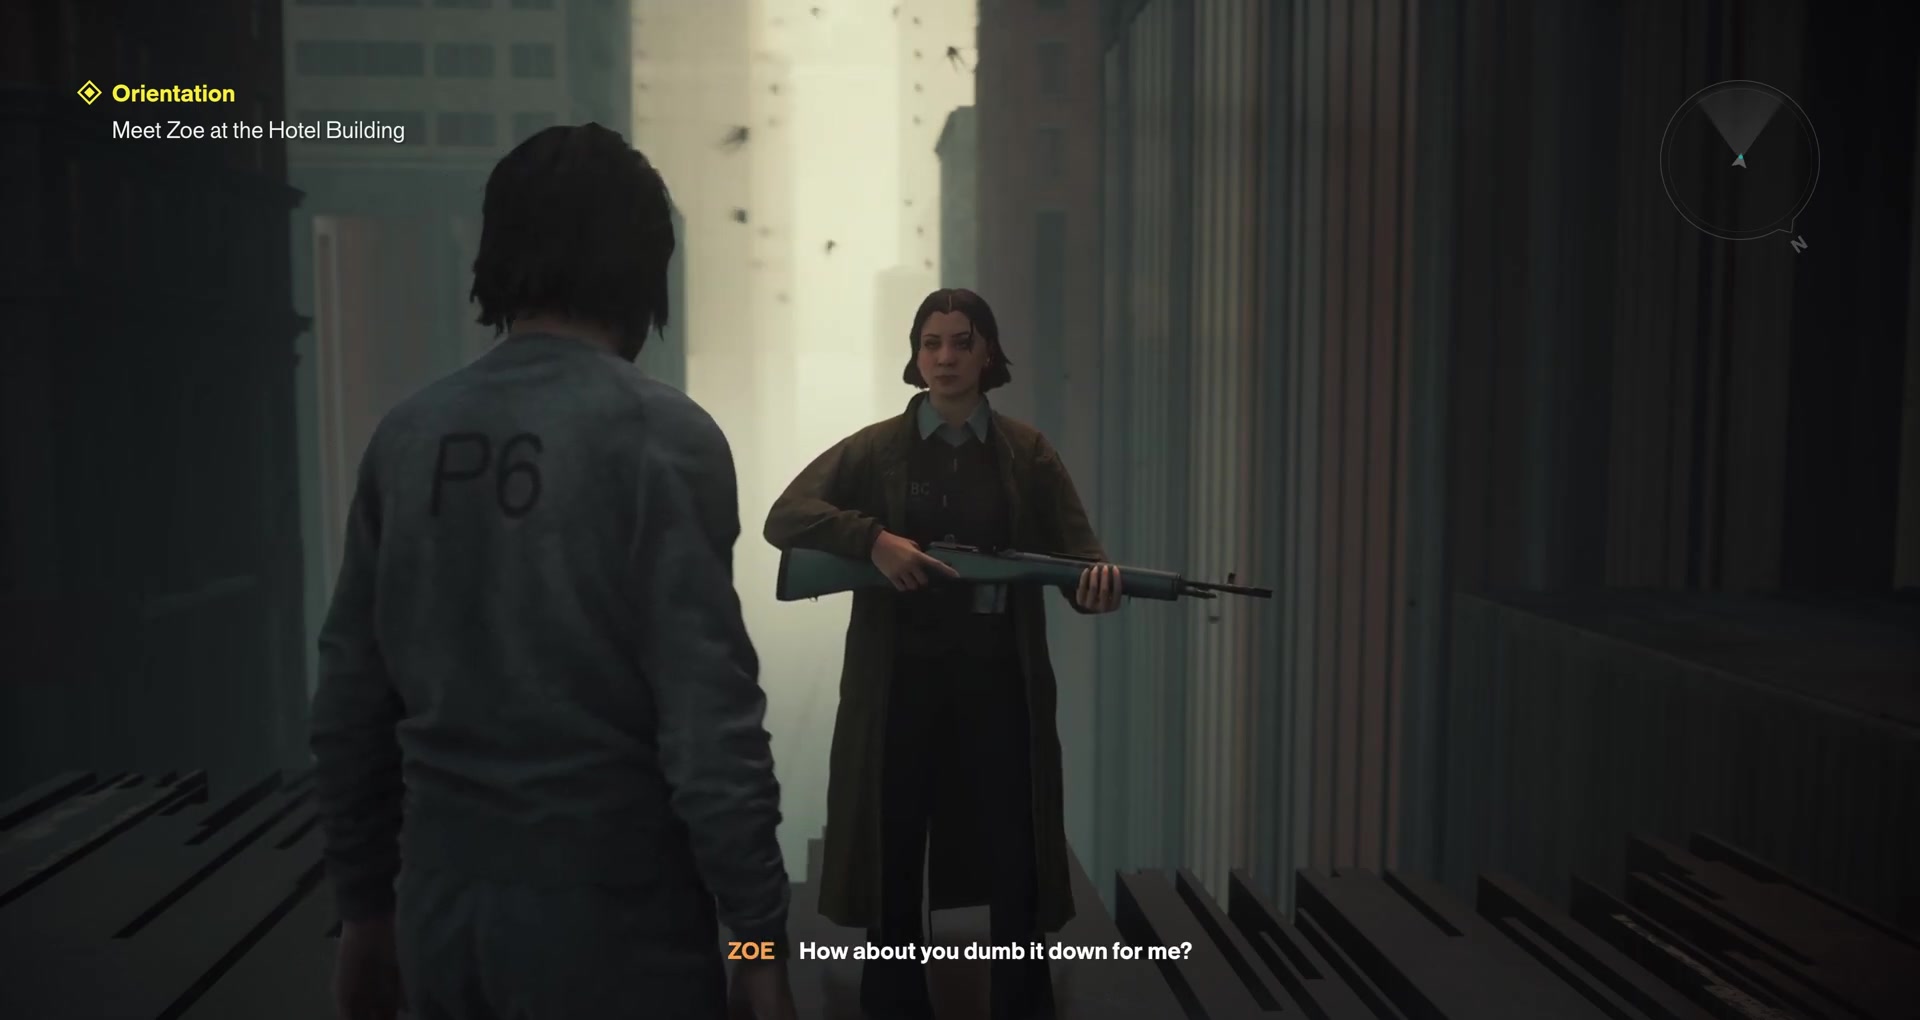
In an area with destroyed buildings, use dodge to make long jumps between gaps.At the end of the street, Zoe stands in front of a huge hole.Talk to her and follow her into the next alley.
Search for Jesse and first Fault
After talking to Zoe, follow the flock of birds through the buildings.When the birds start flying into the window, go inside and interact with the TV.He takes Dylan to a separate Fault space.
Inside Fault the route is platform.Get to the building that looks like a parking lot, go up and talk to Jesse at the far fence.
Ritual: Double Jump, Elevate and Rush
After meeting Jesse, the training ritual begins.As you progress, basic movement abilities are unlocked: double jump, Elevate for a short hover in the air and Rush for a quick dash.Use them in sequence on the platform route until you reach the last TV.
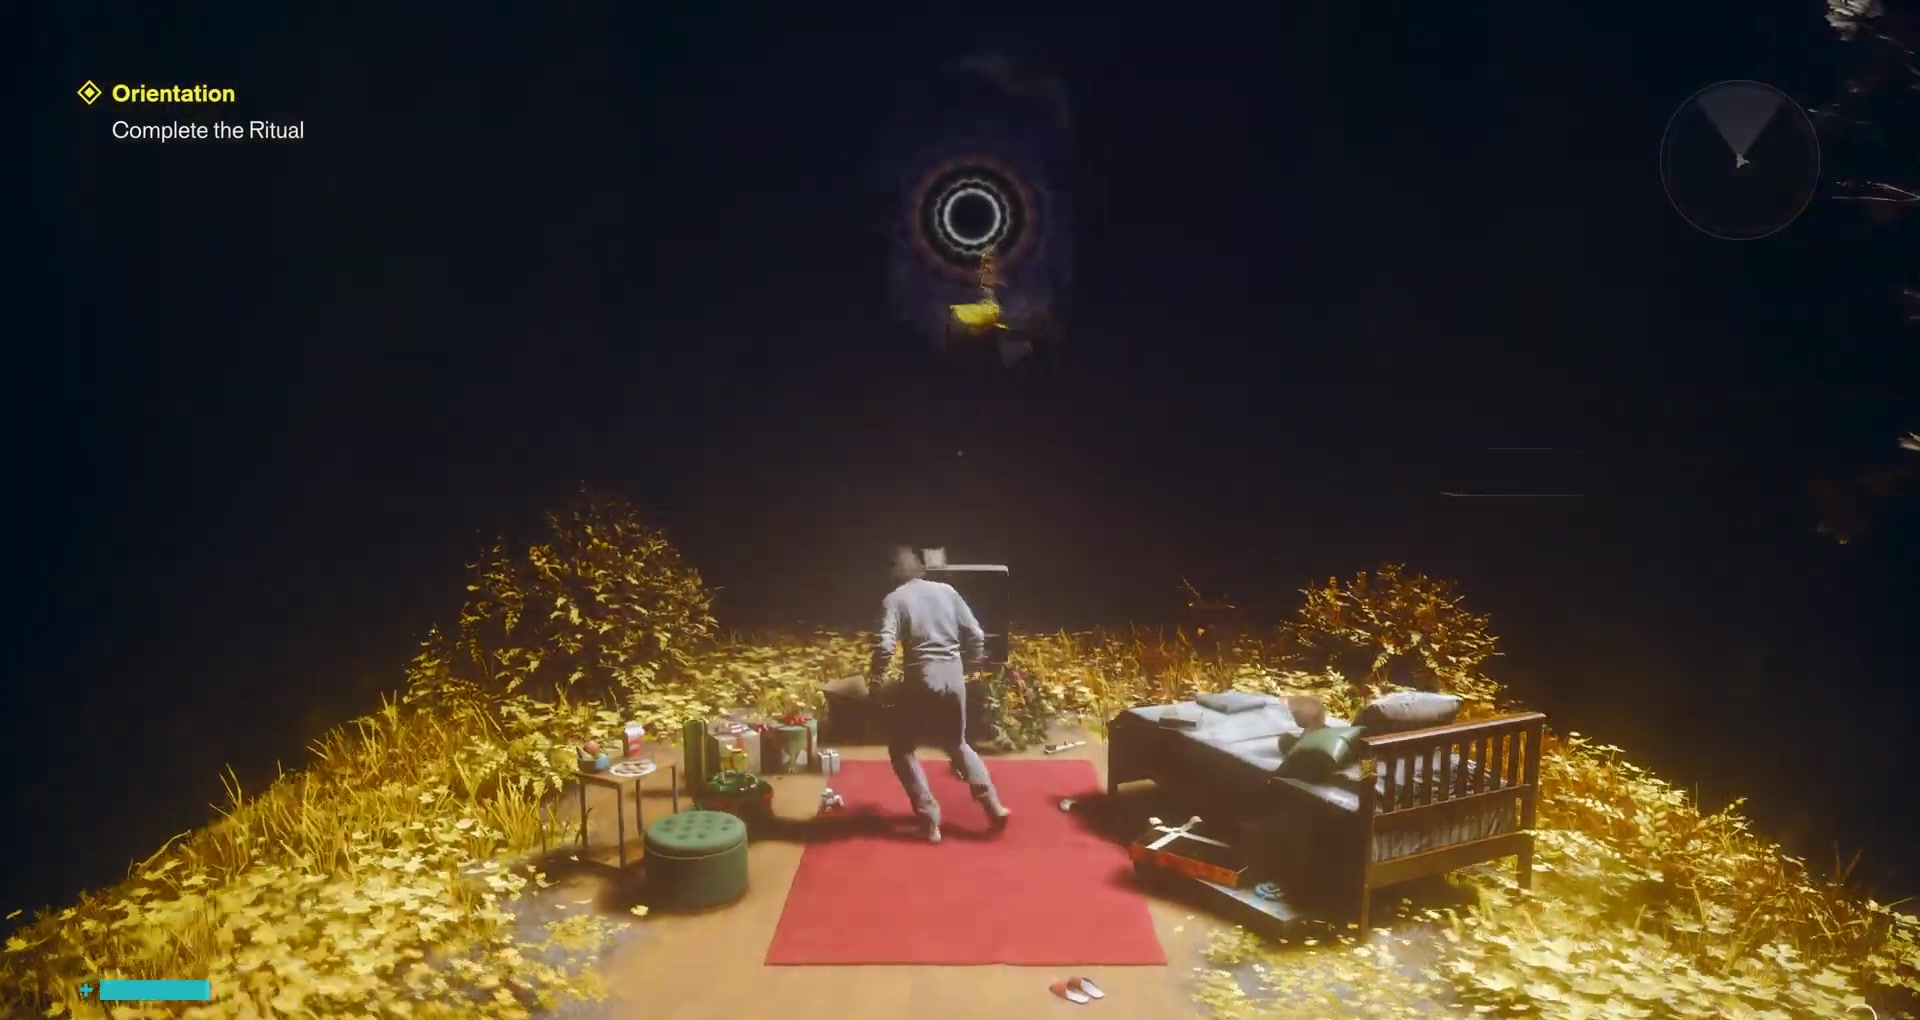
Interact with him to return to Manhattan.A new path to the Patterning source will appear ahead.
The Artist: First Big Boss
Move along the rooftops to the distorted area and climb up to the gallery building.Inside, interact with the door: a fight begins with The Artist.
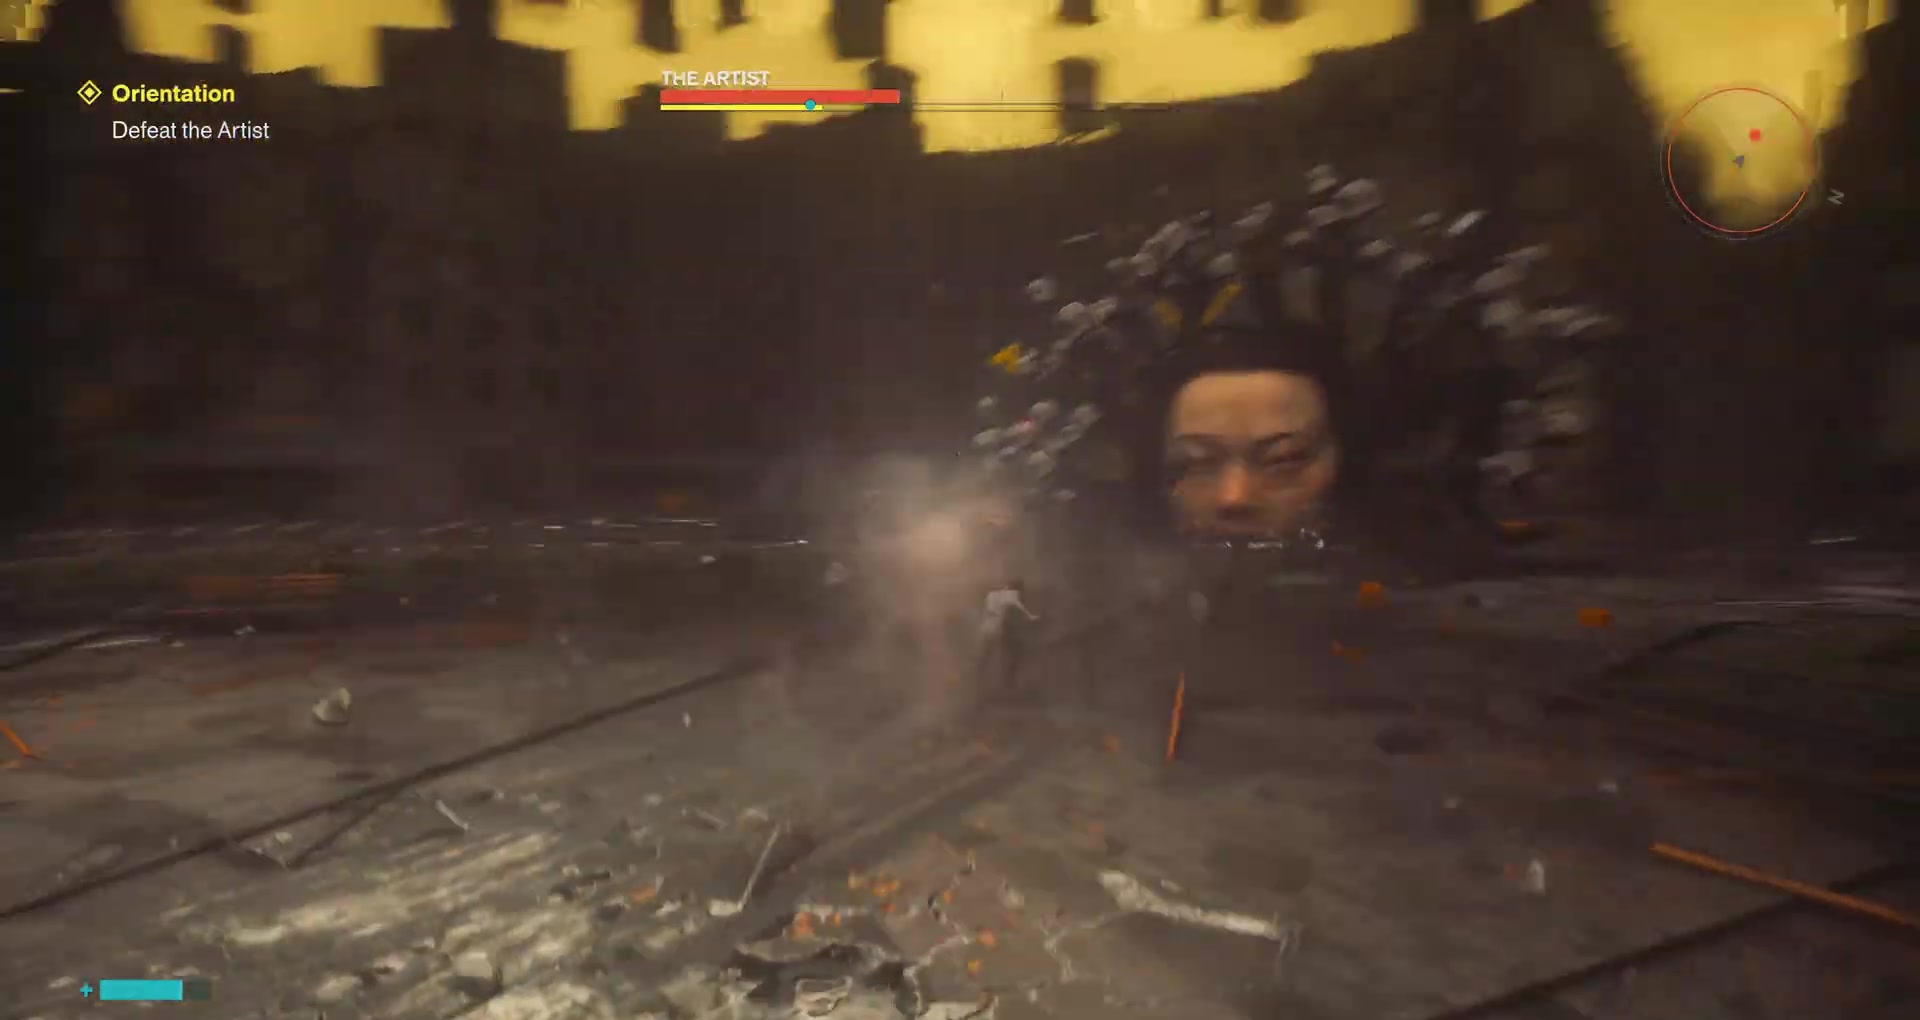
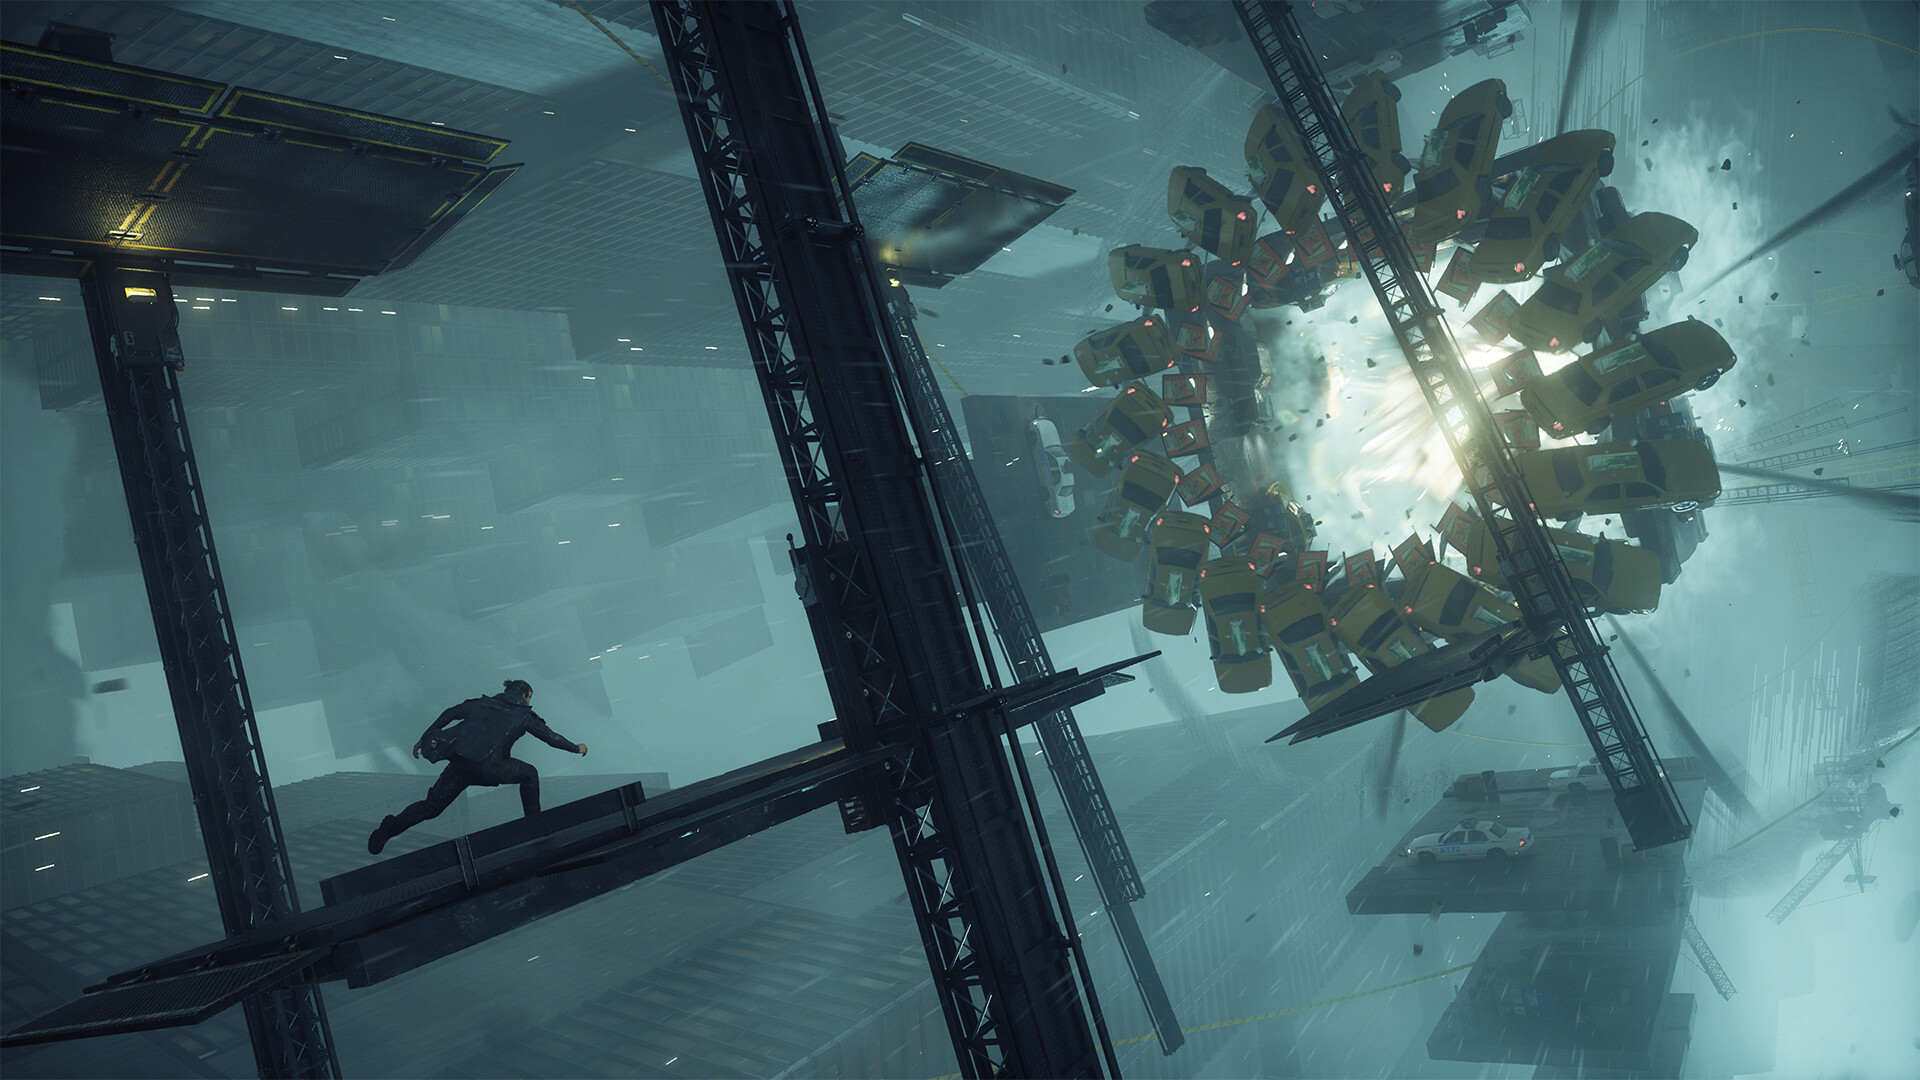
The boss's basic attacks are easy to read.At a distance, he throws cars and waves of stones, and at close range he hits a pair of traffic lights from above or carries out a horizontal attack with them.It's safer to dodge both melee attacks rather than try to soak the damage.
When the health reaches the marked blue dot, The Artist will rise to the center of the arena.Platforms will appear at the same time.Climb them and hit the glowing point below: this will return the boss to the ground.After the transition, he retains the same set of attacks, but as he dashes along the arena, additional stones begin to fall from above: move to the side before rushing after him.
After the victory, Dylan finds himself in The Gap, where the game introduces ability enhancements.This completes Orientation.
Welcome to Manhattan: Return to the City
After the scenes with Zoe and Pope, leave Oldest House again.First task: launch Mapping Pylonto open the Central map.The large tower is surrounded by three small radio points;the direction of its antennas tells you where to look for each one.
Activate all three small points, and then interact with the main tower.A map of the area will be available, and a separate activity will appear in the log related to Mapping Pylons throughout Manhattan.
Maintenance Worker and Charge Transfer
The next marker leads southeast to the missing maintenance worker.Deal with Hiss and examine the marked items.To restore power to Central Checkpoint, you will have to transfer charge between power boxes.
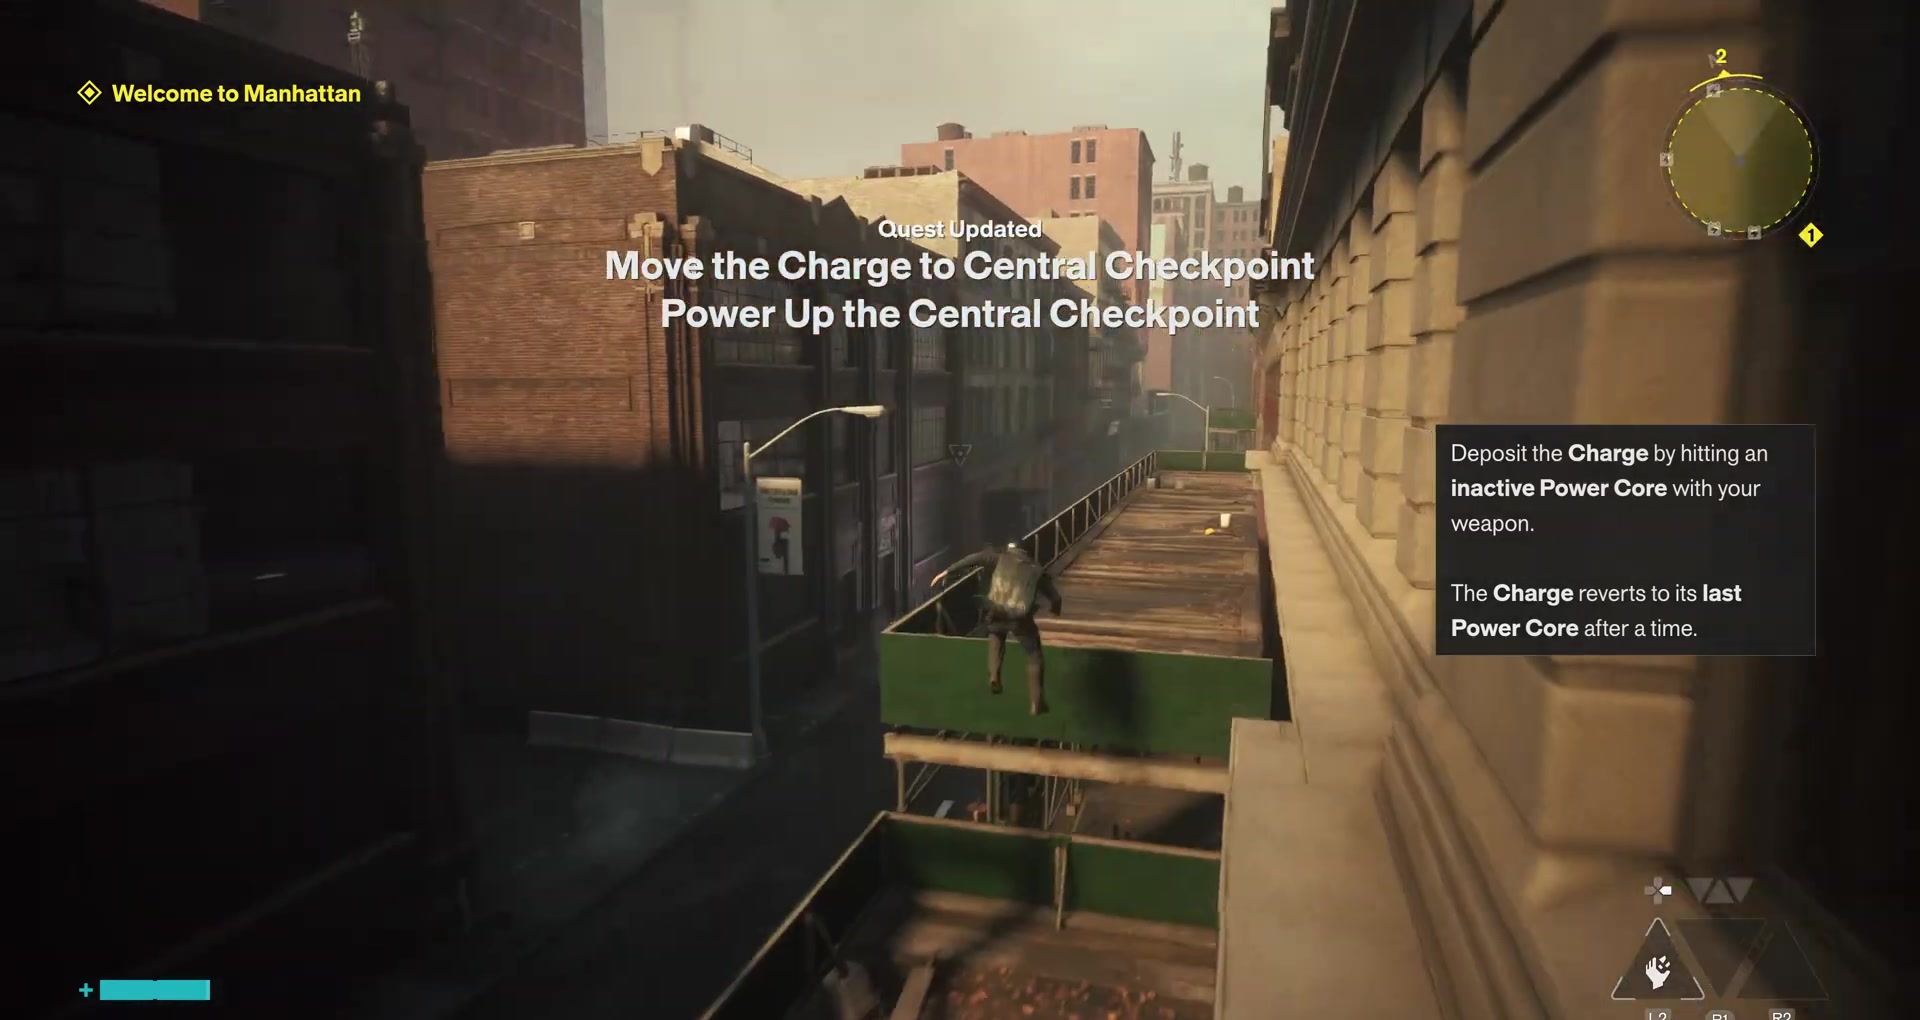
Hit the charged box with a melee attack and carry the energy to the next point.The charge stays on the weapon for a limited time, so don't get distracted by exploring in the middle of the route.
The second box opens the adjacent garage.Inside, you can examine the body of the Maintenance Worker and inform Zoe about the found employee;There is also a container with resources there.For the next area, go up to the roof and continue to the concrete structure with the green containers.The last transfer ends at the power box in front of the Central Checkpoint.
Central Checkpoint and Watchtower
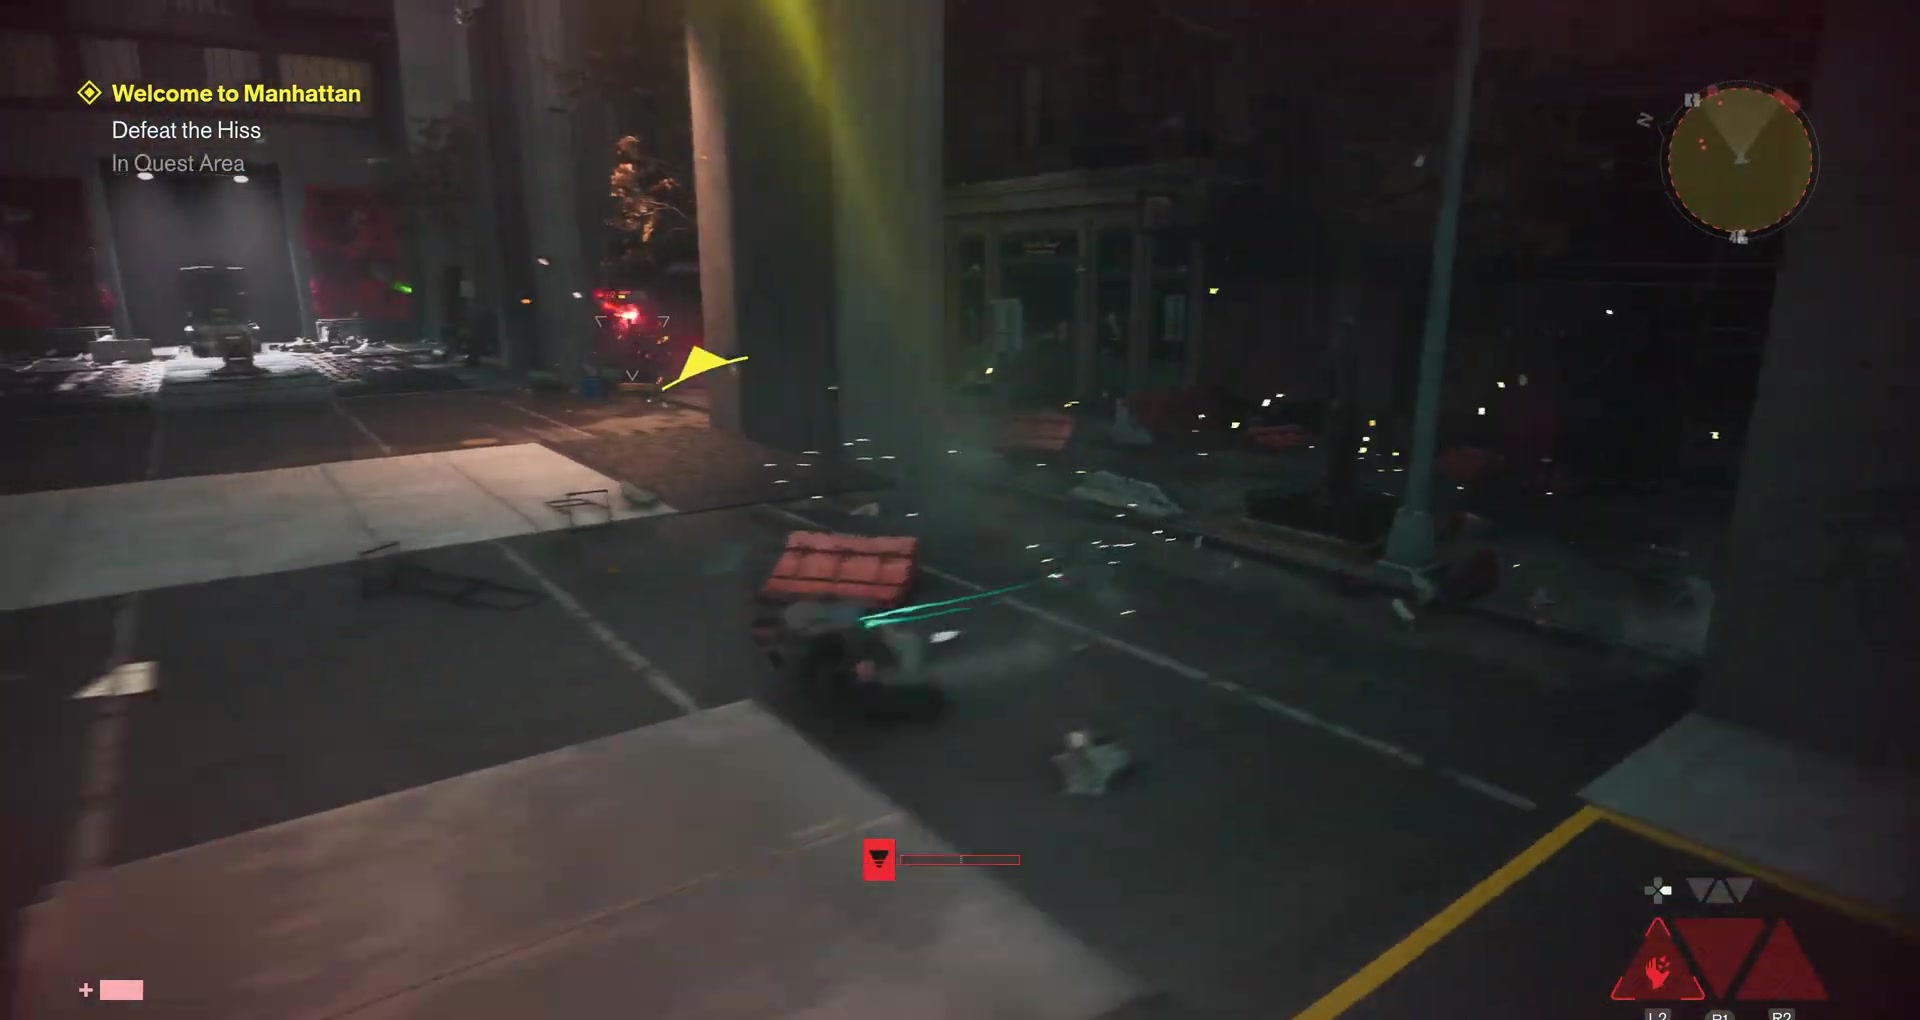
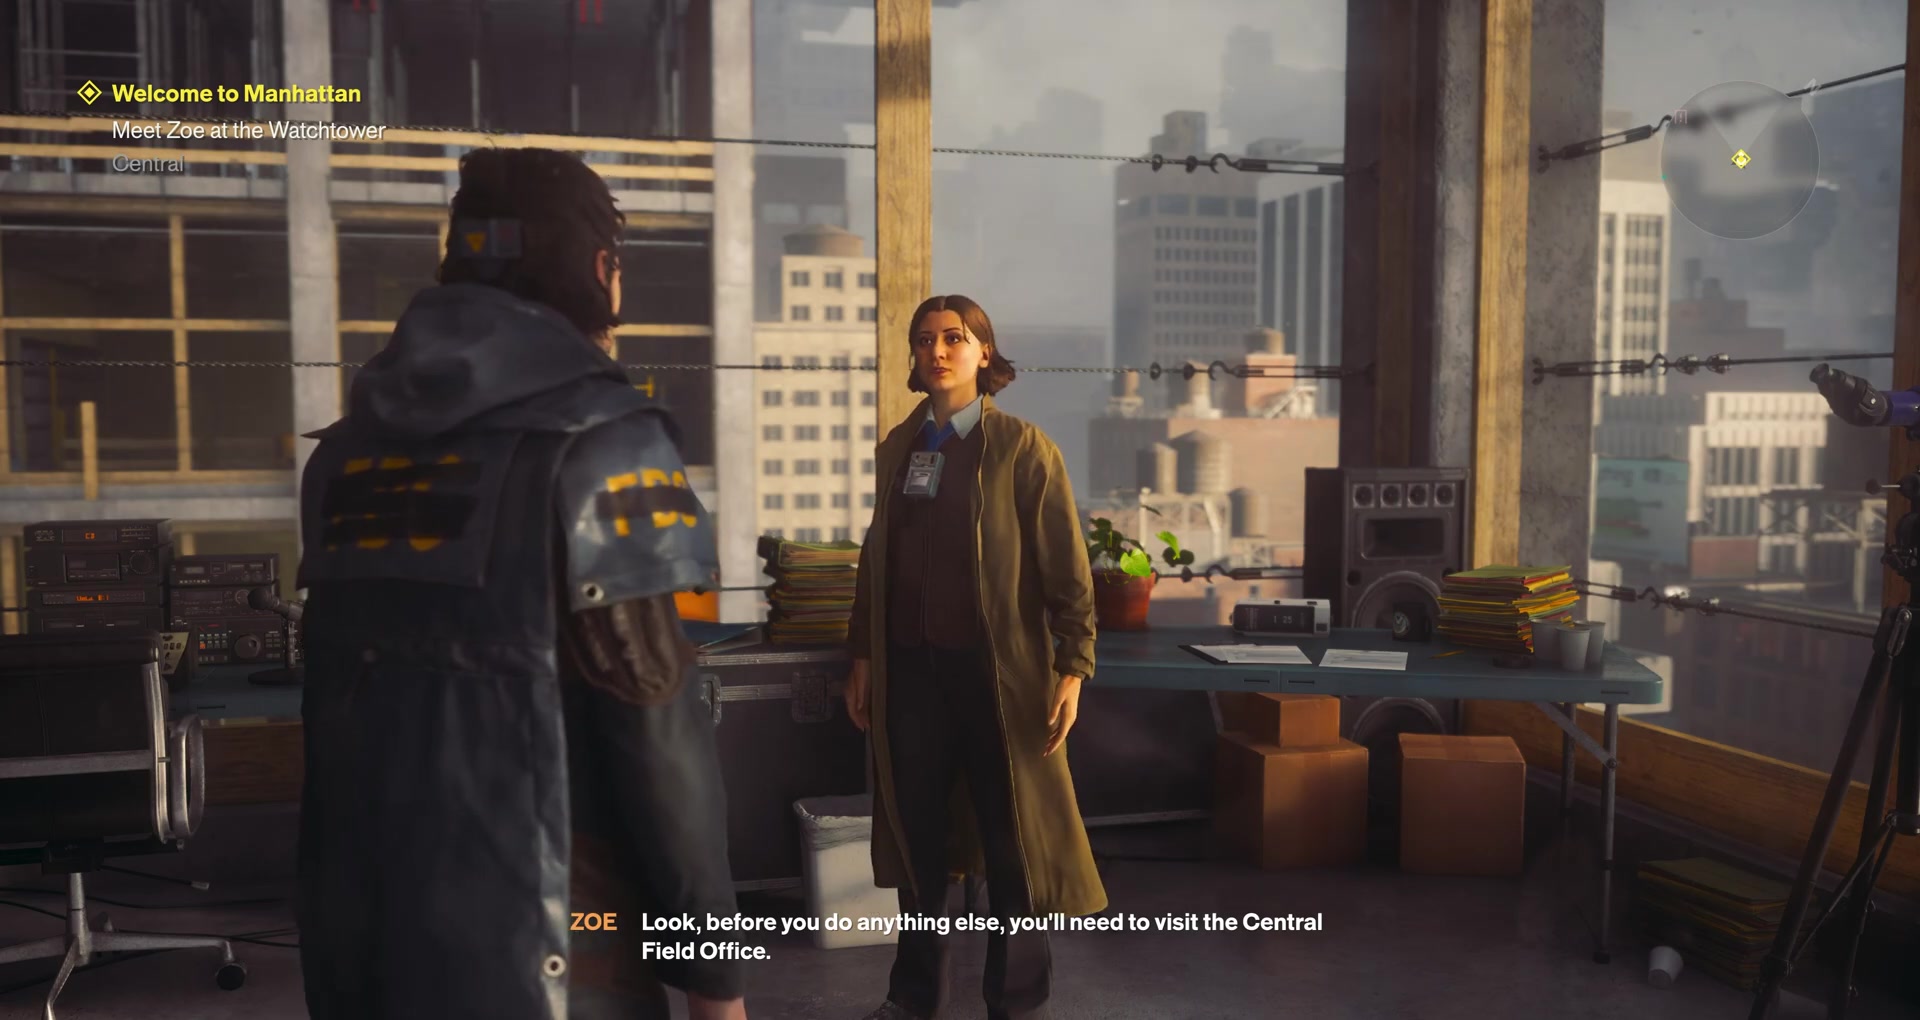
After power is applied to the Checkpoint, a new Hiss group will appear.Clear the area, then use the elevators and head through the complex to Zoe in the Watchtower.
A conversation with Zoe opens several directions at once: the next story mission Evacuation Procedures and a chain Defeating Resonants.Before leaving, activate the nearby fast travel door.
Supply Route: Path to Field Office
Go down to the floor below the Watchtower and take the elevator to the underground part of the Supply Route.In the room with the power boxes, take the charge on the lower level and transfer it first to the box on the floor above.In the side room you can pick up a container with Power Upgrade Point.
Take the charge again and transfer it to the box on the opposite side to open the further path.In a large room, a group of Hiss with a named enemy awaits you: this is a strengthened version of a regular enemy with a large supply of health.
After the fight, go through the door following the sign FBC FIELD OFFICE.Before going outside, check the room on the left: there is a container with Health Upgrade Point.
Level 1 Keycard
On the surface, head northeast to the Field Office in the VERCONN building.At the security post, a soldier will stop Dylan, but the chosen answer to the dialogue does not affect the result: Zoe will get permission to pass.
Go up the steps to the Field Office and pick it up from the desk Level 1 Keycard.Now you can open doors with a first-level clearance sign.This concludes Welcome to Manhattan.
The main thing from the first part
At this point, Dylan should have basic movement abilities after the Jesse ritual, an open Central map, access to fast travel near the Watchtower, and a Level 1 Keycard.If any of this is missing, it is better to return to the corresponding stage before moving to the Evacuation Zone.
In the next part we'll look at Evacuation Procedures, rescue Arish, return to Field Office and start Power Lines.The main campaign of CONTROL Resonant does not follow one straight chain: then mandatory missions will begin to intersect with Jesse Fault and battles with Resonants.
If you need technical information before passing, we have a separate material about release, game size and launch time CONTROL Resonant.

Sign in or create an account to leave a comment.
Be the first to share your thoughts.